Why work with us?
We build on relationships with partners, suppliers, and customers. A strong support system and positive relationships lead to project success and a positive experience.
High Quality Materials
Our materials meet or exceed all relevant standards, ensuring top quality.
Detailed Guides
We provide detailed support to customers and partners at every stage. From ordering the kit to correct installation and maintenance.
Technical Support & Parts Availability
If you have any technical queries, we are here to assist. Given our direct collaboration with a factory, we are pleased to offer support for spare or custom parts.
On site visits and training
Our experts will come to your site to provide guidance on the proper fence installation procedures.
Access to updates, Revisions, News.
The suppliers enhance our product line annually, delivering superior solutions to address on-site issues. Regular policy reviews ensure everyone stays informed.
Guidance on pricing and installation times
We offer guidance on pricing strategies for newcomers to ensure accurate pricing.
Required Tools
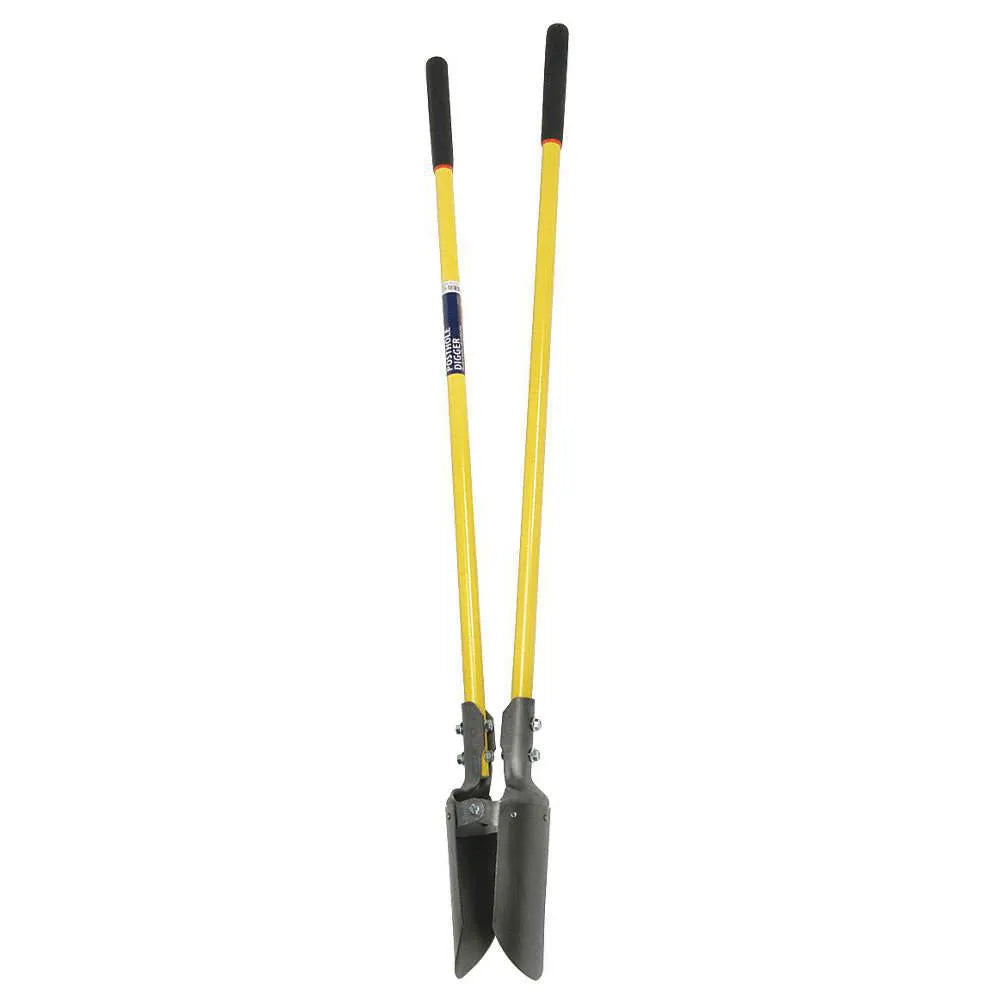
Post Hole Digger
Post Hole Digger: Can be manual (two‐handled) or mechanised (auger bit on power drill / tractor). Manual is cheaper; mechanical is faster.
Good post holes are key to fence stability.

Shovel
For moving soil, gravel, or concrete; cleaning up; adjusting hole depth; leveling ground.
Useful for final tweaks, back-filling and general site prep.
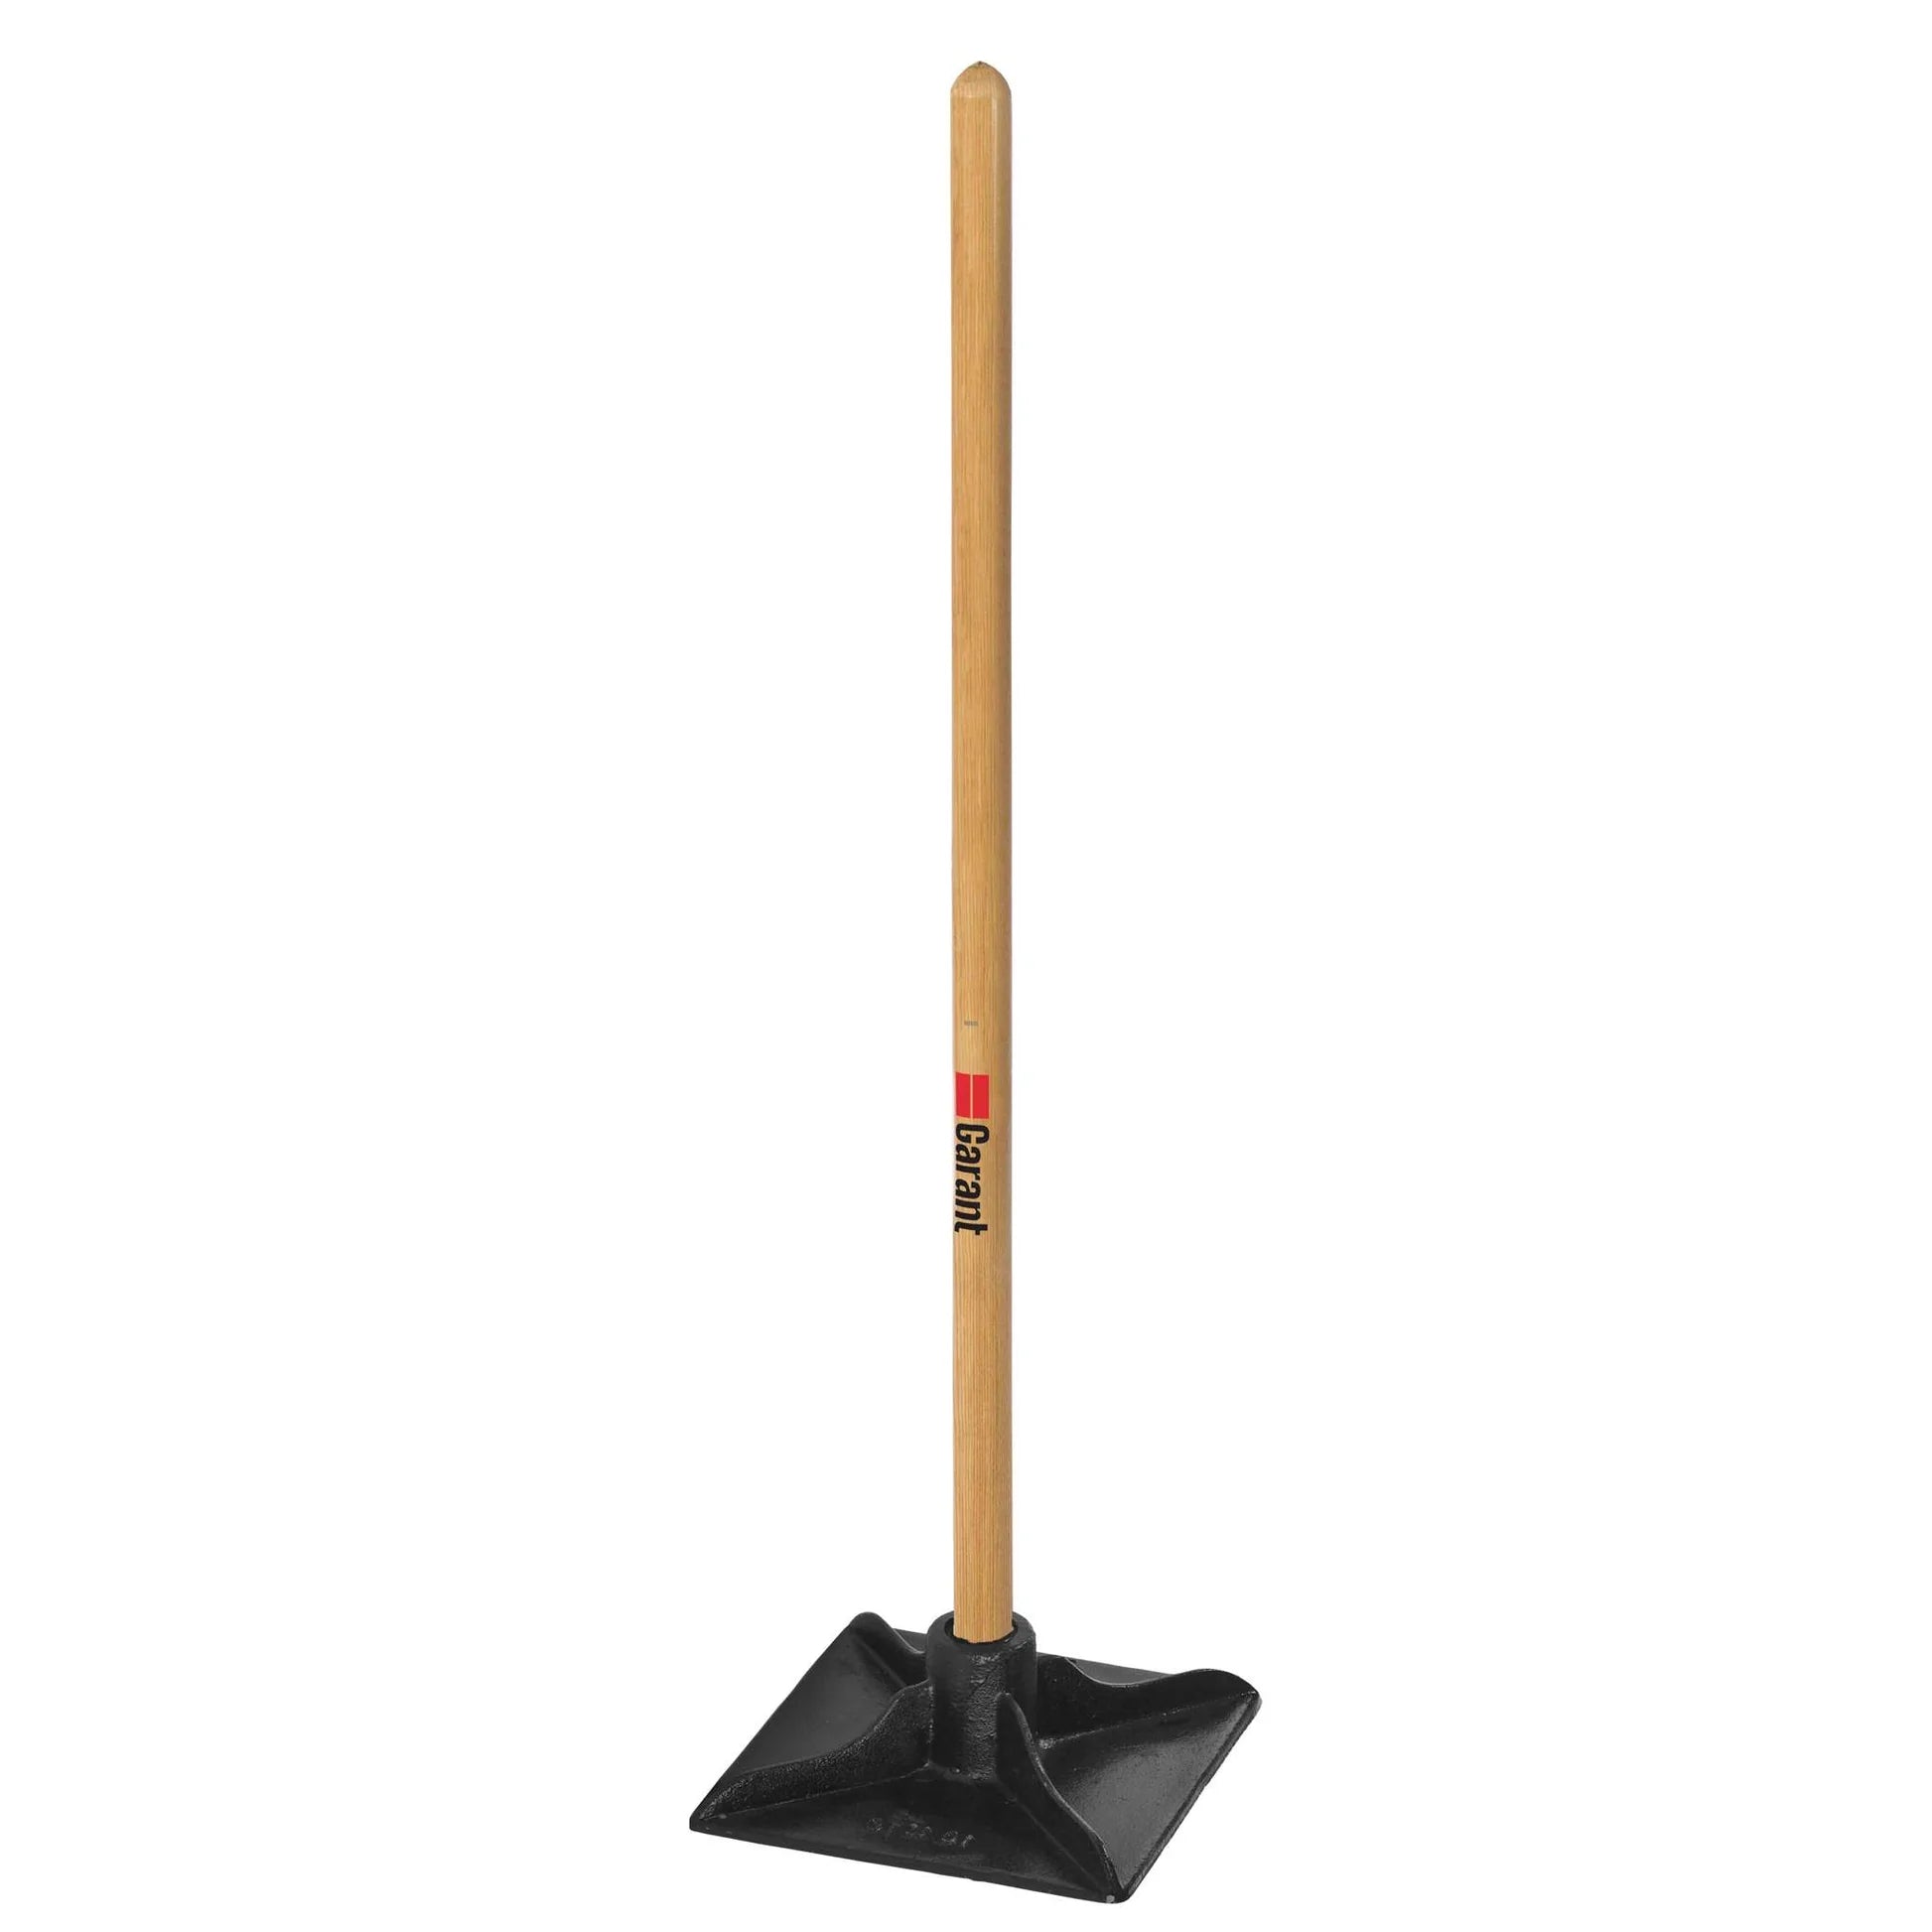
Tamping tool / soil tamper
Used to compact soil or backfill around the post after placing it, removing air gaps, improving stability.
Ensures the post remains firm and resists shifting over time.
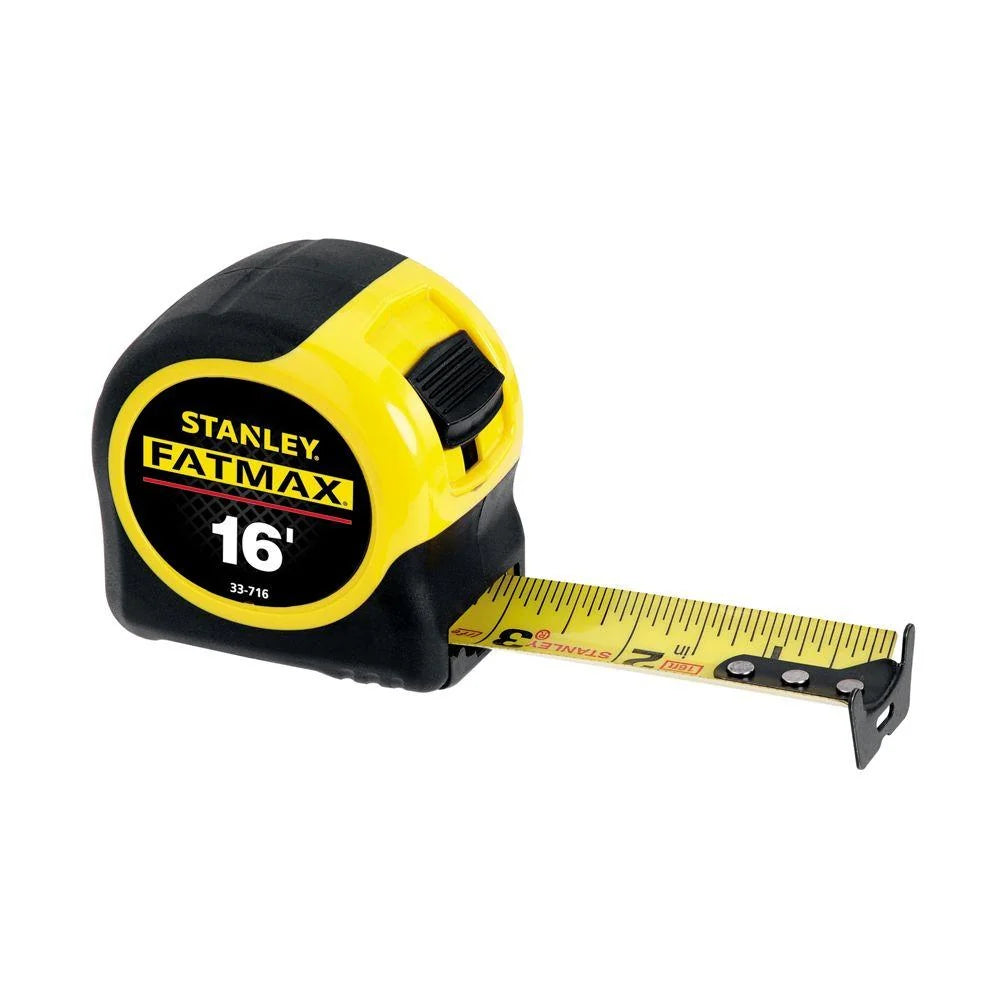
Tape measure
Measure distances between posts, check panel spacing, ensure alignment, check post depths, etc
A good heavy-duty tape with clear markings helps accuracy.
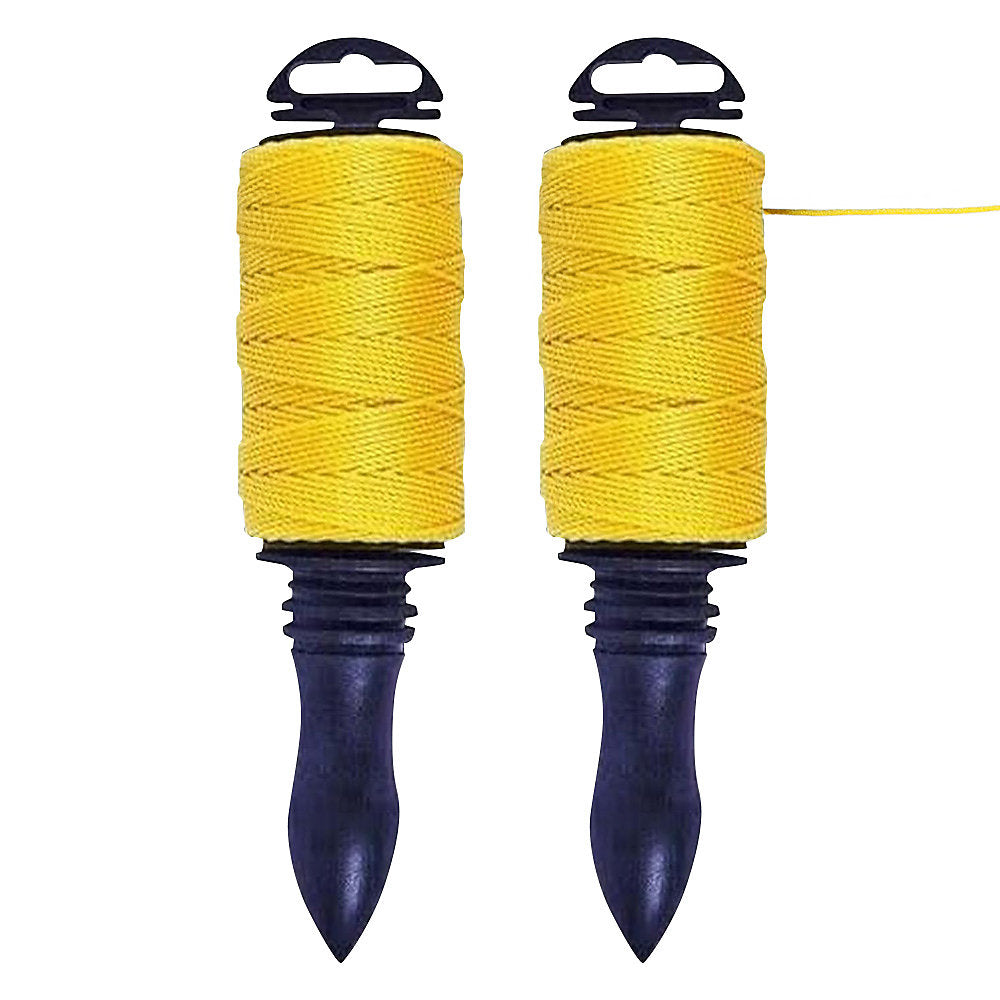
String line / builder’s line
Used to mark and maintain straight fence lines. String is pulled taut between stakes to guide post alignment.
Helps avoid drift, keeps everything on one plane.
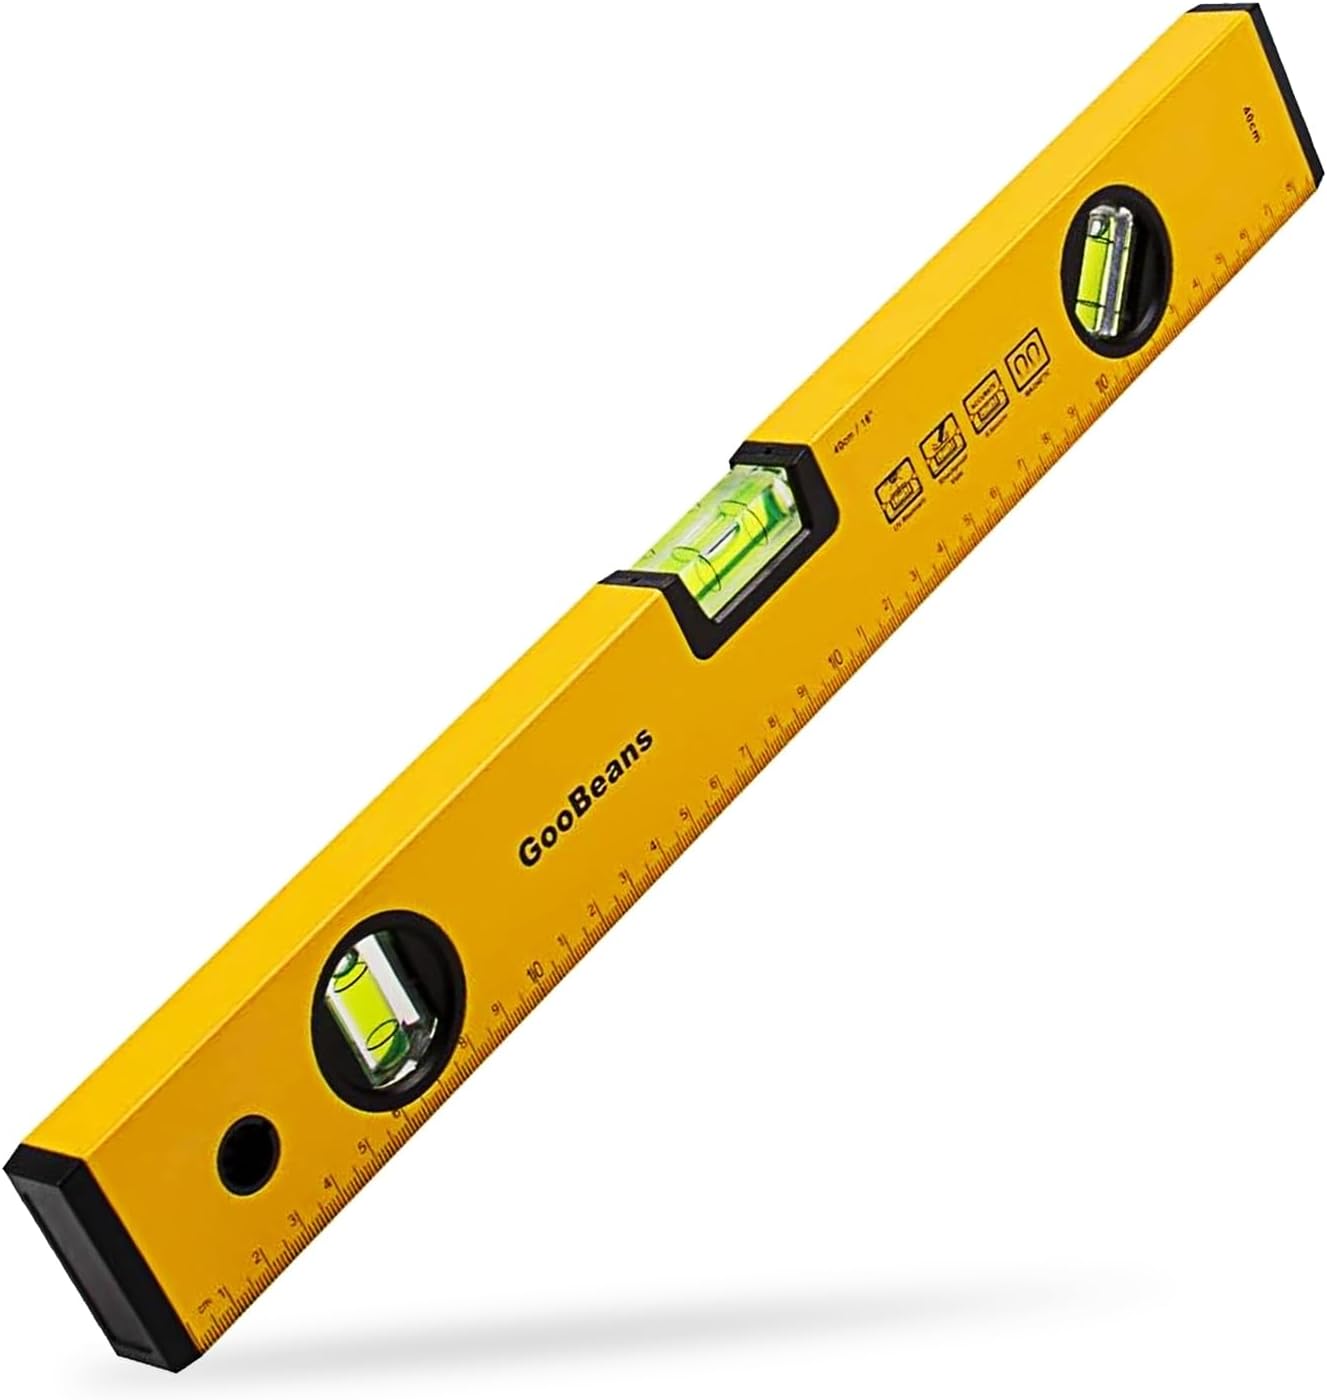
Level
A small level designed to sit on a post; used to ensure posts are plumb (vertically straight) and level.
Some levels wrap around post to give reading from more than one face at once.

Electric screwdriver / impact driver / drill
To drive screws, bolts, fixings; to pre-drill if necessary.
Makes repetitive work faster and more consistent (vs manual screw-drivers).
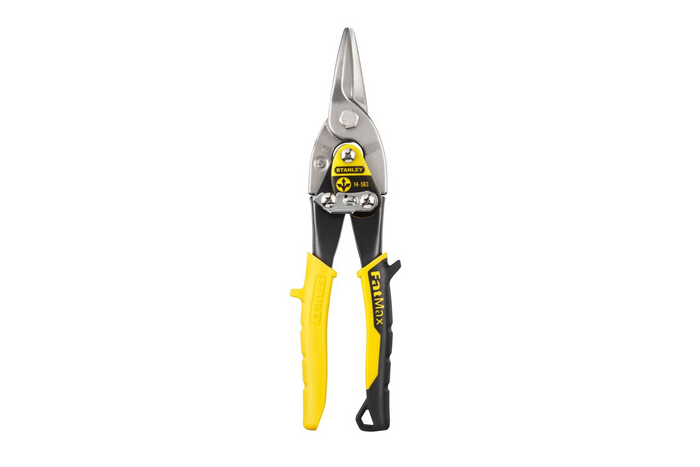
Metal shears
Used to cut fence panel components to adjust size difference.
(Caution: Avoid using heat-generating tools such as angle grinders for cutting, as it may harm the protective coating and void the Warranty.)

Rivet Gun
Used to securely fix the fence slats onto the U-profiles. We recommend using a battery-powered rivet tool for easier installation. Using a manual tool will prolong the task. The rivet gun must be compatible with 40 mm rivets.
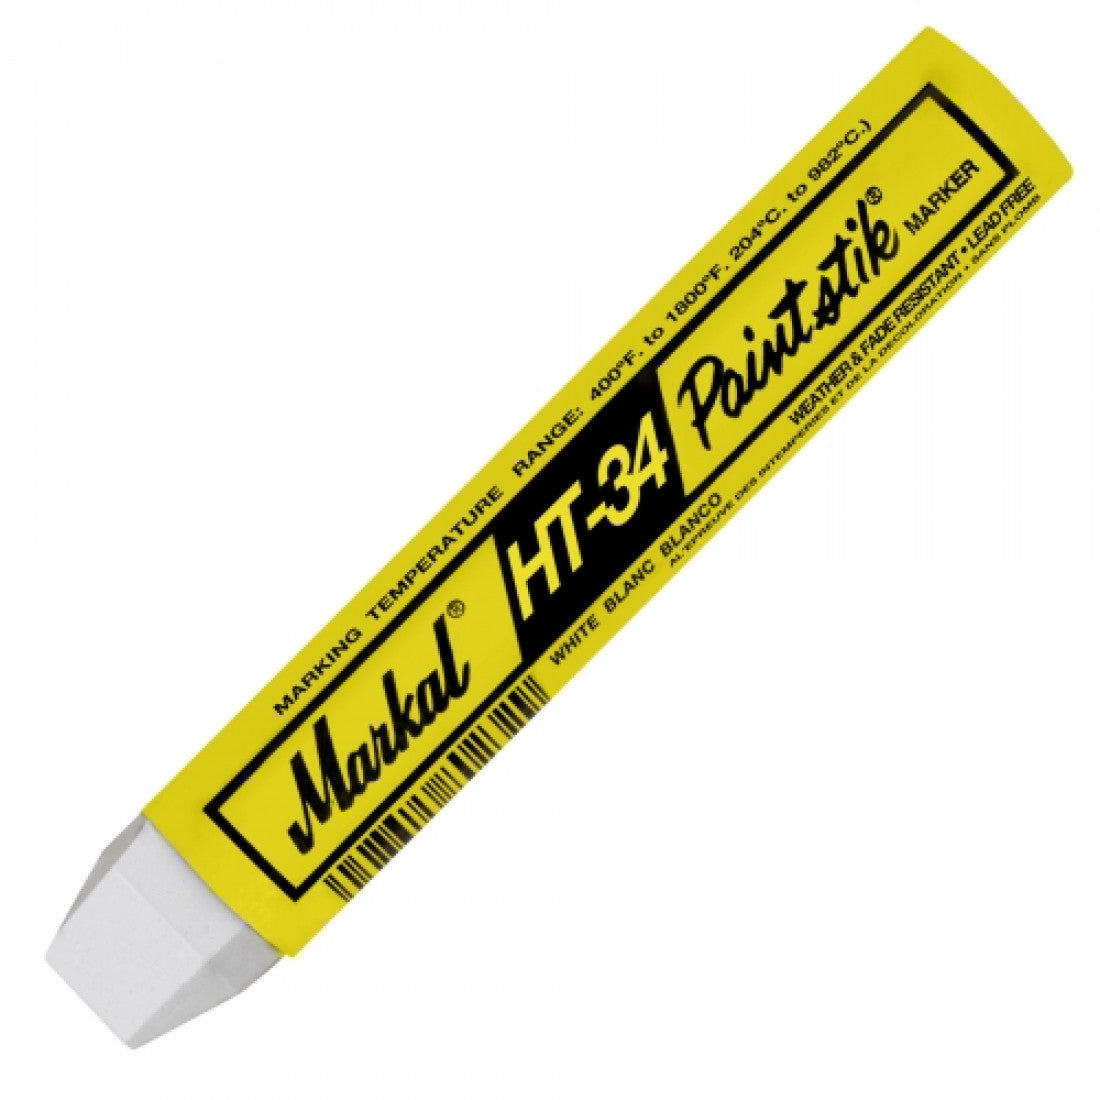
Marker tools
Properly marking element positions improves installation efficiency and minimises errors.
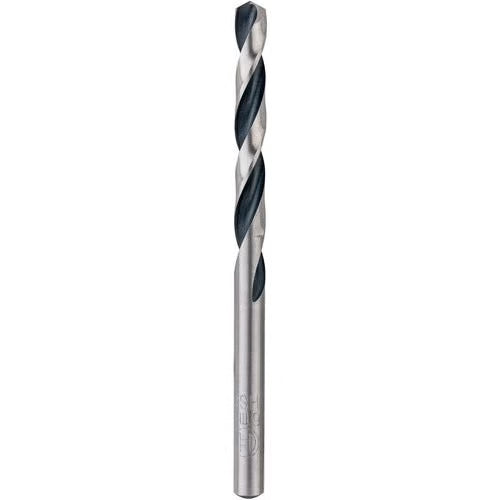
4.5mm Steel Drill Bit
The 4.5 mm drill bit will allow you to make the correct holes in the profiles to install the fence properly.
Fence Components
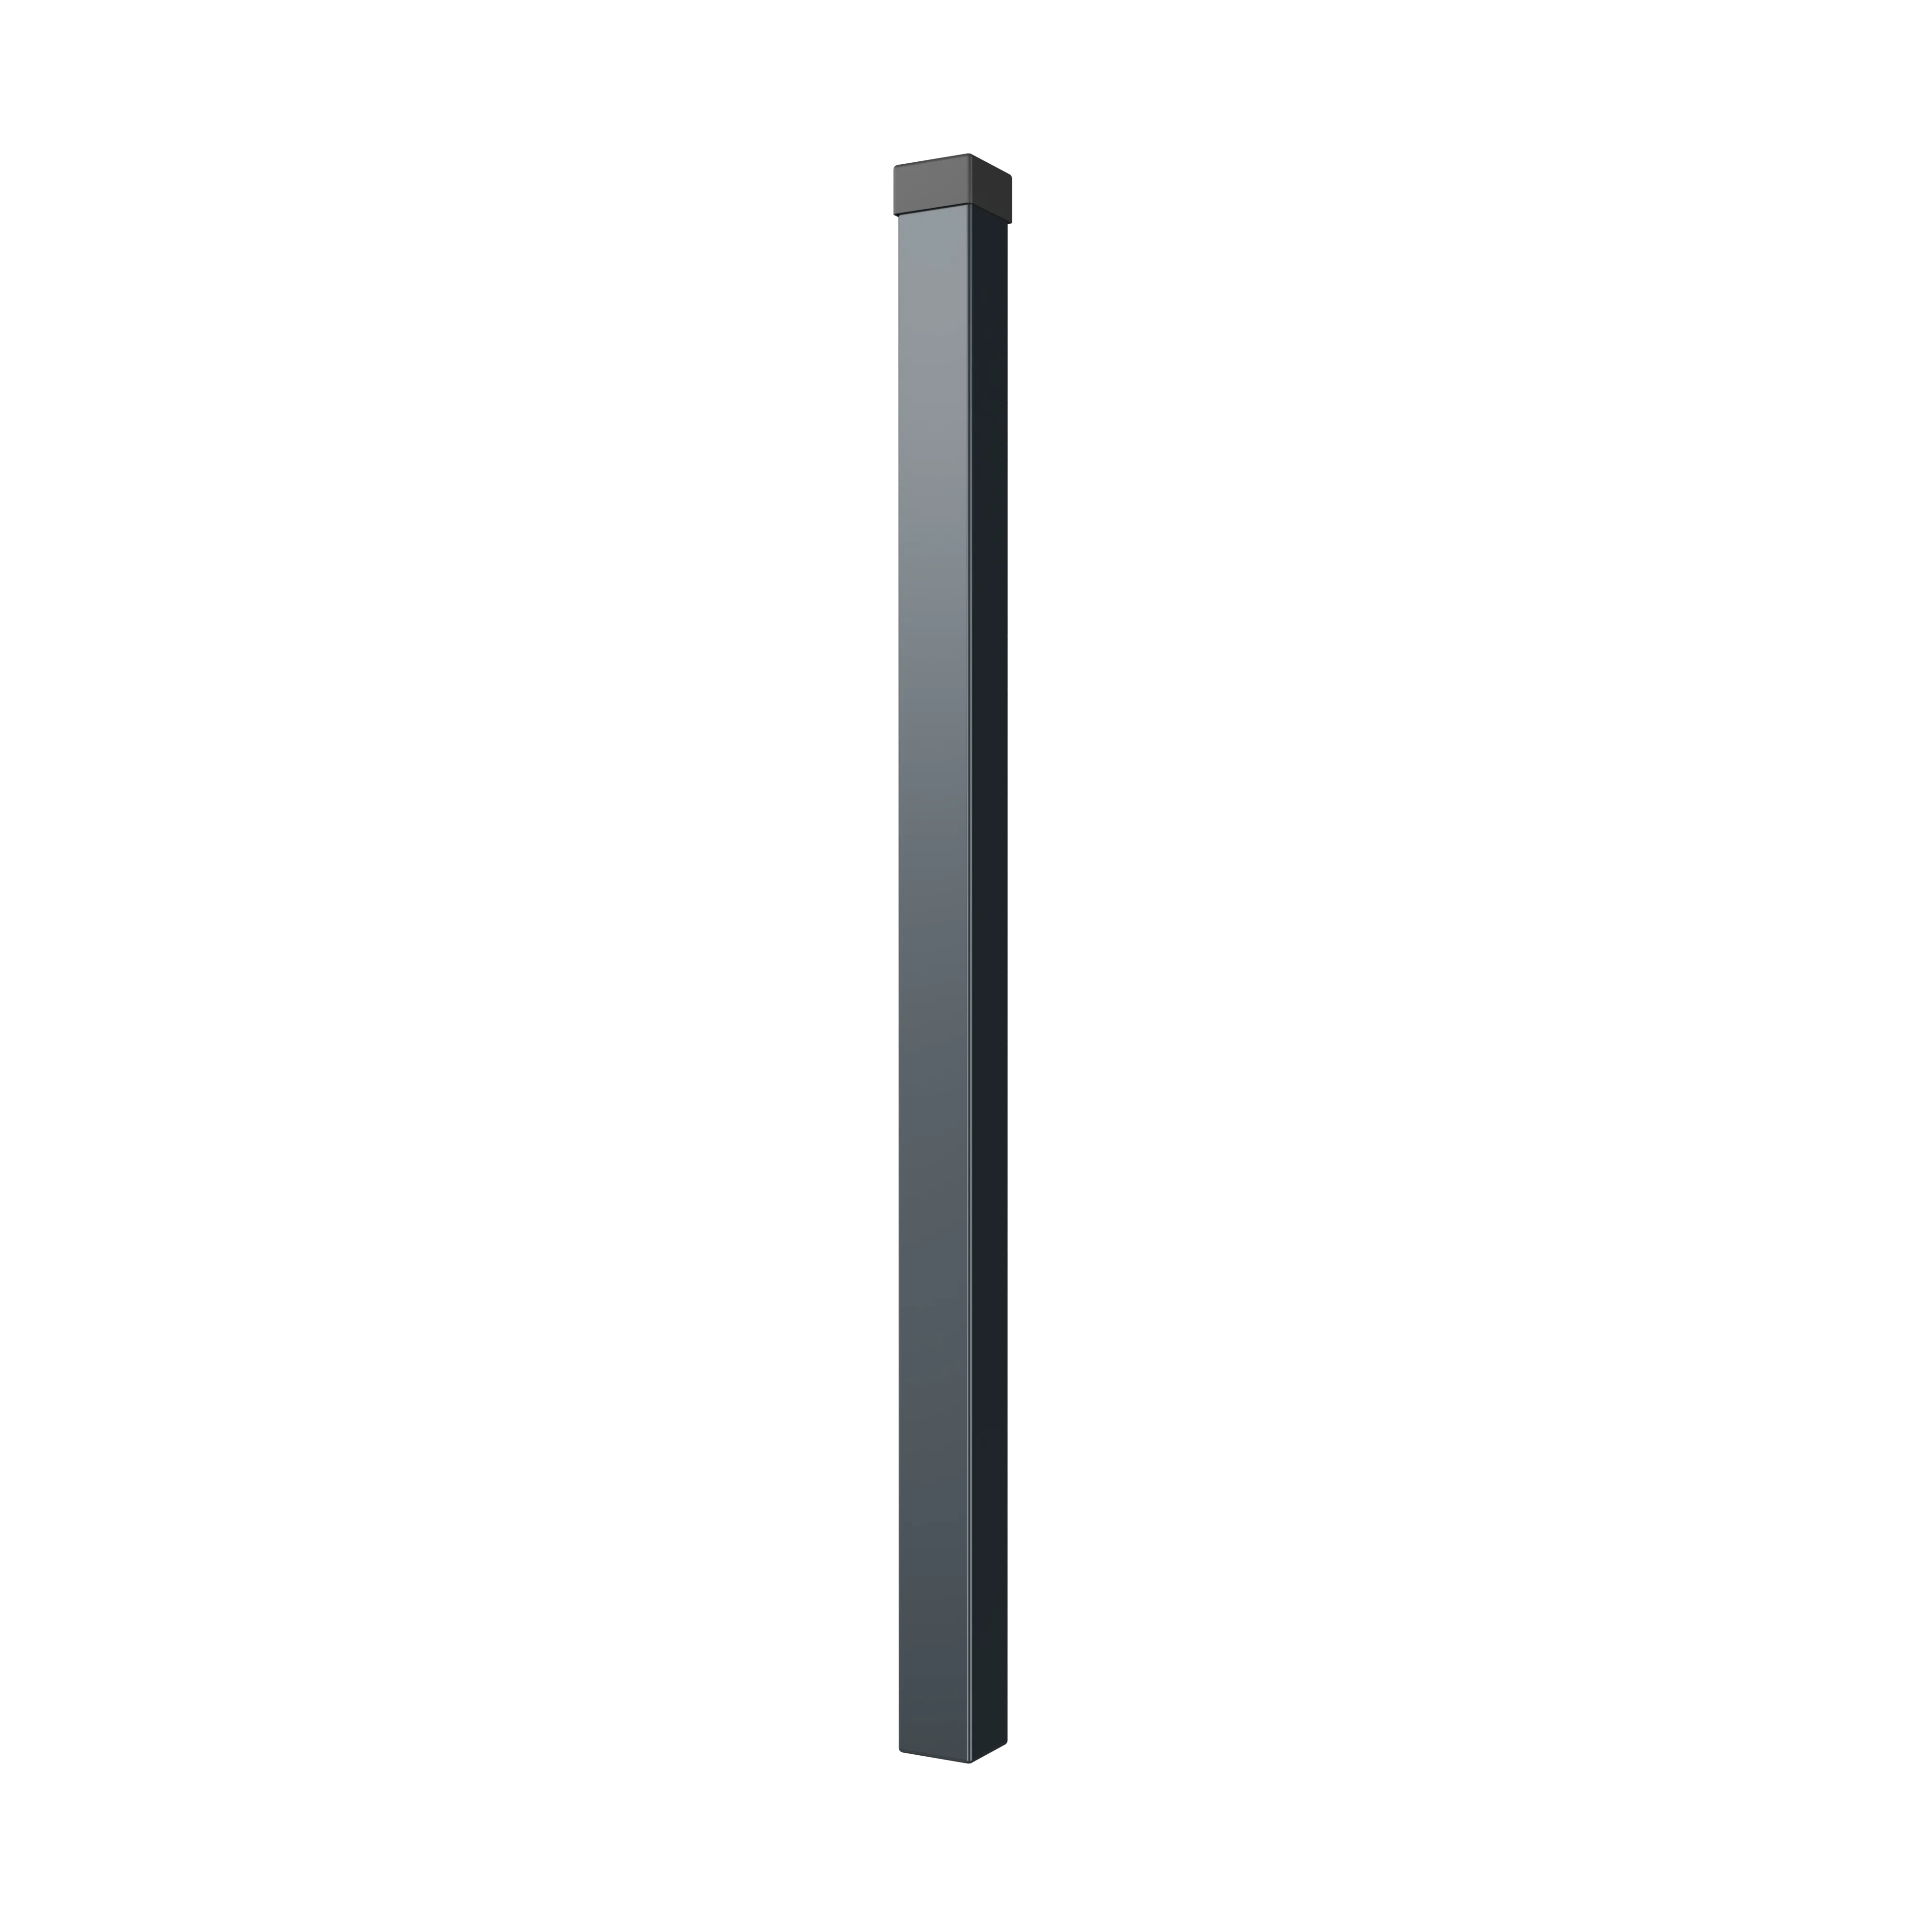
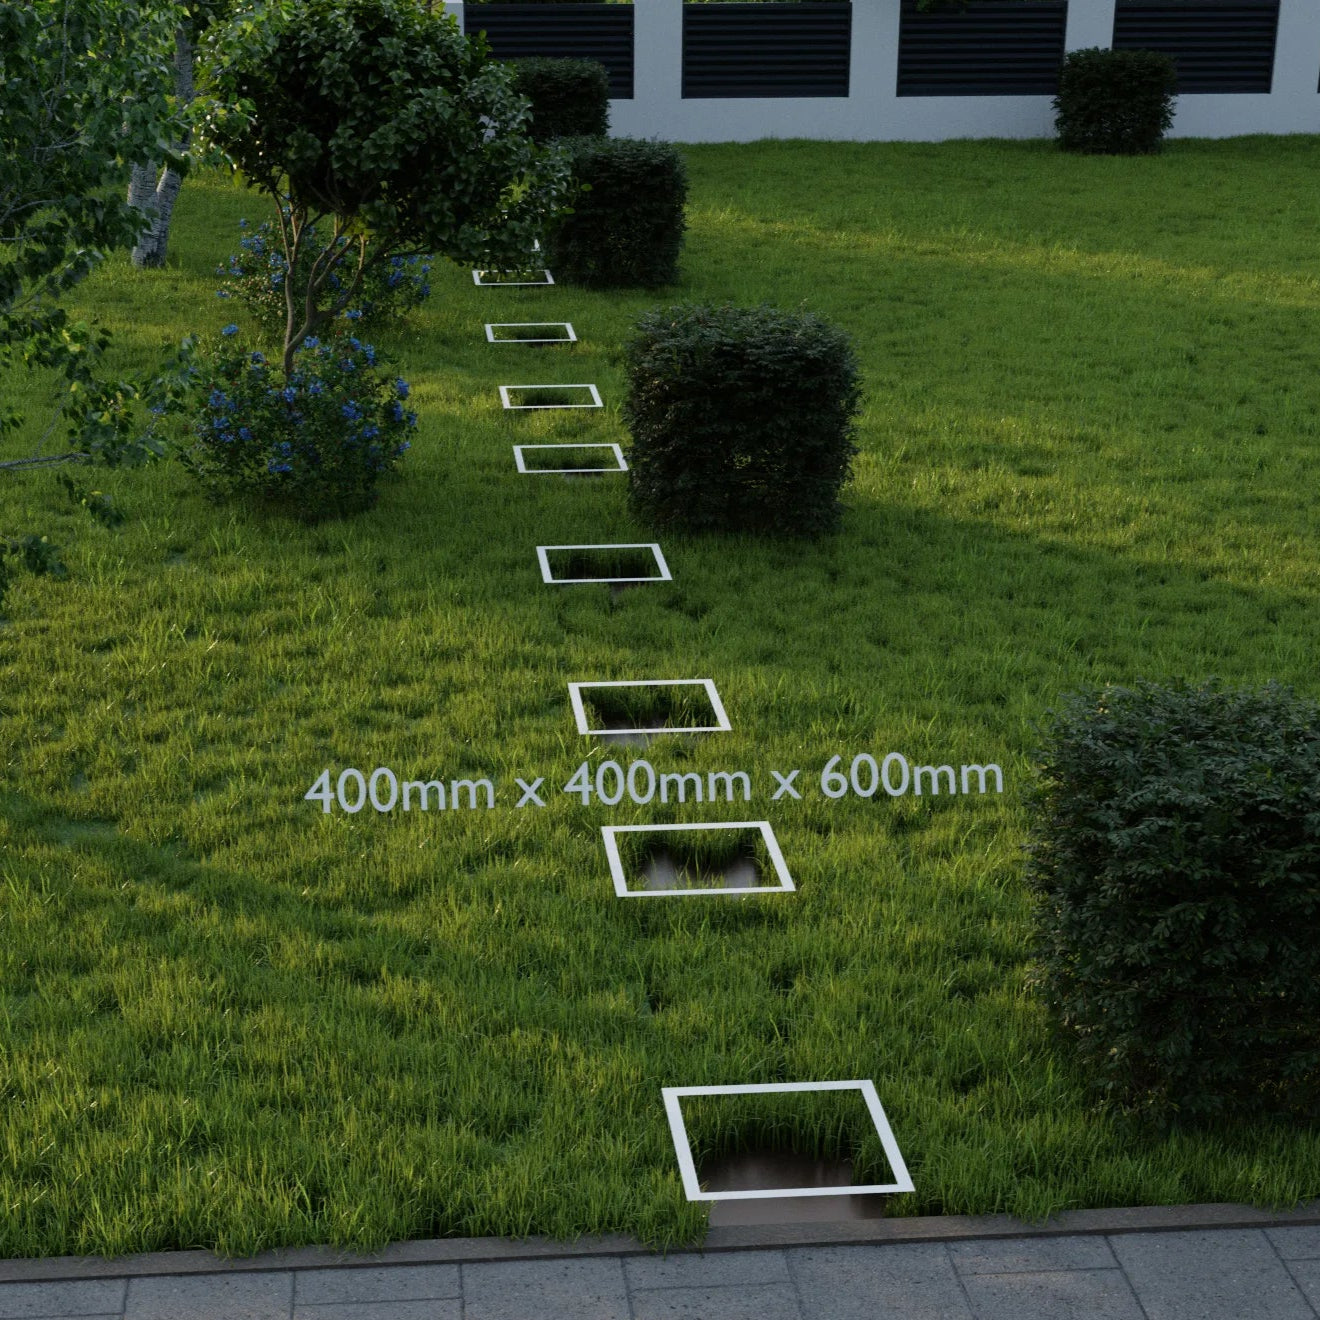
Fence Post(no baseplate)
For setting up the fence directly into the ground
Create excavations in the ground 400mm x 400mm x 600mm deep and fill them up with post-crete or similar fixing material for best results.
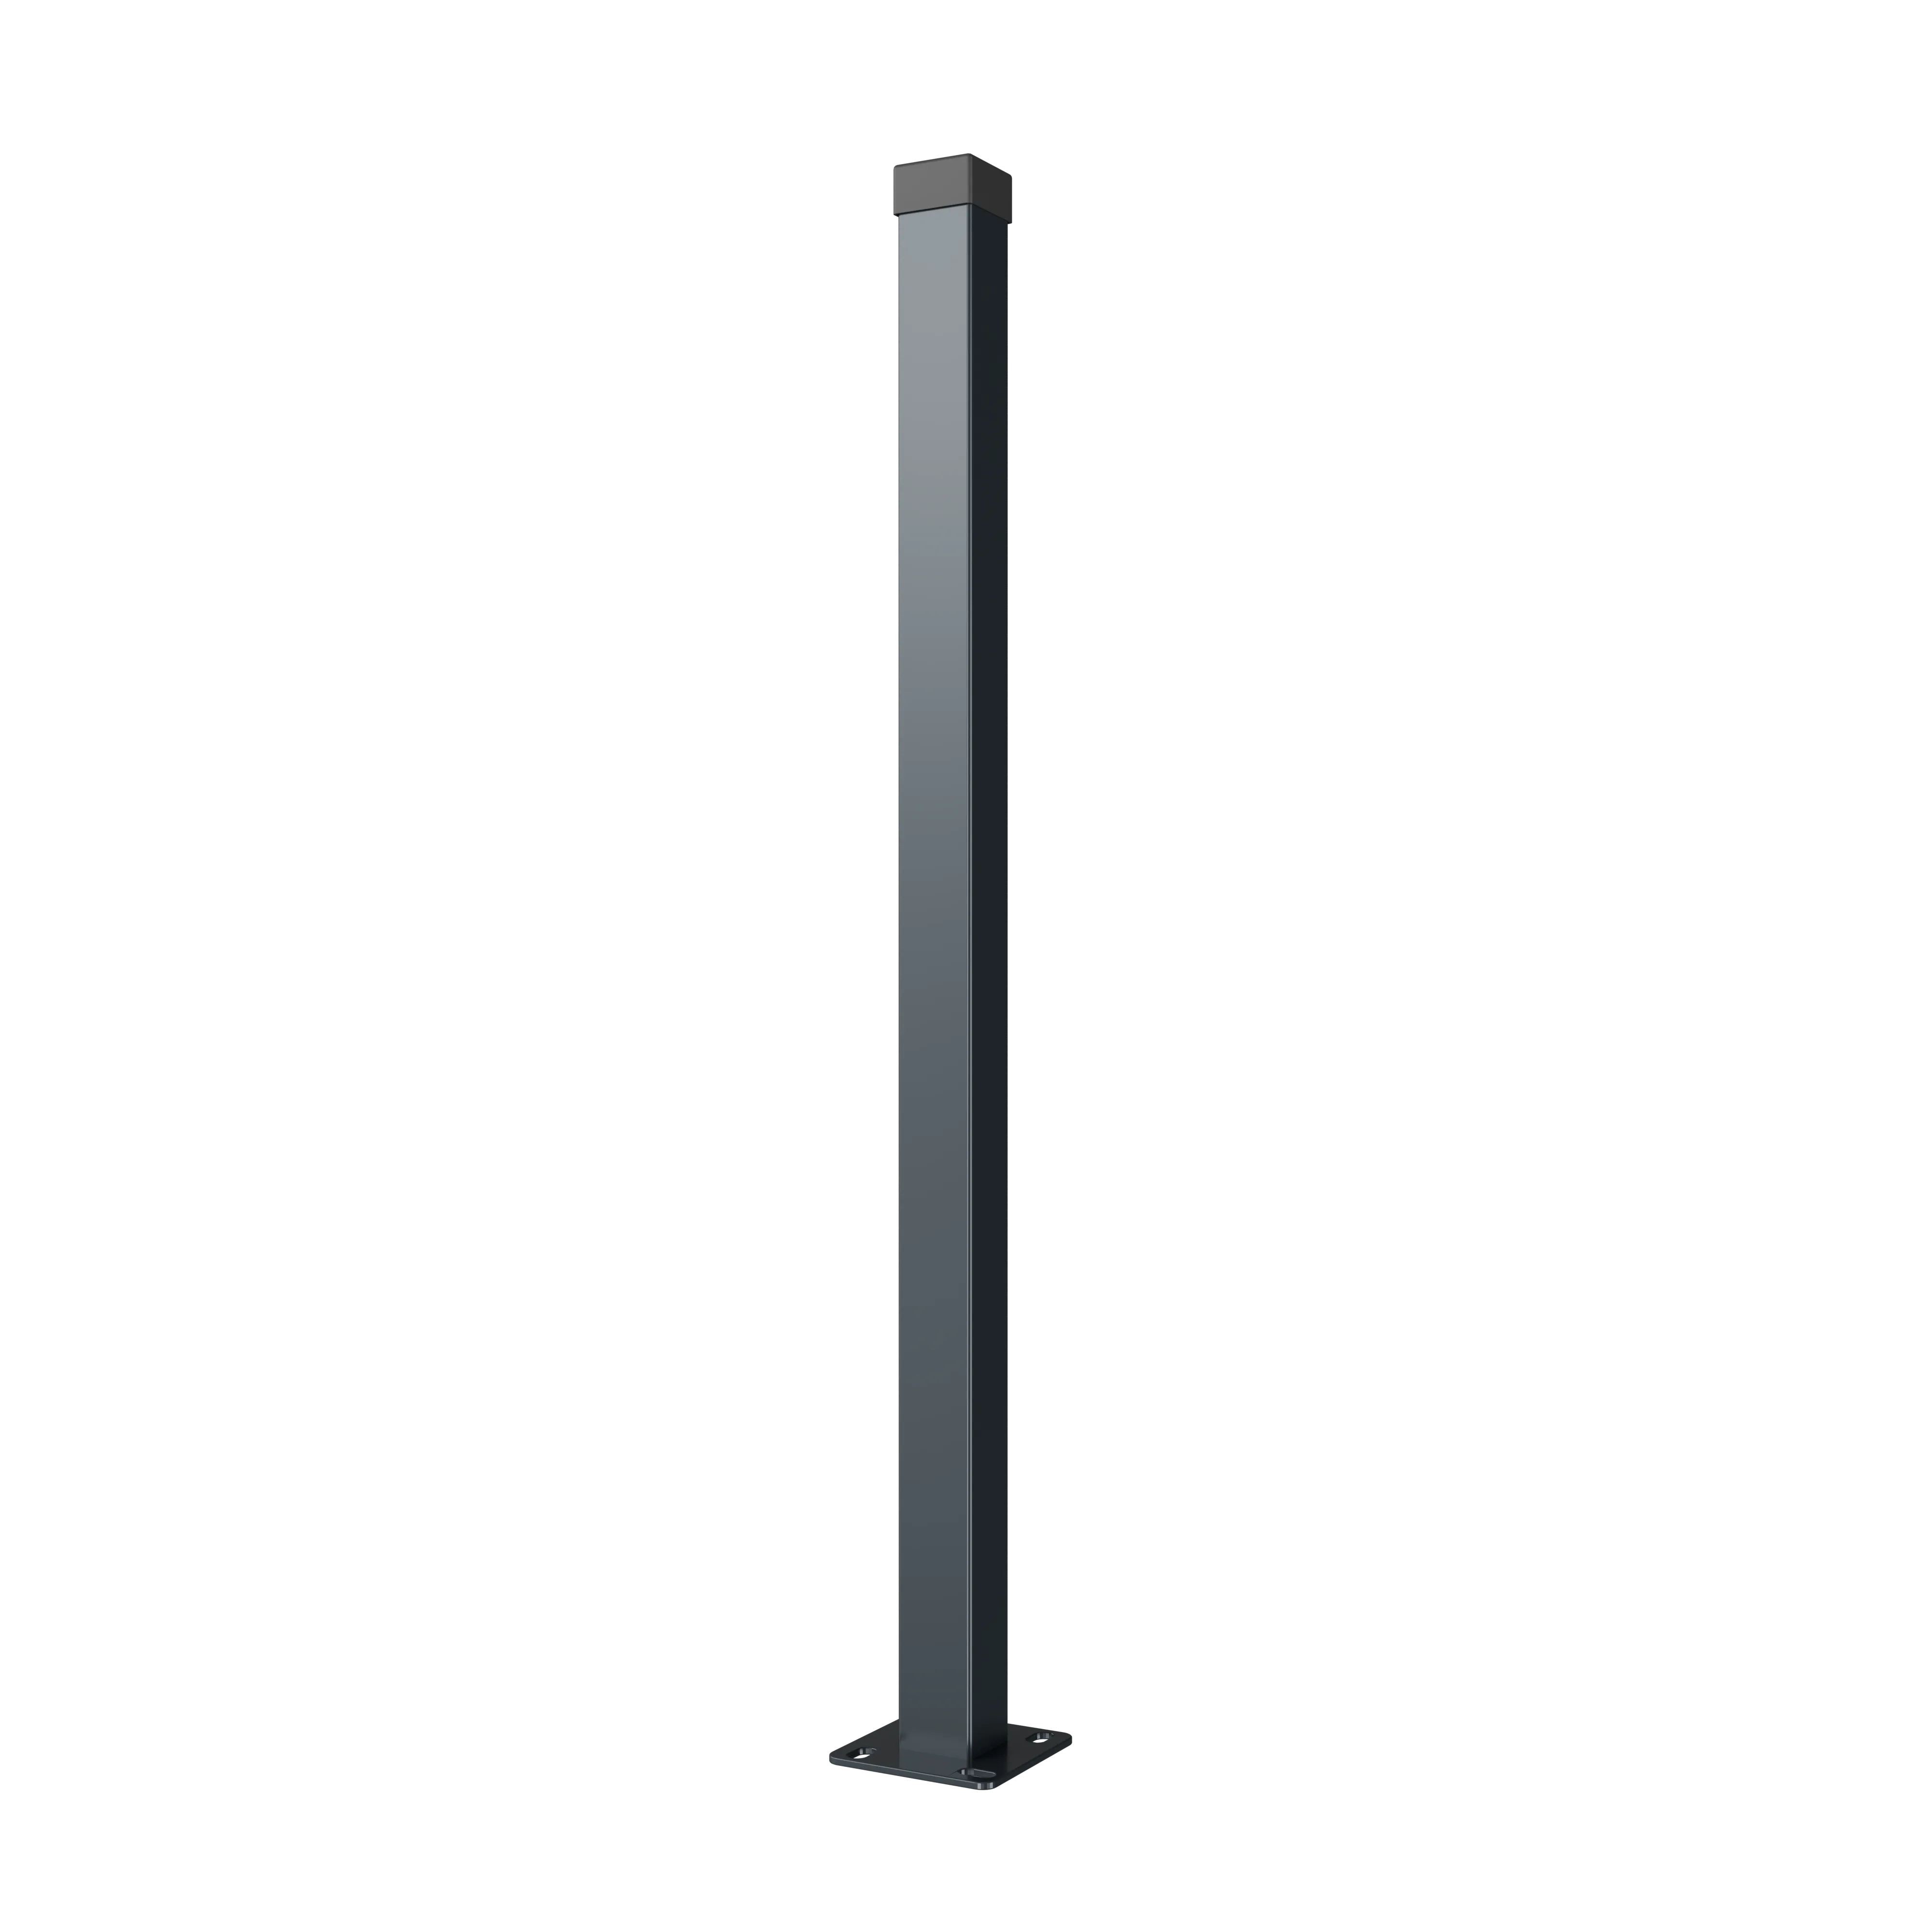
Fence Post With Base Plate
For fixing into existing supporting structure
These posts are designed to be installed on existing walls or concrete base/driveway.
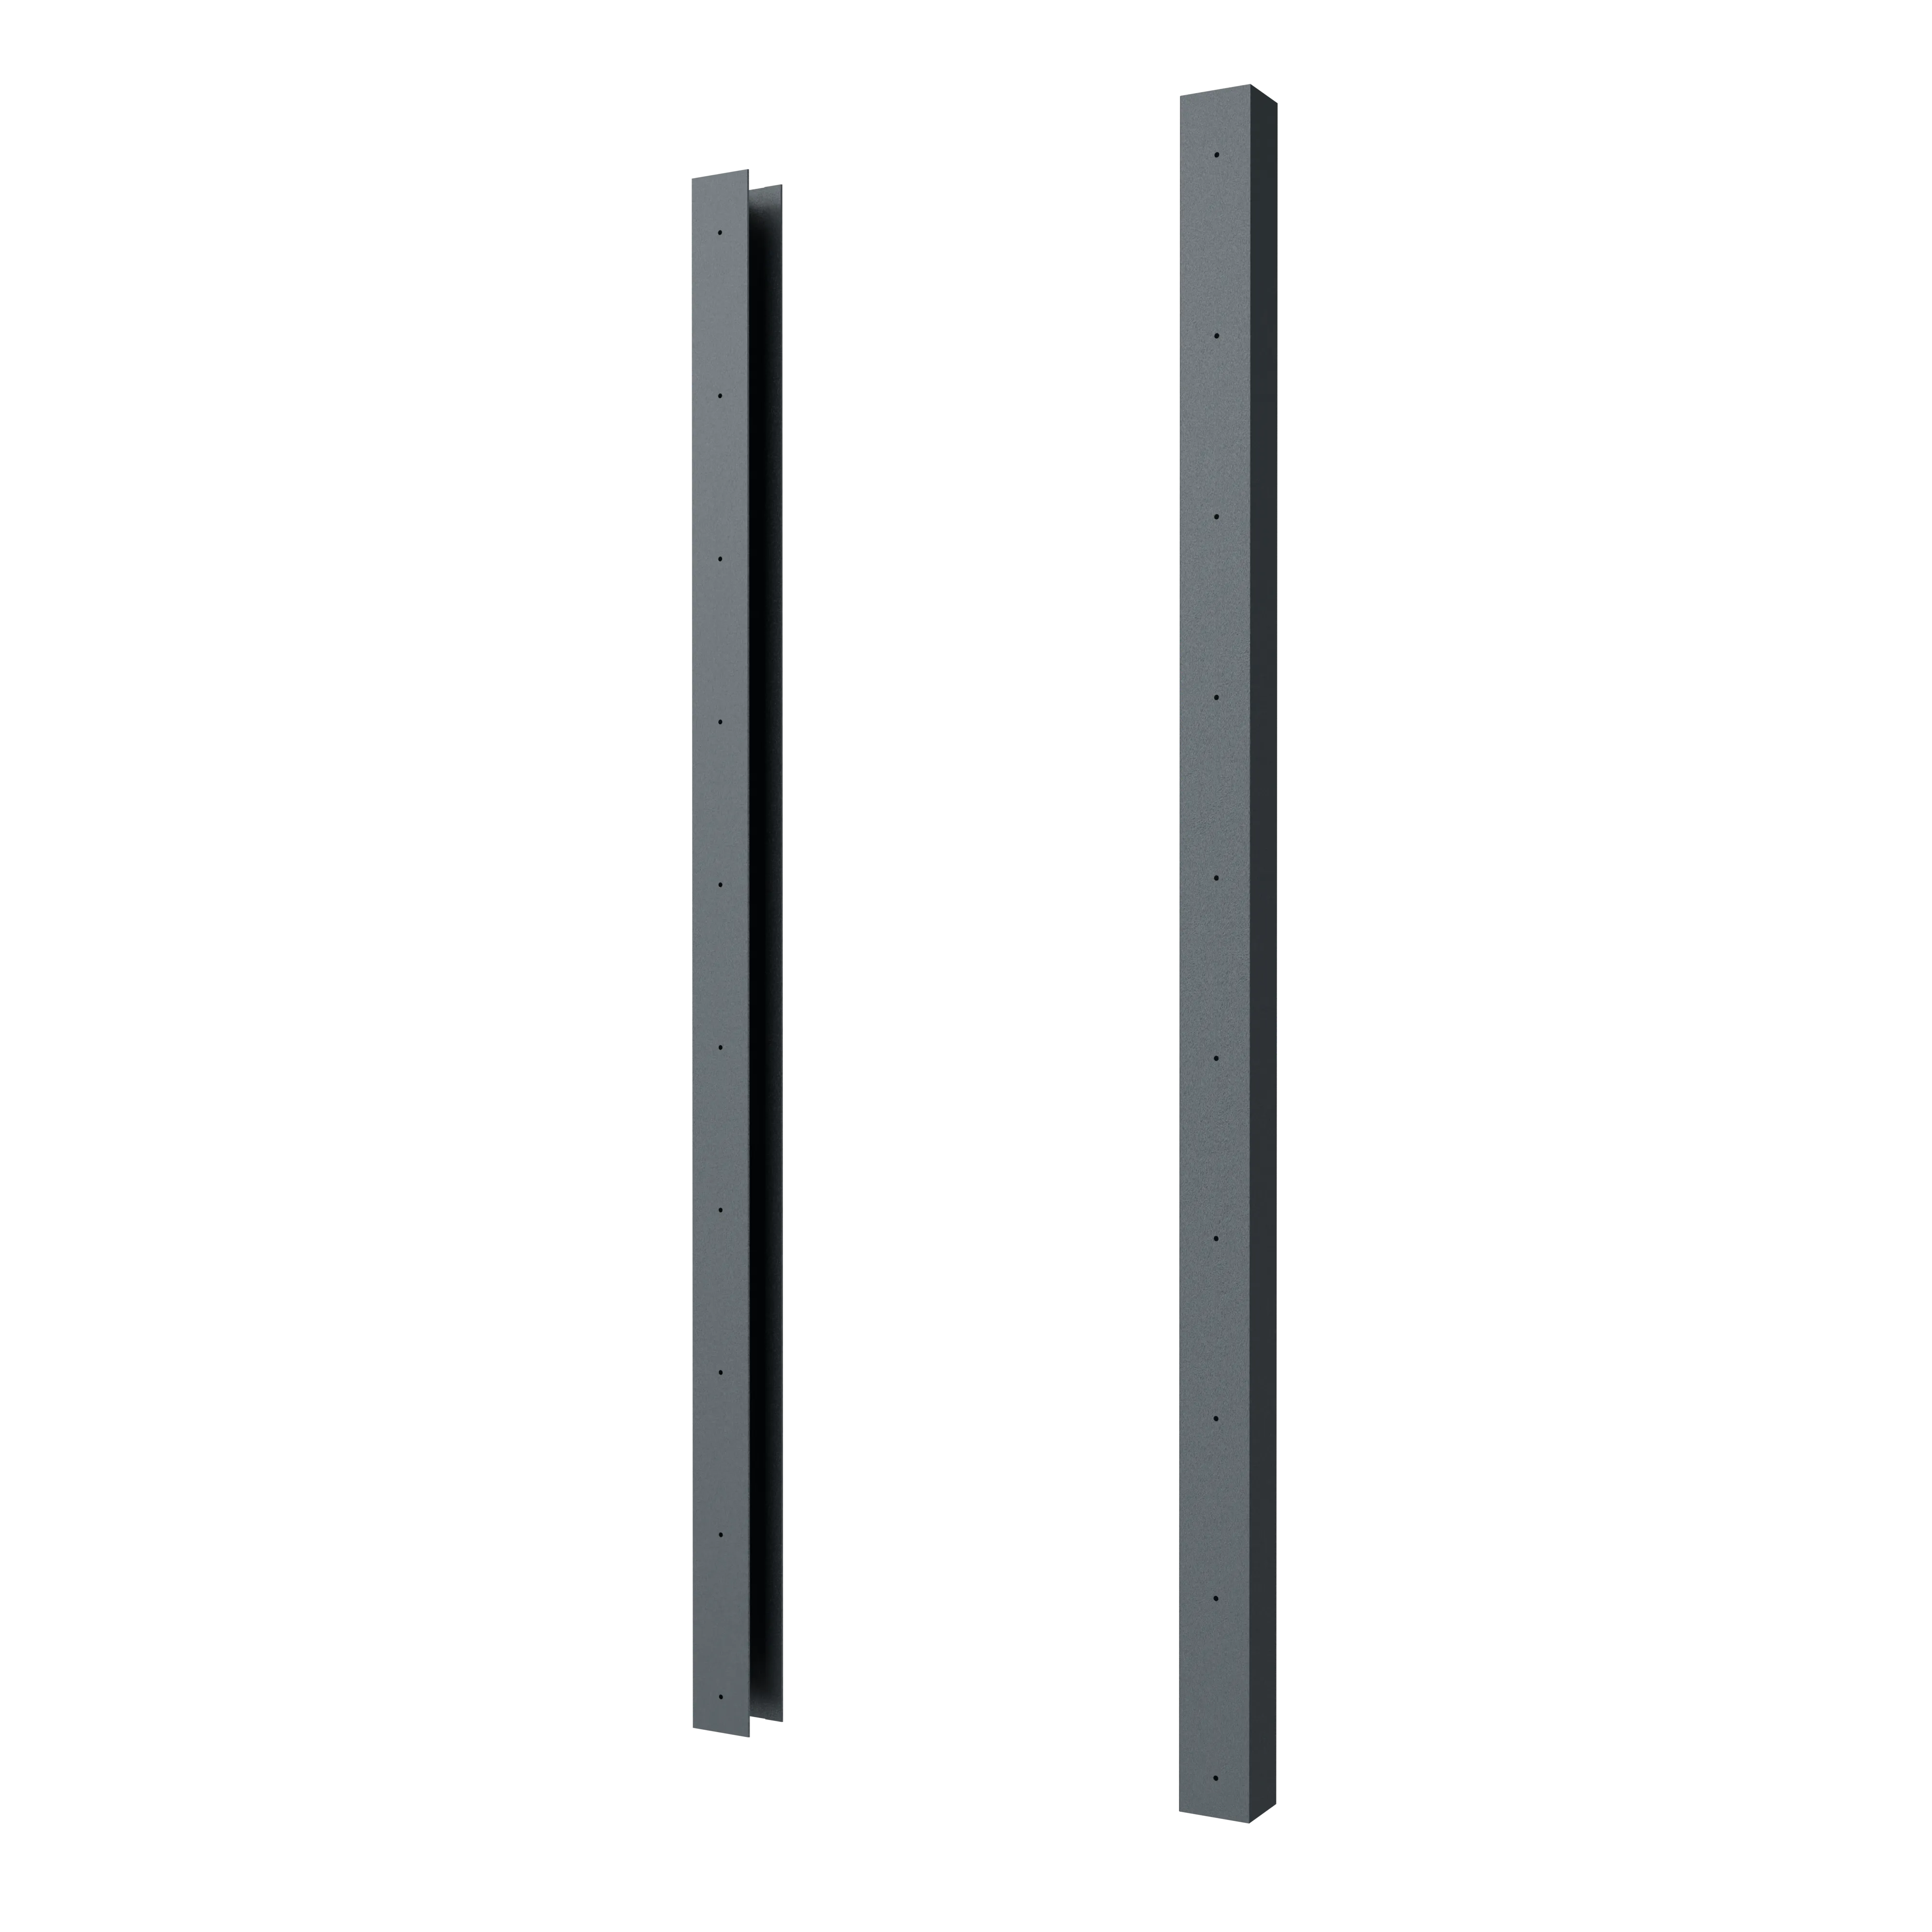
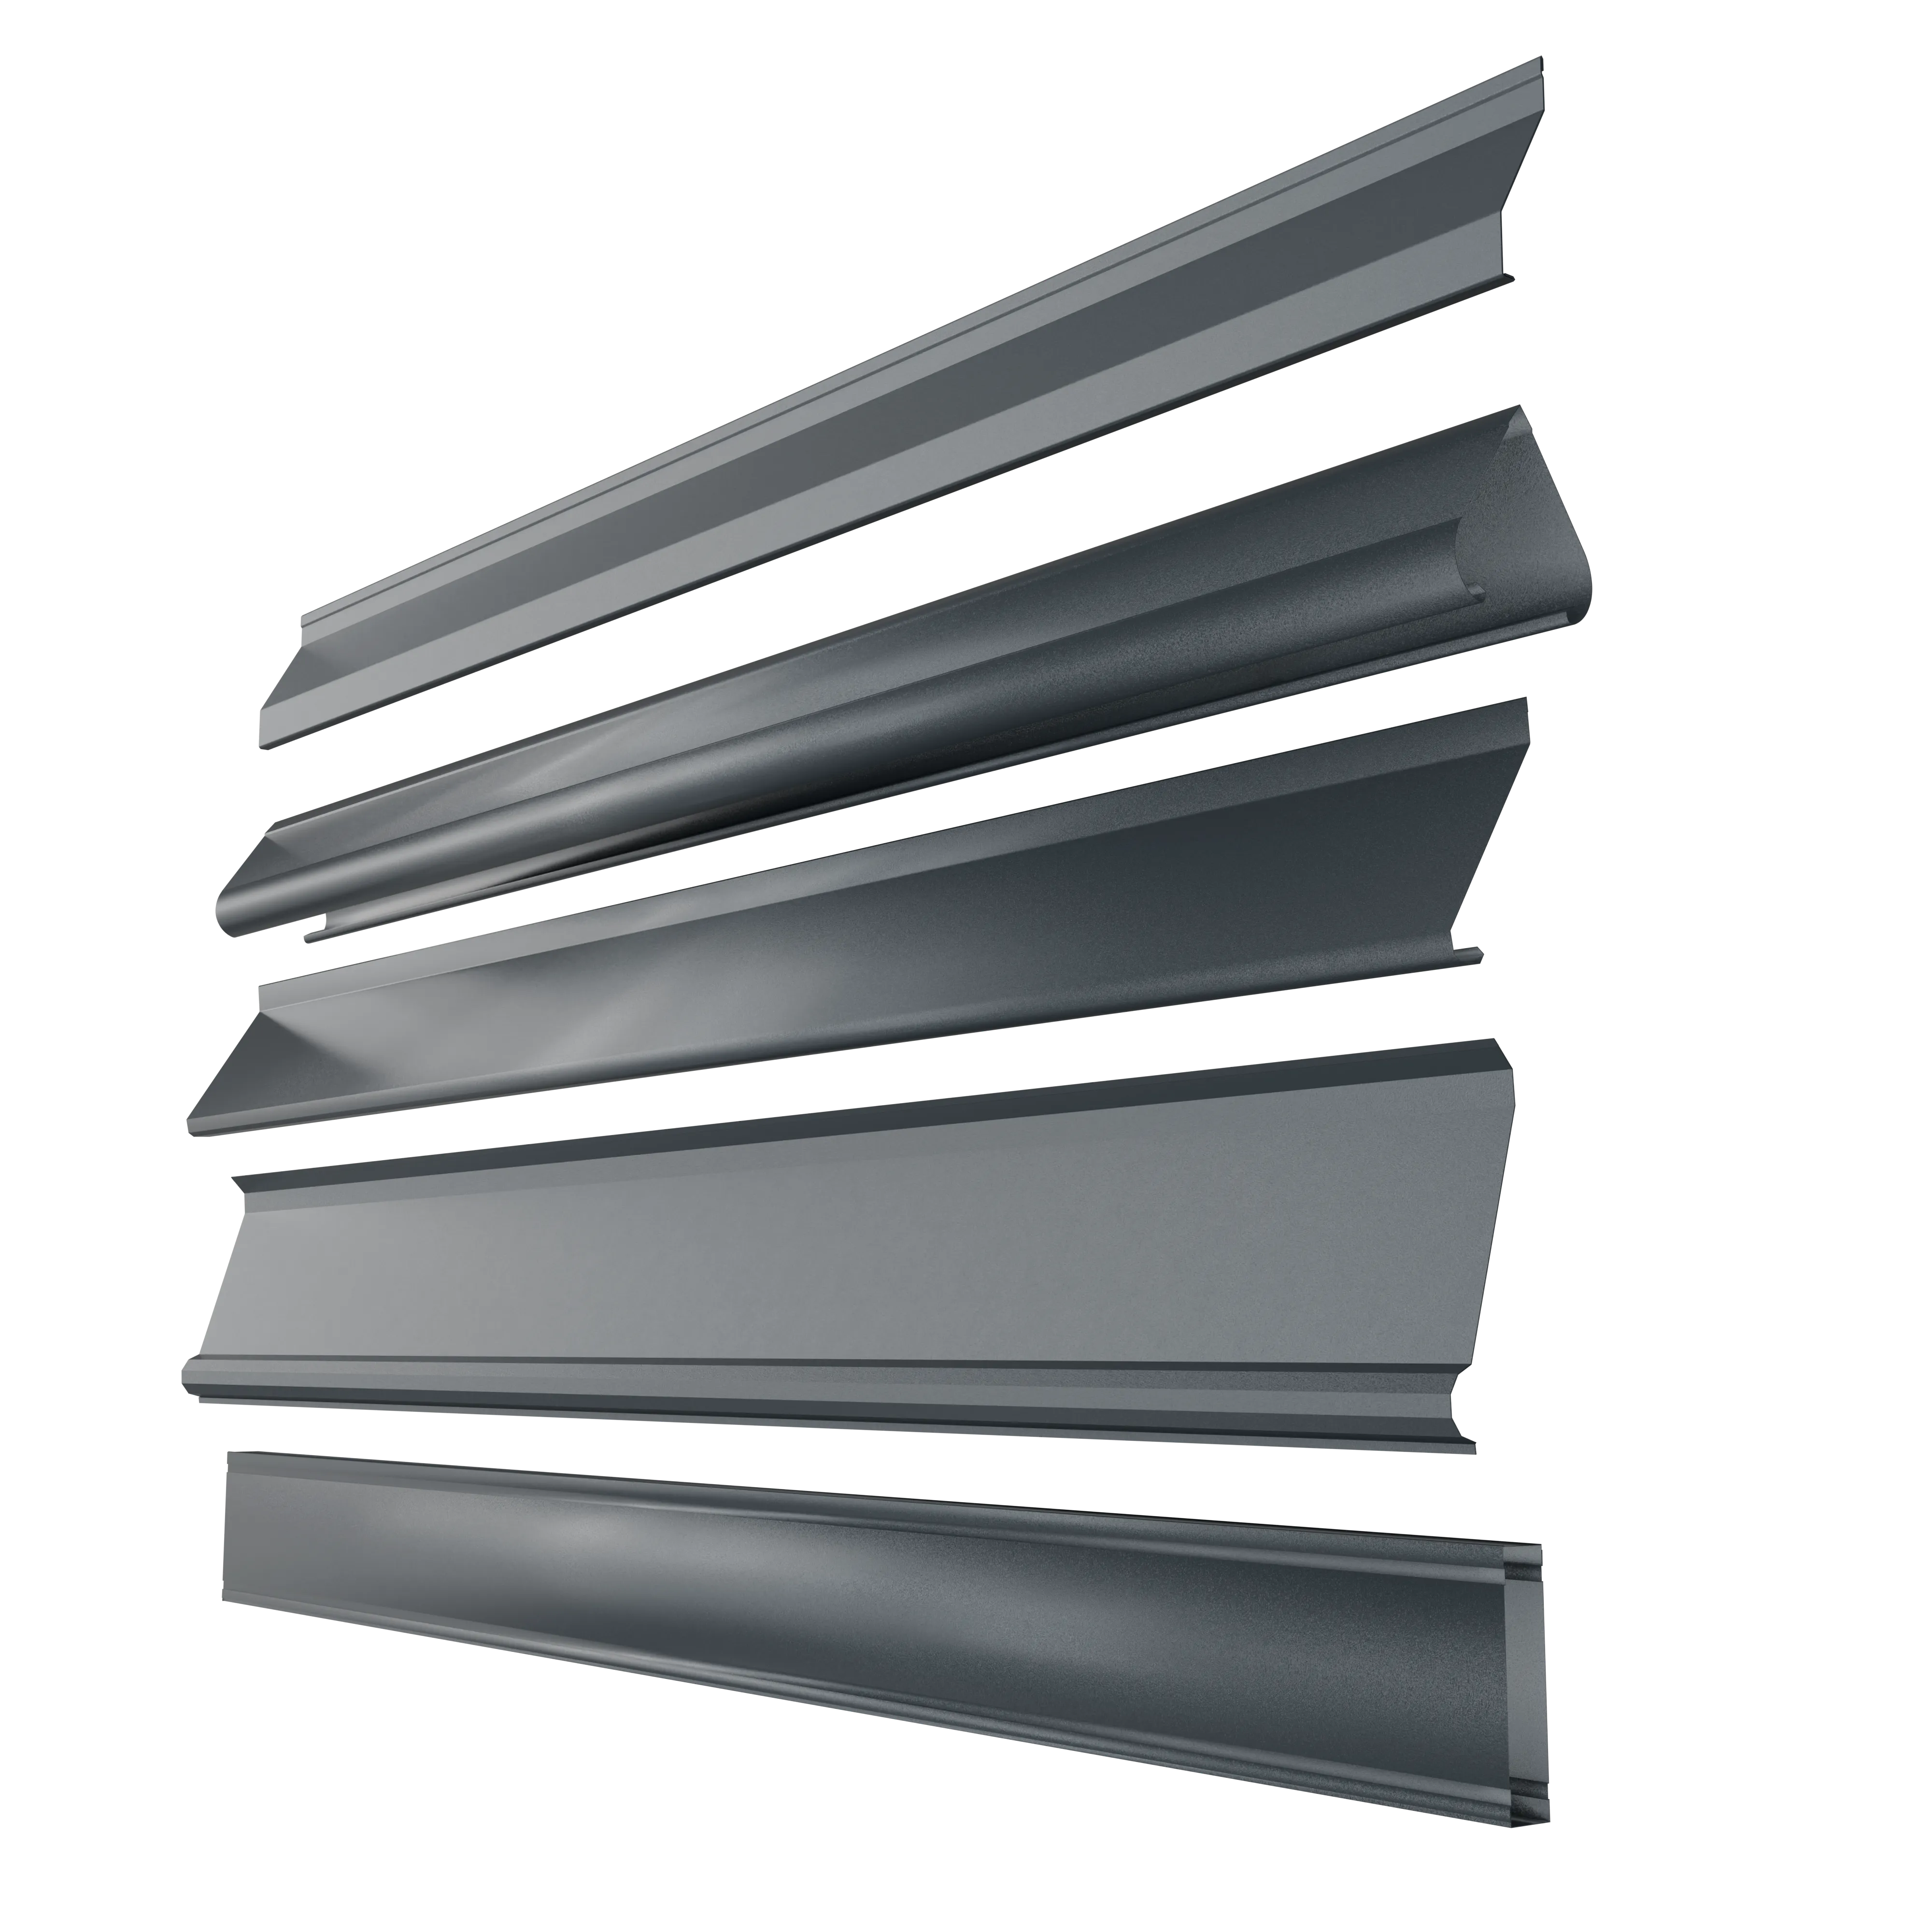
Vertical U-profile
U-shaped profile with predrilled holes supporting horizontal fence slats.
Two vertical profiles are included in each fence panels set. One is positioned on the right side and the other on the left side. (Note: Positioning these U-profiles determines what is the face and what is the back of your fence panel)
Horisontal U-profile
Placed on top of the fence slats and fixed on the vertical U-profiles
The horizontal U-profile enhances the appearance of the fence panel and provides structural support to the top of the fence.
Every fence panel set includes a single horizontal U-profile.
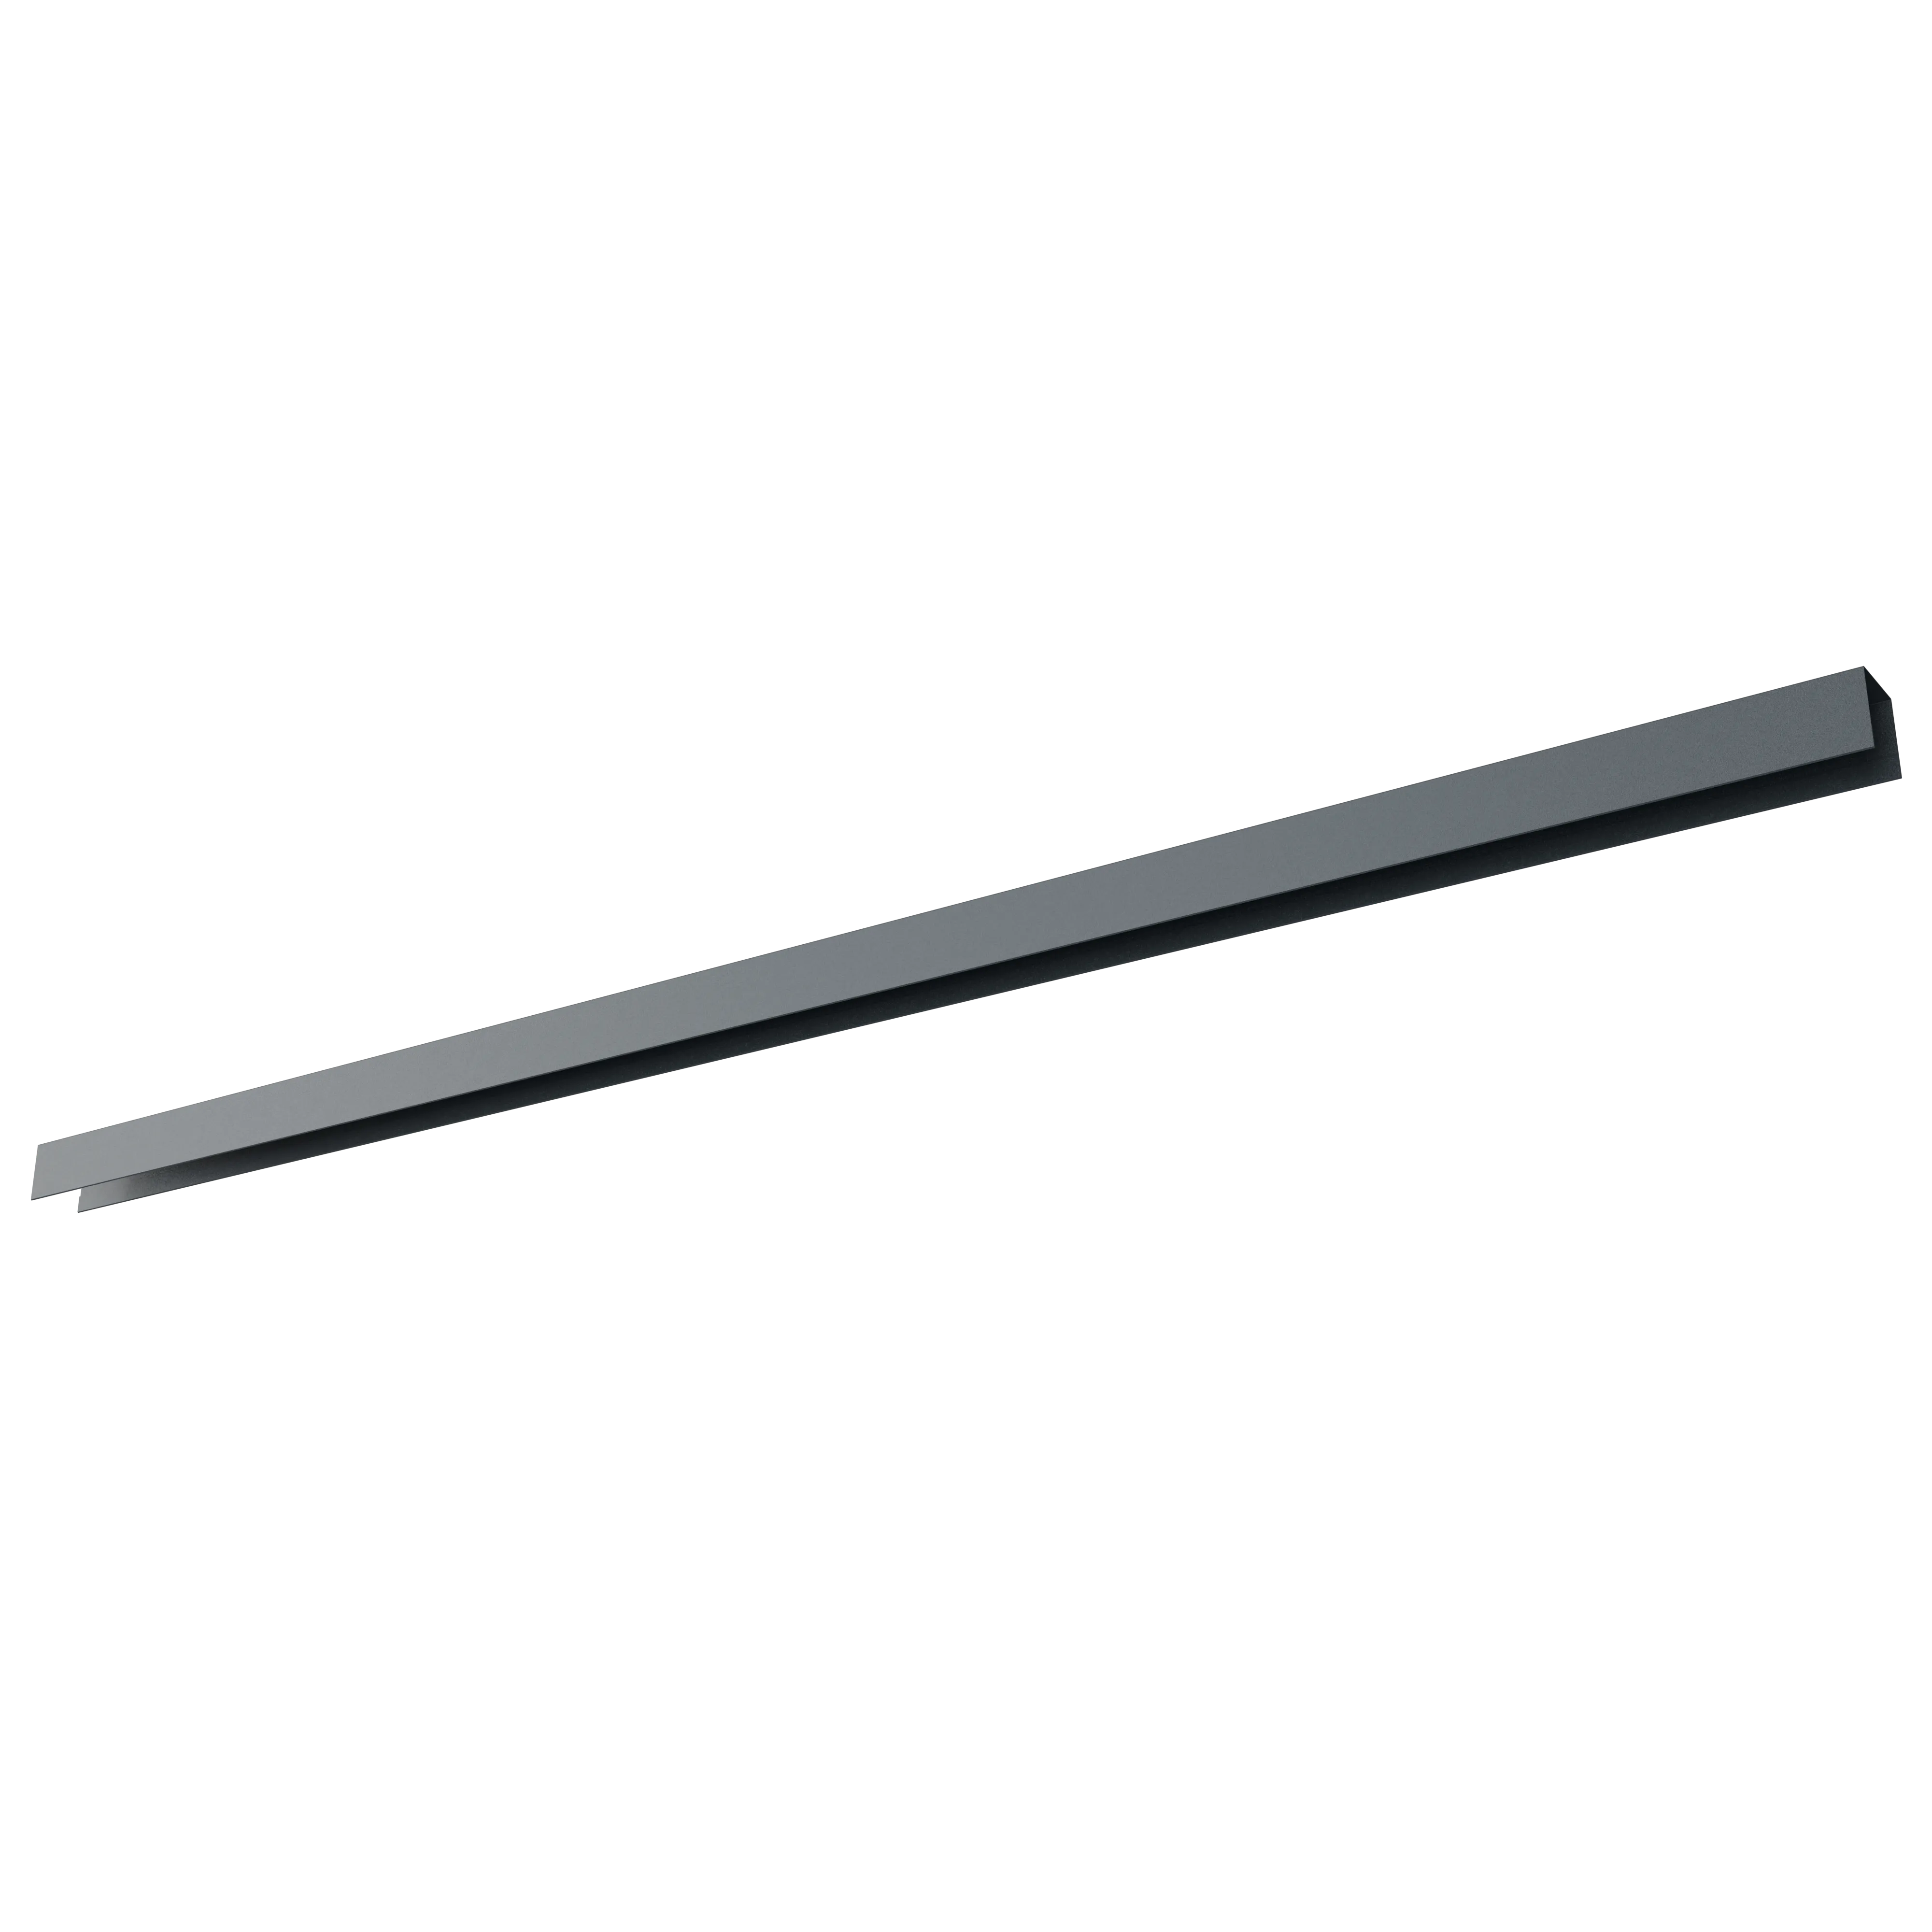
Fence Slat
Key element for infilling the fence panel structure.
Position these between the U-profiles and secure them with the provided rivet fixings. The variety of shapes in our fence slats dictates the appearance of the fence panel.
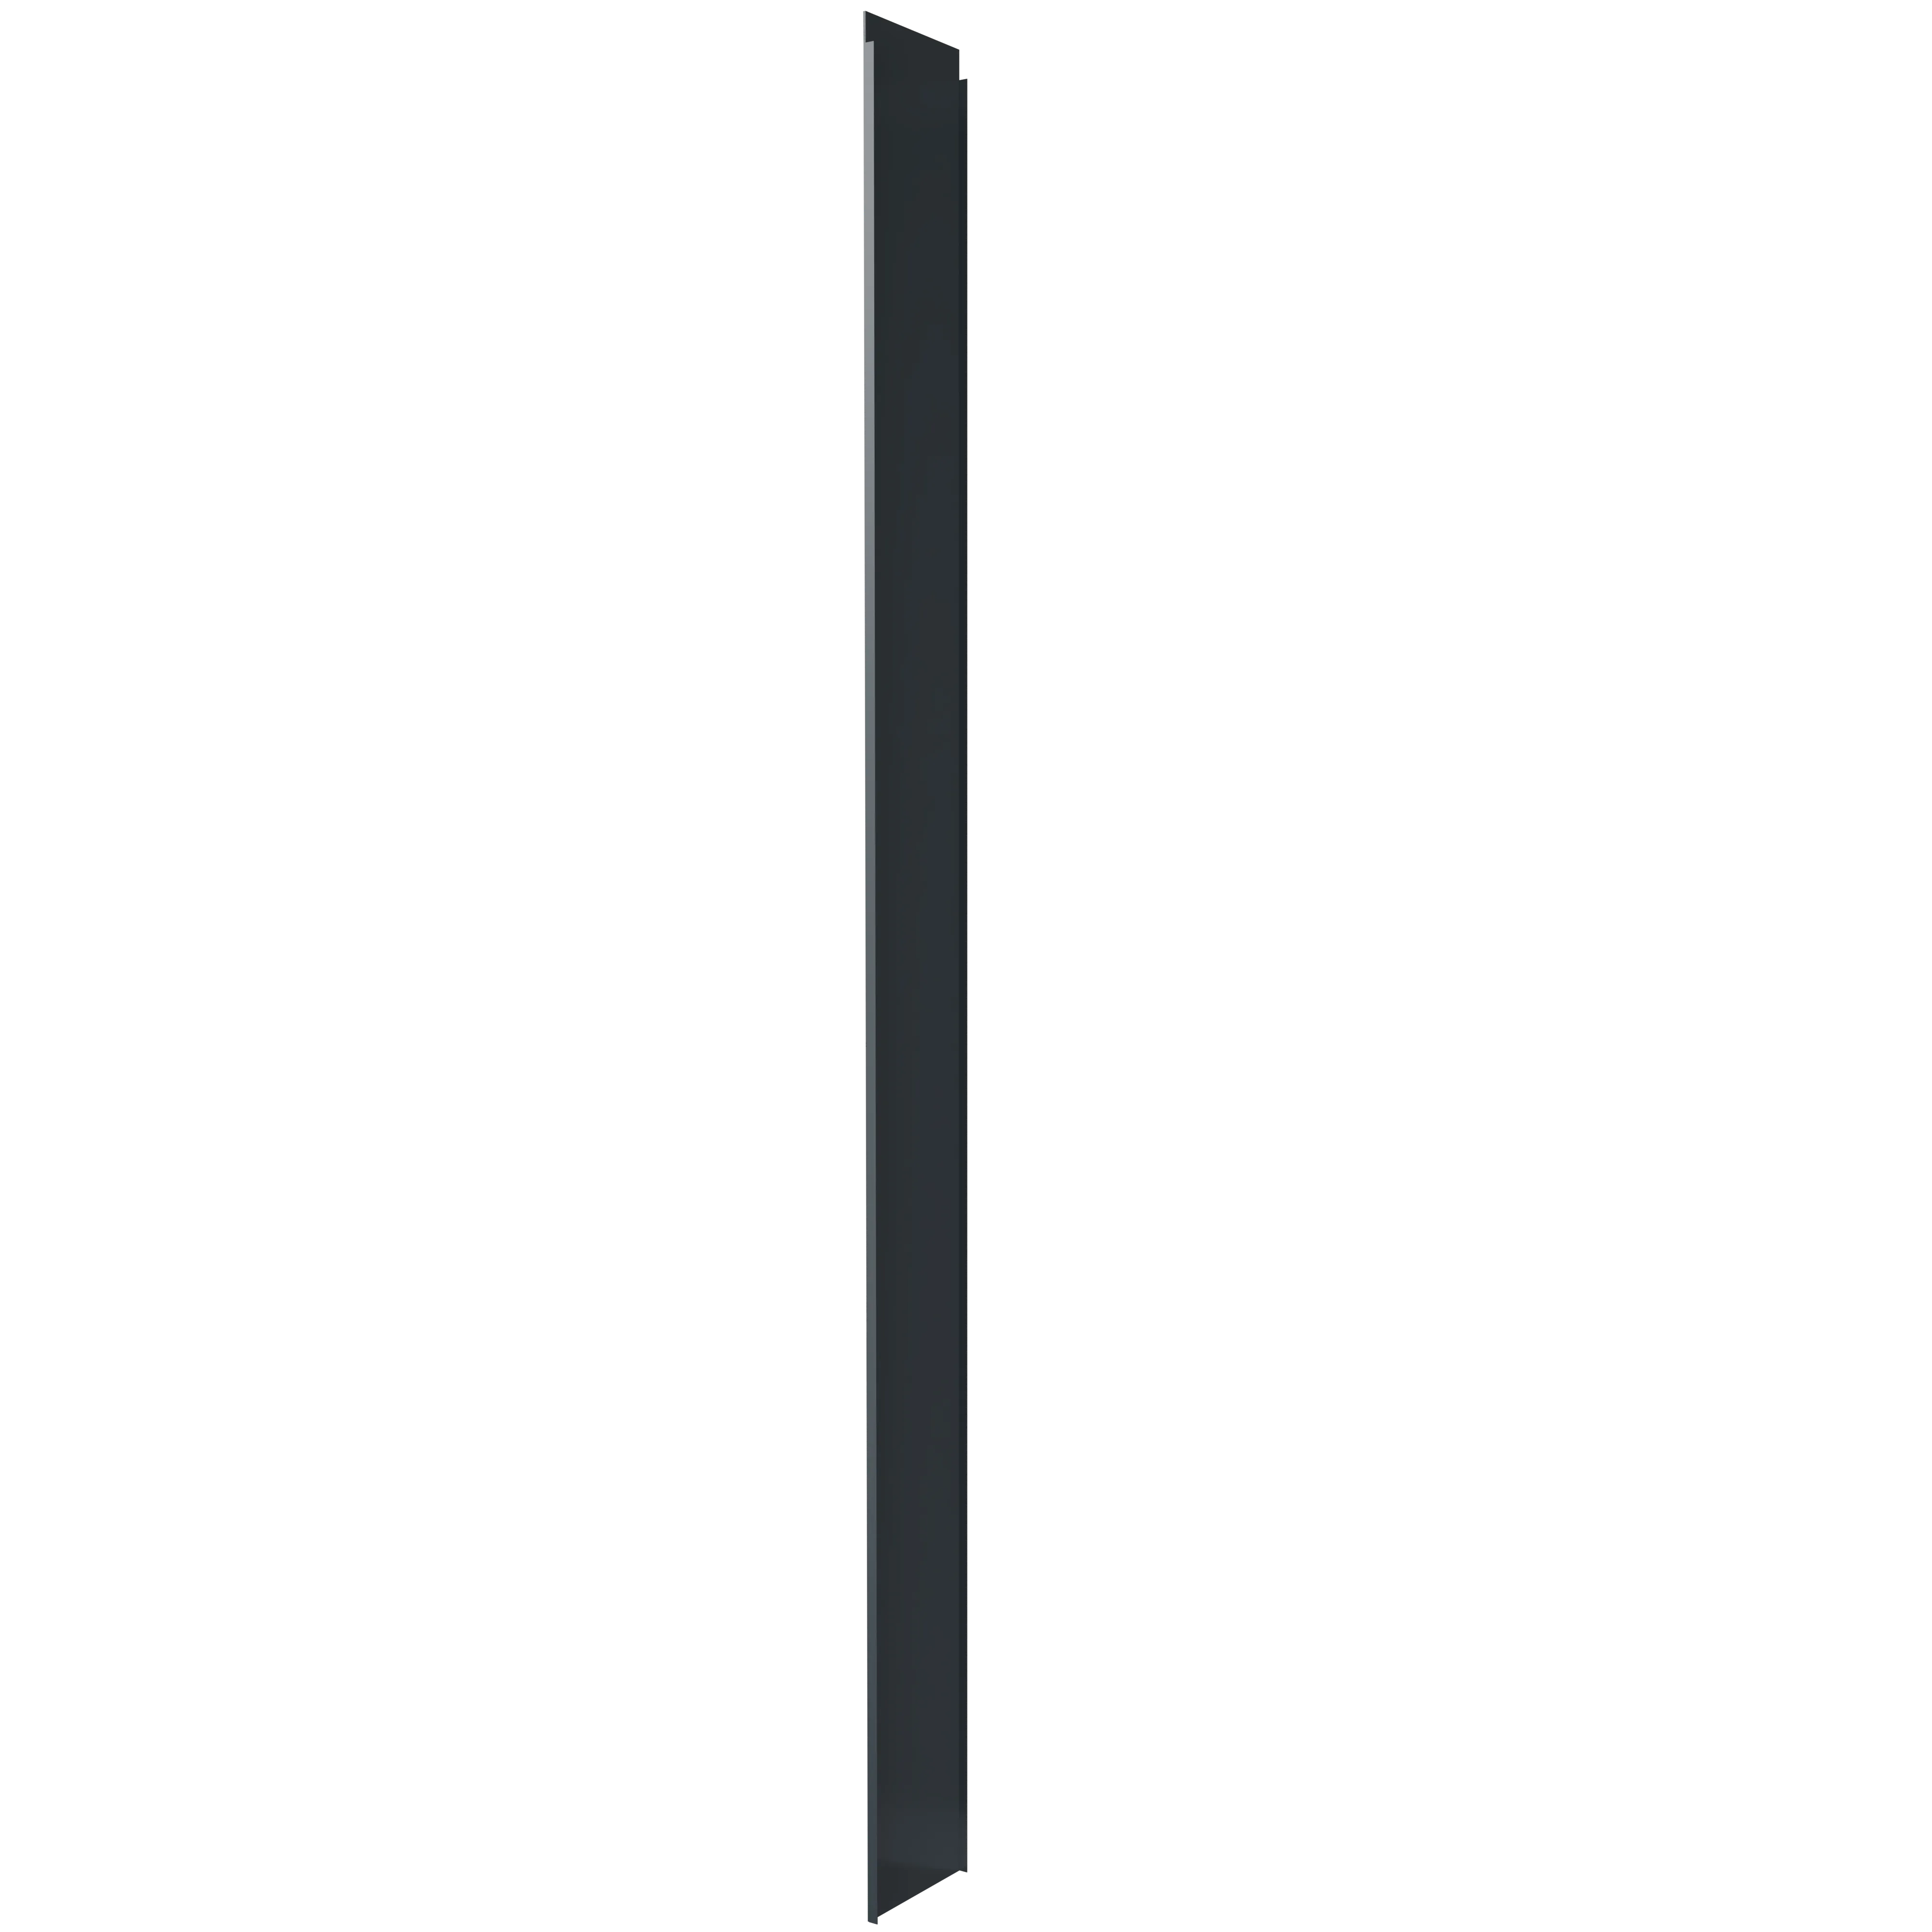
Reinforcing Profile
Strengthen the fence panels for increased wind endurance.
Position the reinforcing profile at the centre of the panel, on the back face. Ensure it is aligned and levelled both at the top and bottom. Then fix the profile into each fence slat as well as into the top and bottom U-profiles.
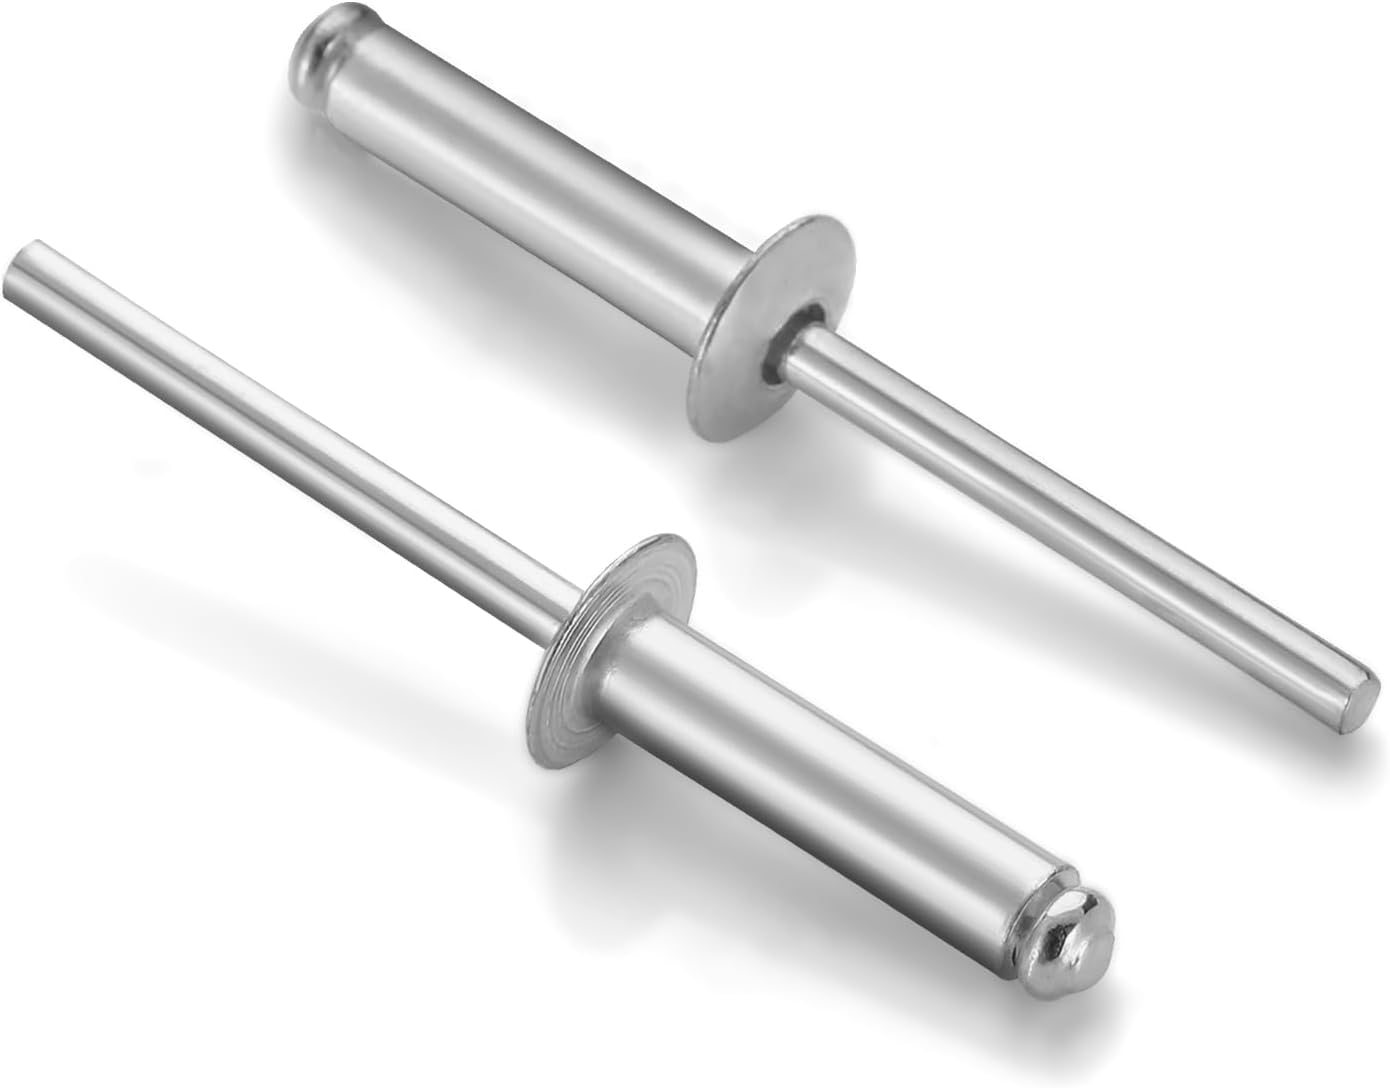
Blind Rivets
Used to fix the fence panel together
These rivets enhance the fence structure's sturdiness as the fixings resist loosening over time and are not easily removed by tools.
The rivets are included in the fence panel cost and are delivered with the fence panel together with other adjacent fixings.
Rivet size is 40mm.
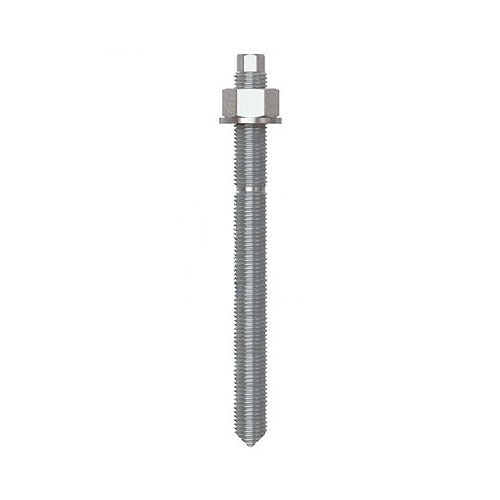
Chemical tie rods
Used to fix the fence post with plate into the base structure.
Designed to support heavy loads and secure fences to the ground.
During installation, adhere closely to the manufacturer's guidelines.
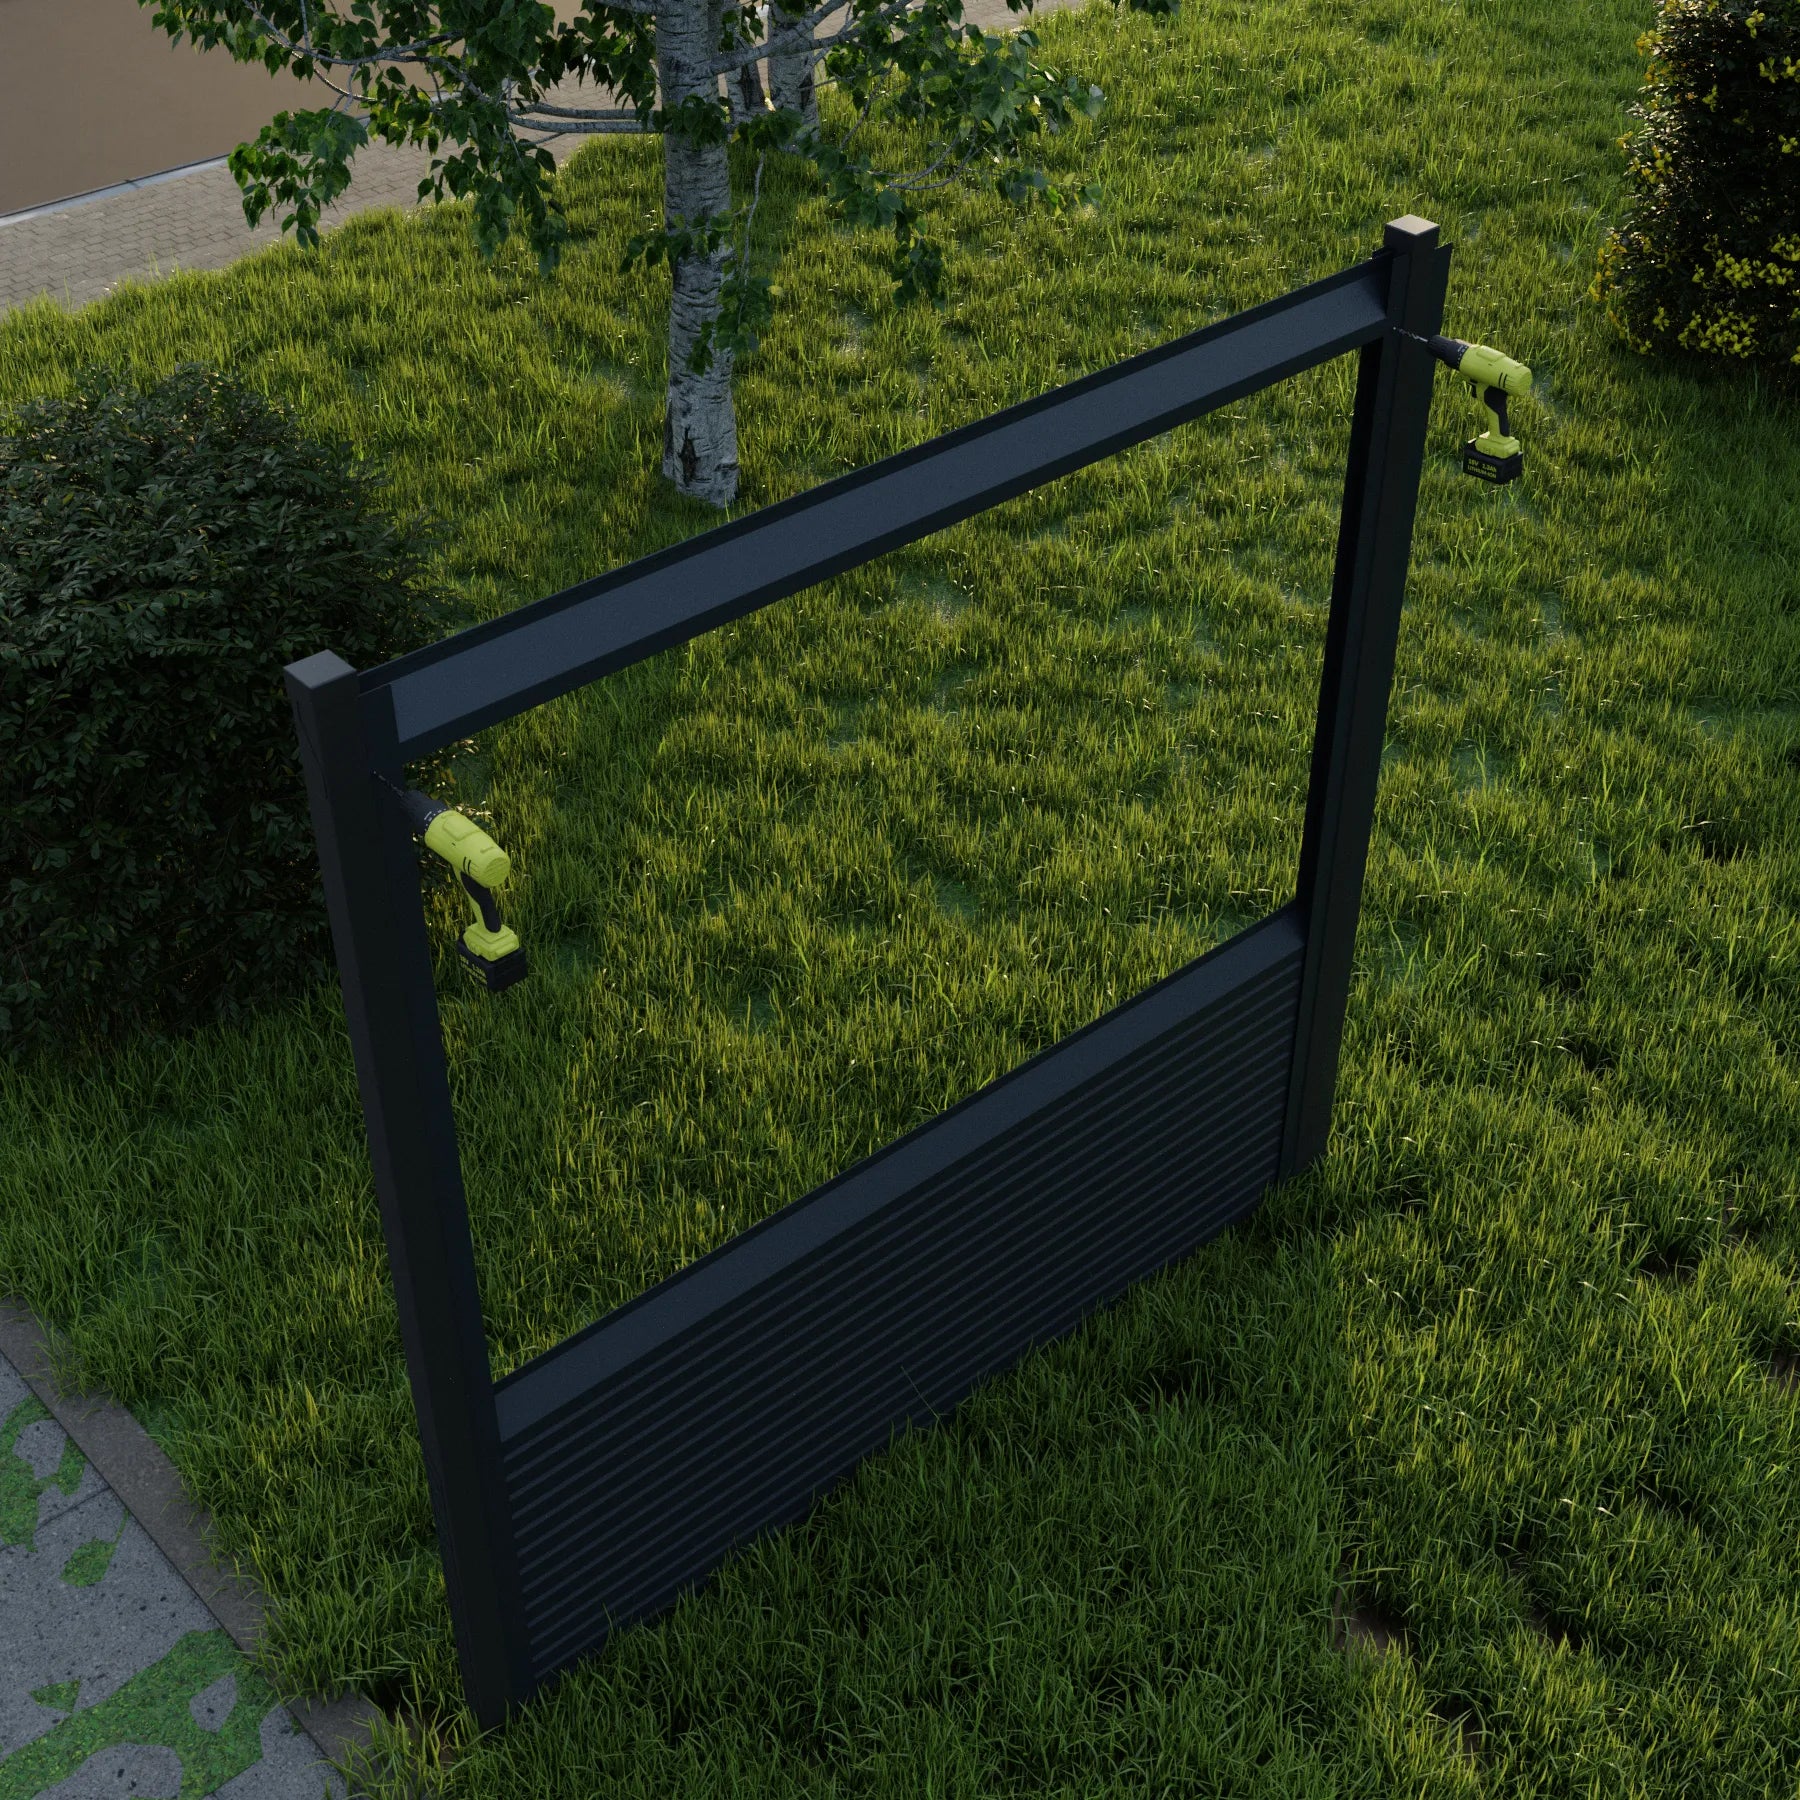
Installation steps

Step 1
Mark location of the fence posts
Applying a builders line and a spray marker to form a straight line and pinpoint the placement of the fence posts where the ground needs excavation.
Step 2
Excavate the marked locations
Utilize an auger or a fence post digging tool to excavate in the designated areas to create an opening measuring 400mm wide x 400mm long x 600mm deep.
Step 3
Fix the fence posts in position
Position the post correctly. Verify distances to align with fence panels. Ensure posts are level and in line before permanent fixing with post-crete or similar material.
Add the post-crete to secure the post in place and allow it to solidify.
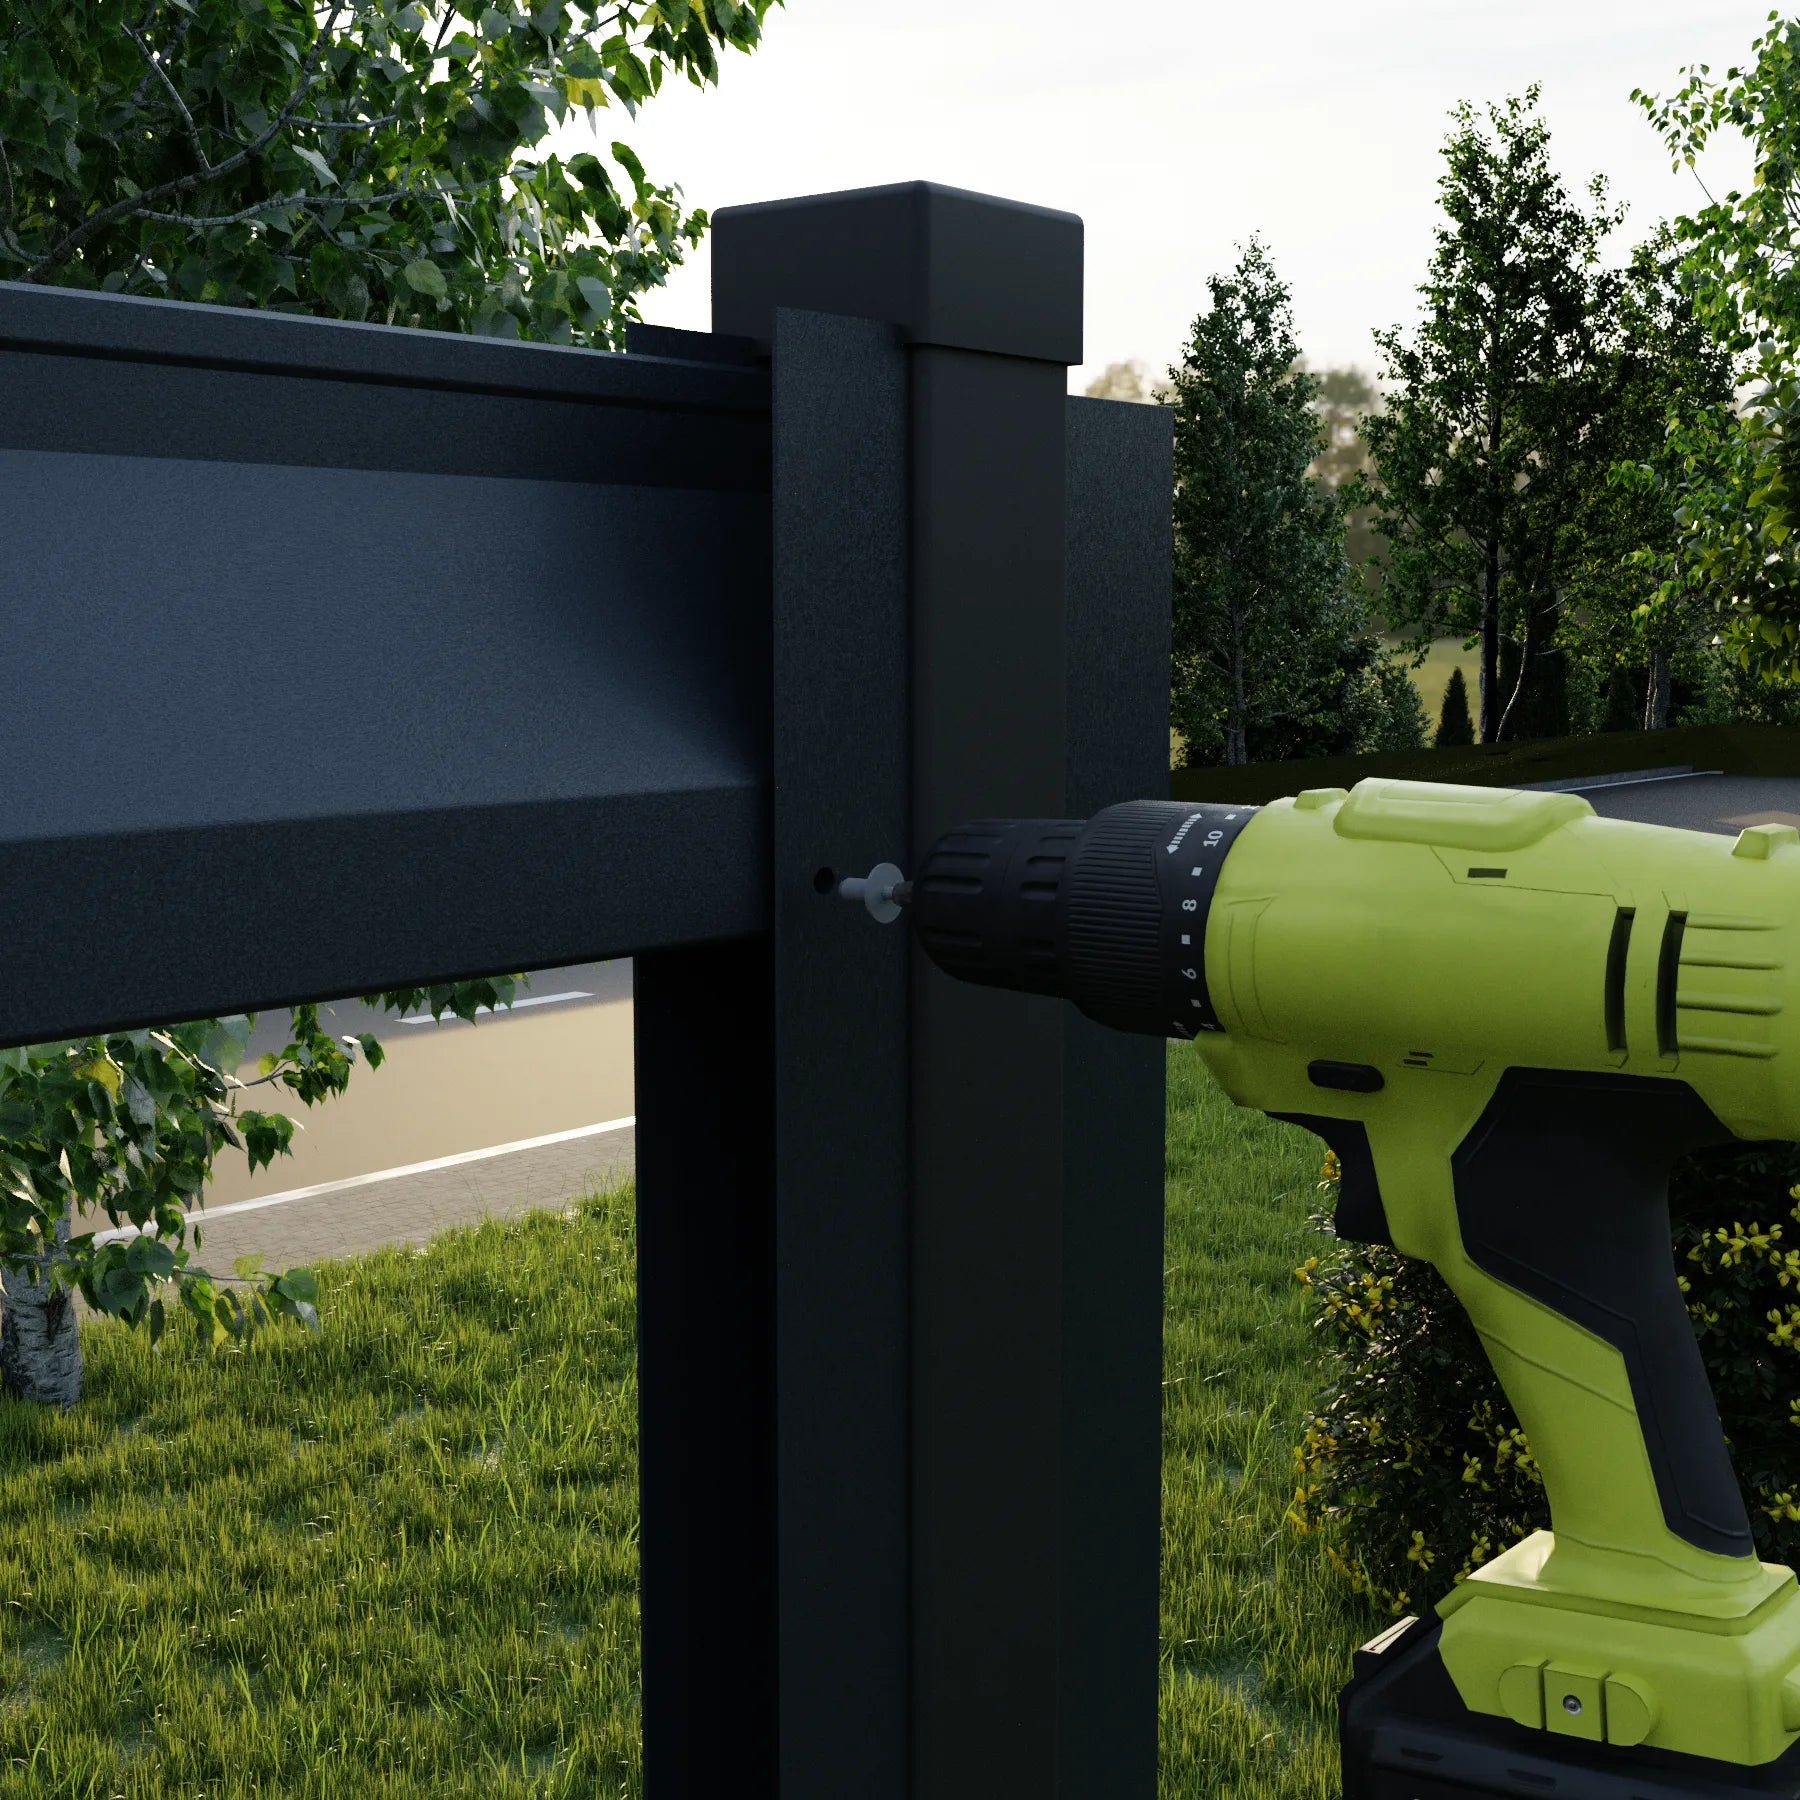
Step 4
Fix the U-profiles on the posts
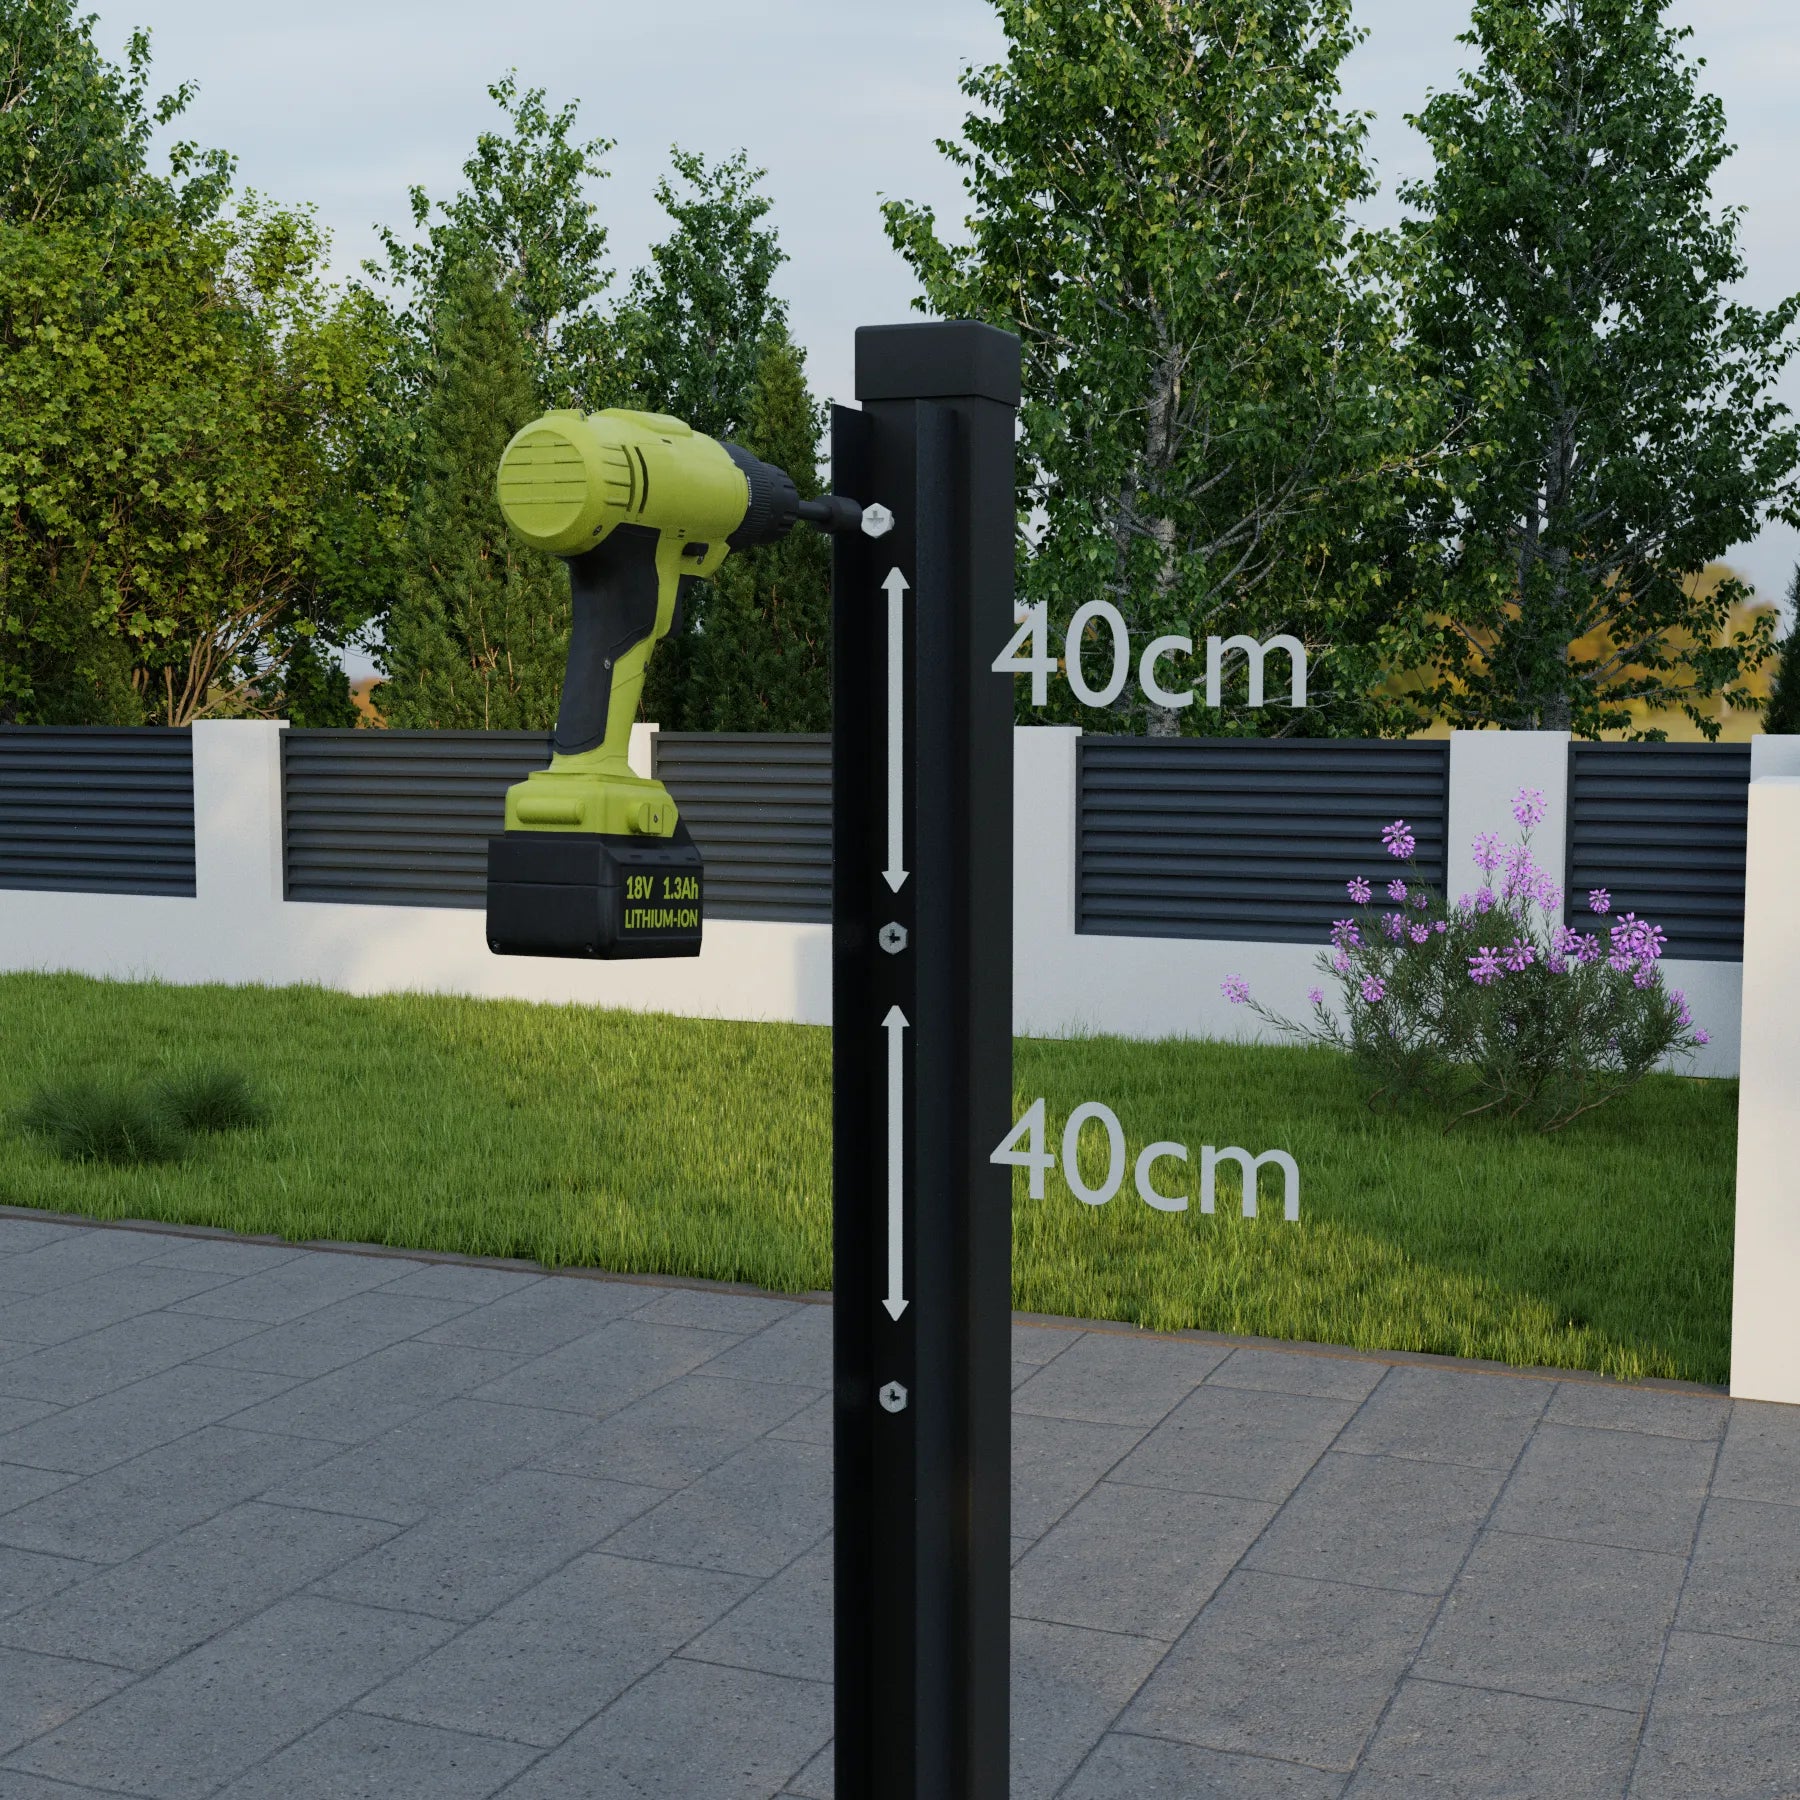
Position the U-profile on the initial post. Ensure it is level and centered.
Utilize the supplied fixings to drill through the U-profile into the post while maintaining the U-profile in the proper/levelled position. Proceed with this method for each U-Profile, both left and right.
(Tip: Use a builders line to mark the heights of the U profiles to achieve a uniform fence panel position)
Step 5
Position the slats between fence posts and drill the holes for the fixing
Insert all fence slats between the U-profiles. Begin securing the slats from top to bottom.
Position the slat as needed and drill a hole with a 4.5mm steel drill bit using the hole in the U-profile as a guide.
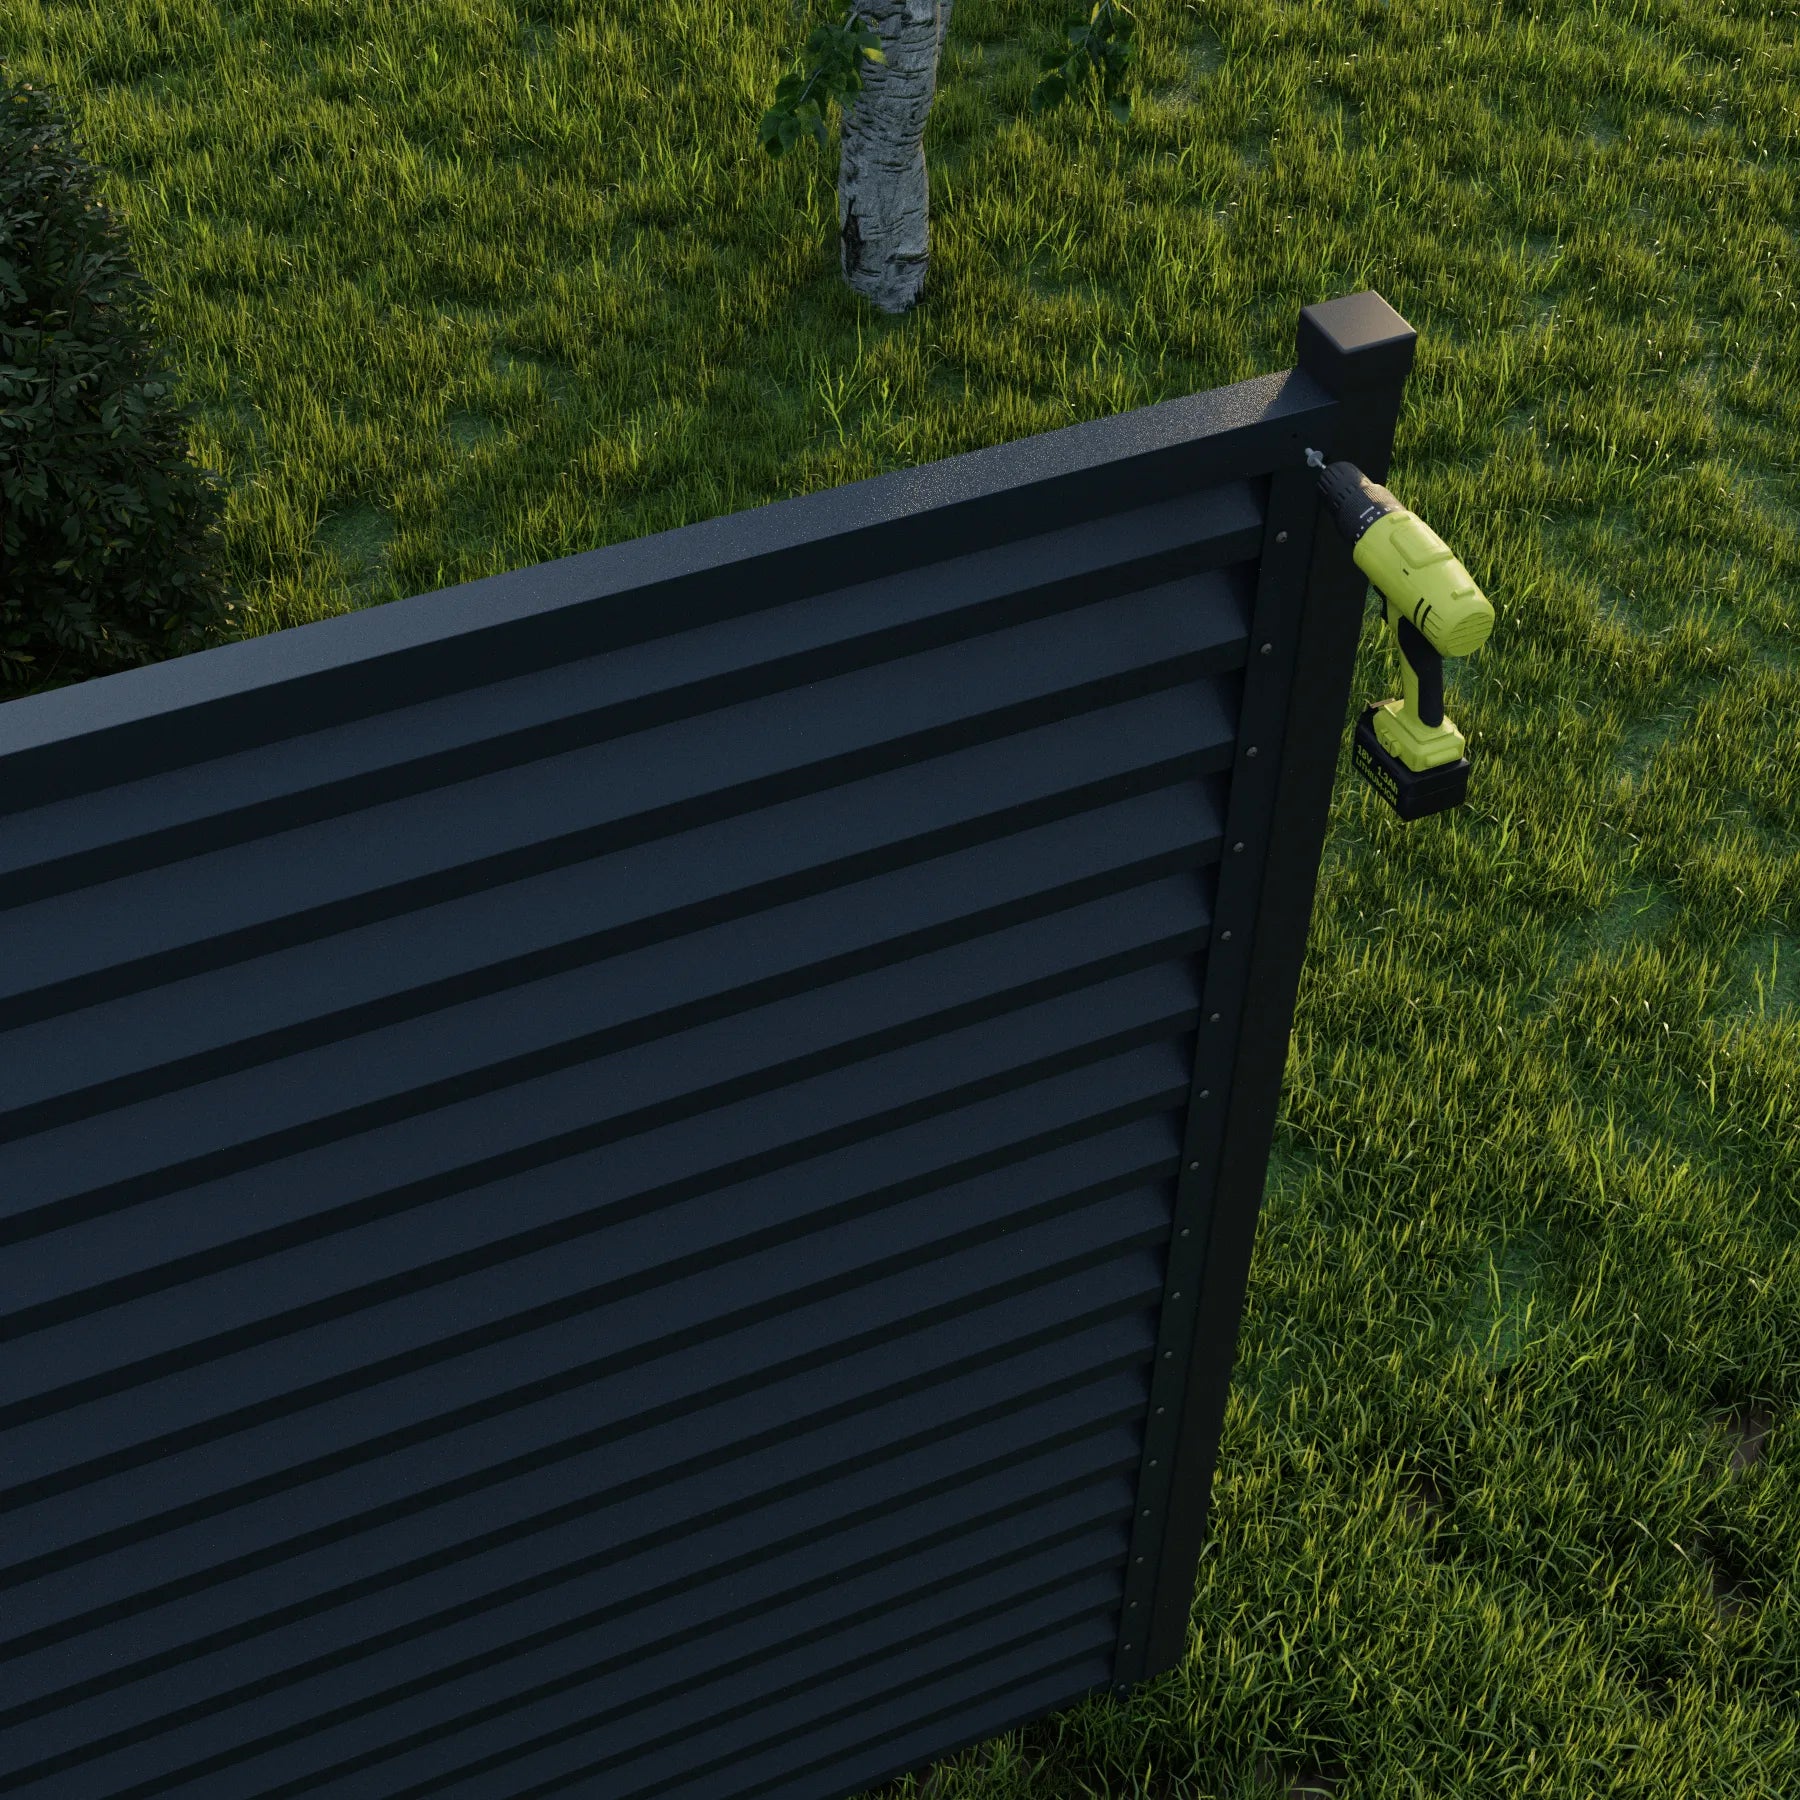
Step 6
Fix the fence slats into position
Insert the rivet fixing into the rivet gun. Utilise the rivet gun with the fixing in place to align the slat and insert the rivet through the U-profile and the fence slat.
Fix the slat into position and repeat on the left/right fixing.
Tip: It is advisable to have two operatives for an easier installation process.
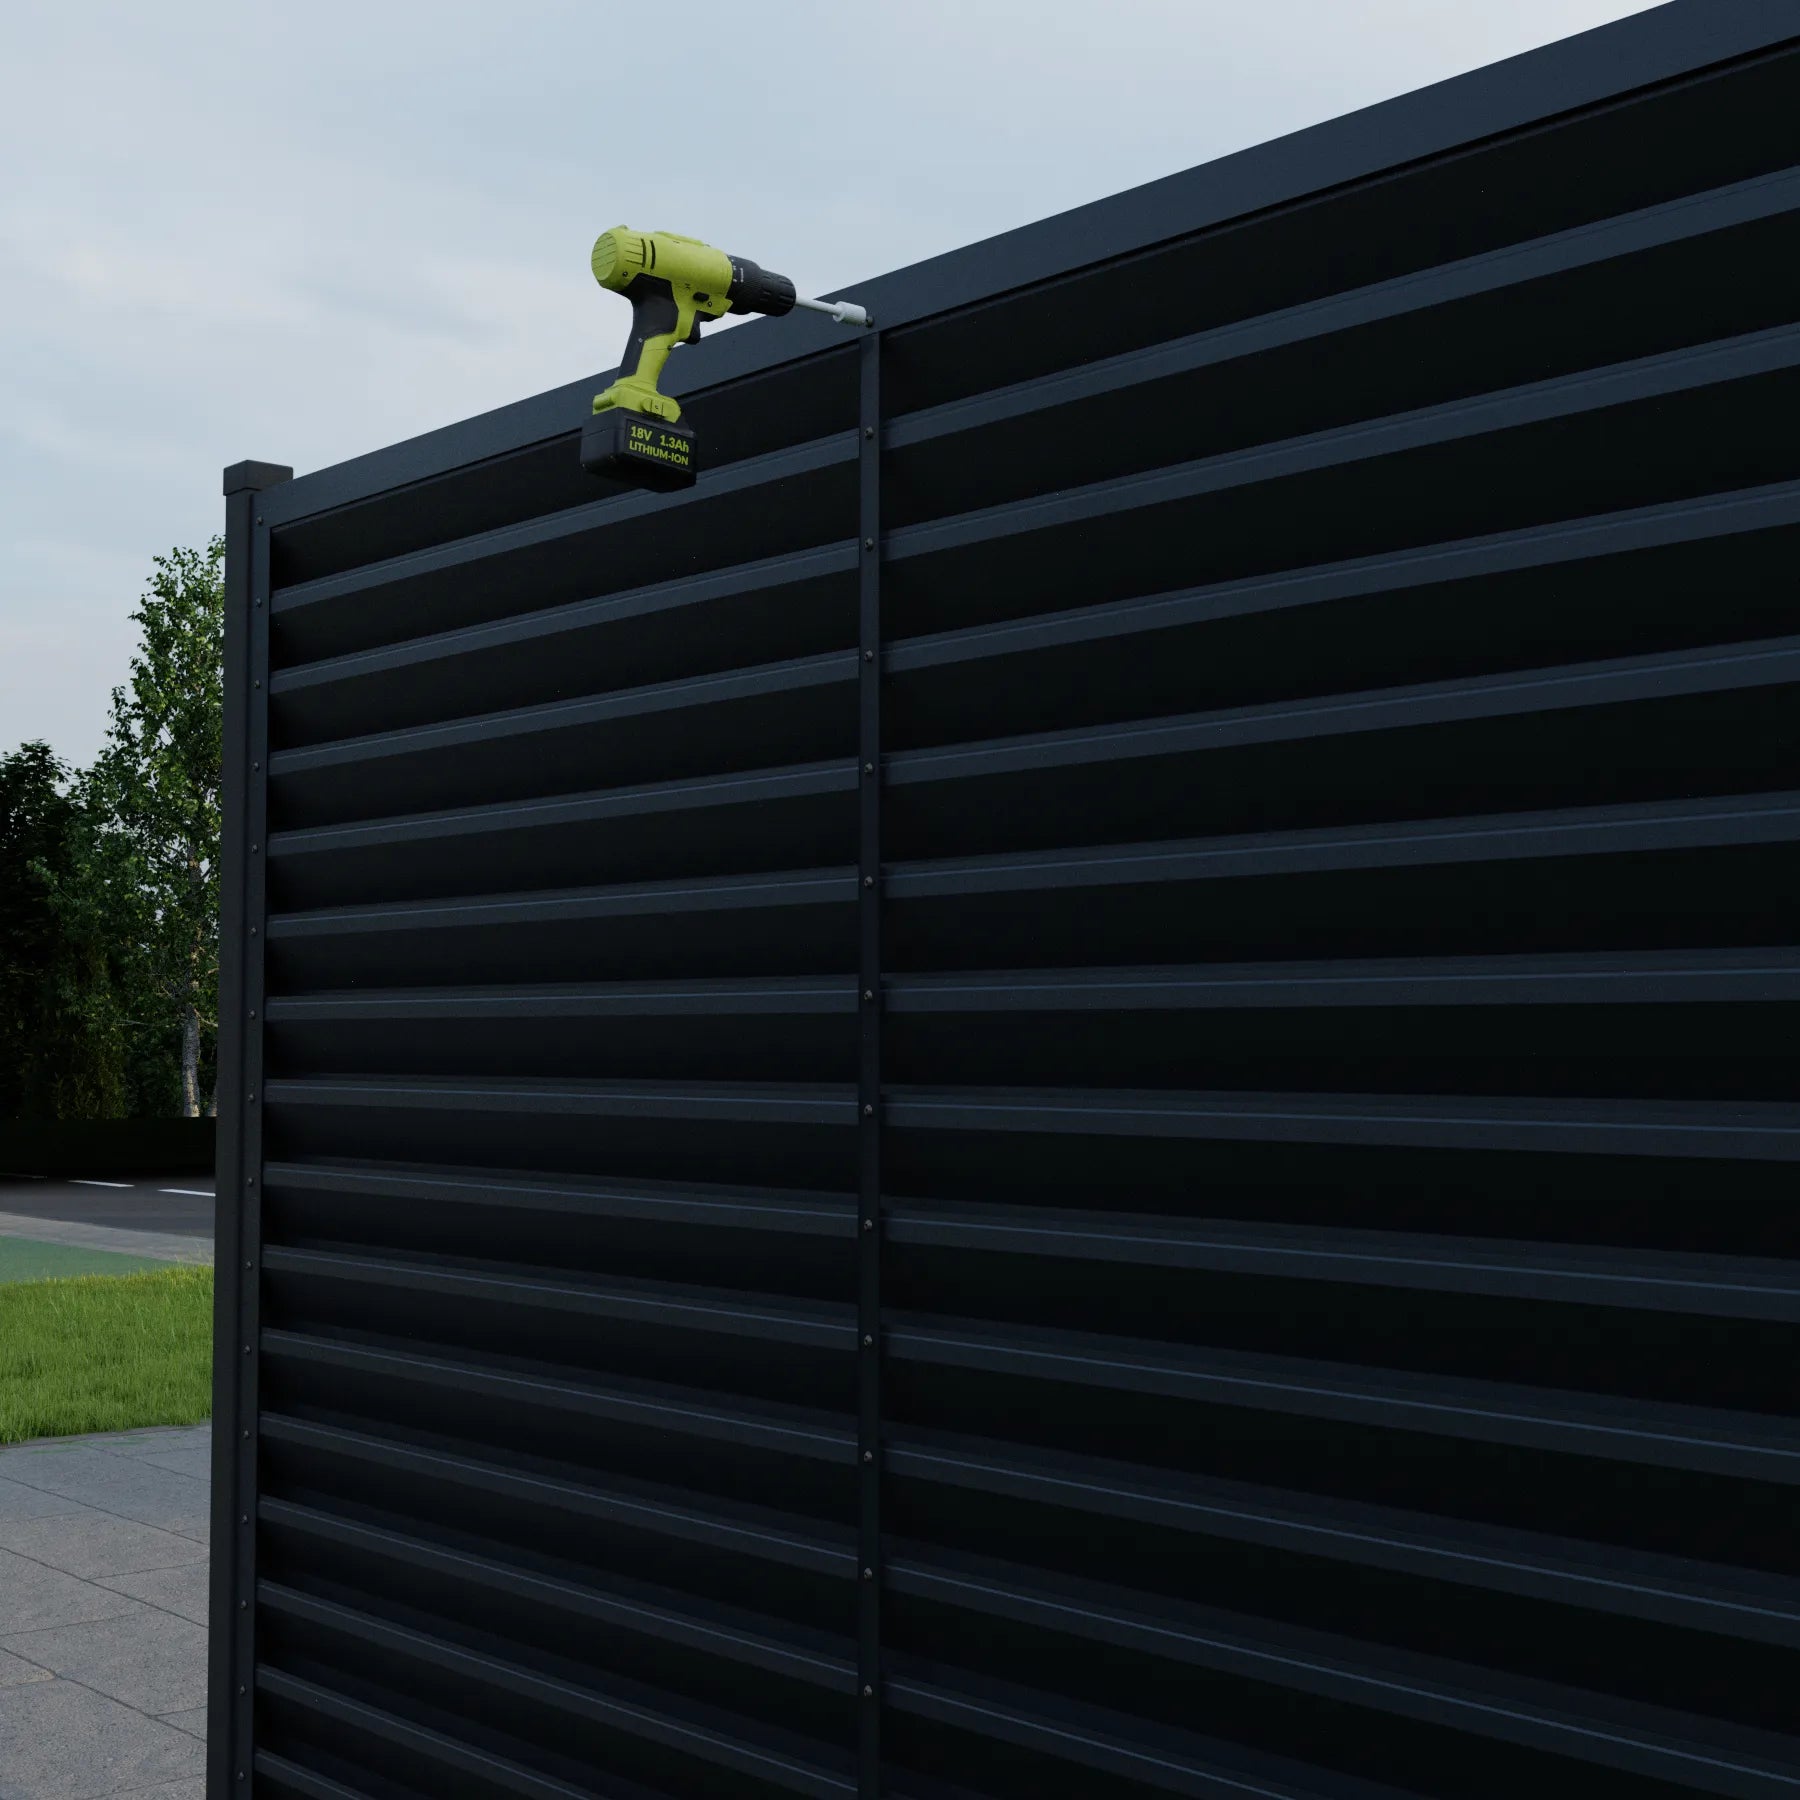
Step 7
Fix the top U-profile
Once all slats are installed, place the top U-profile in position and secure it using the same method as when fixing the fence slats.
Step 8
Fix the reinforcing profile
Once all slats are installed, place the reinforcing profile centrally within the panel, ensuring the top lip sits beneath the upper U-profile.
Drill a hole through the reinforcing profile and the U-profile at the chosen point, and fix it in place using a rivet.
Repeat the same process at the bottom U-profile.
Fix each slat into the reinforcing profile — ensure every slat is secured to the reinforcing profile so that the assembly remains stable and aligned.
Note: This step is applicable to Atlas, Gamma, Sigma, Rombo models only.
Step 9
Perform Step 4 to step 8 on the remaining fence panels
Ensure alignment of all vertical U-profiles for a polished finish.
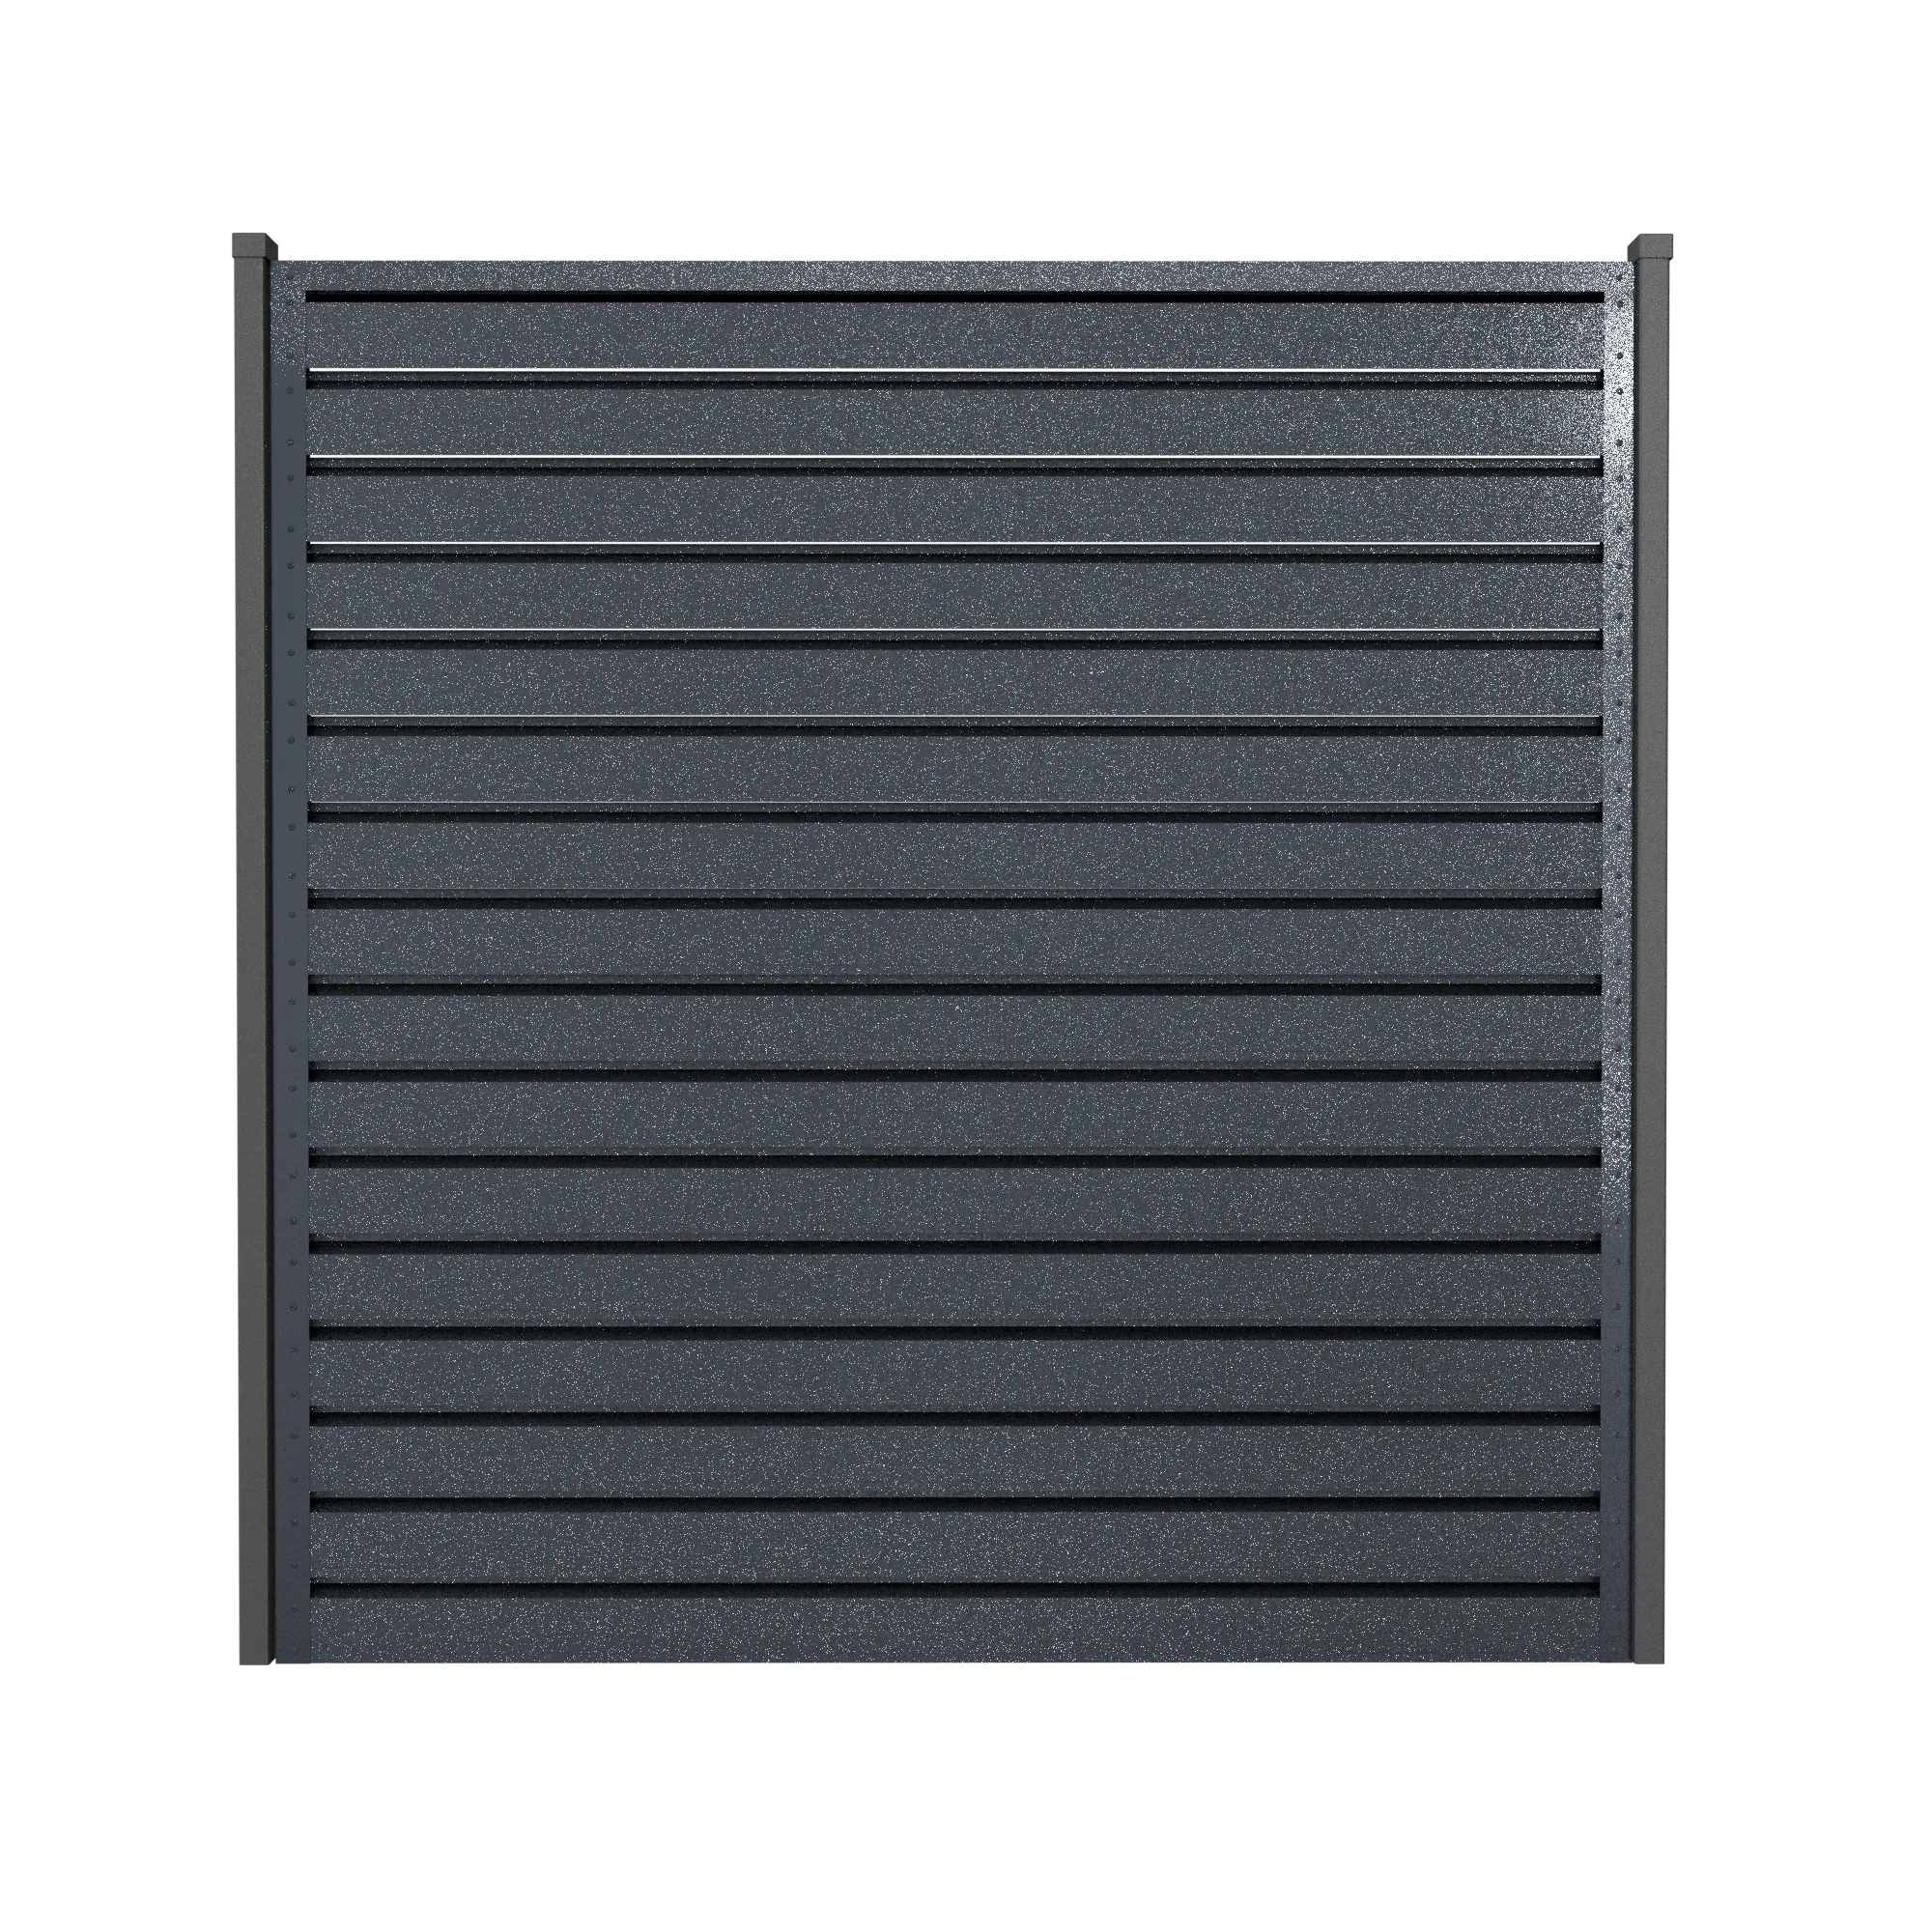
Finished Panel
Front
Atlas
Back
Atlas
Have a look at the quick installation video
In only 2 minutes you will learn how to save 1 day of installation time.

Our fence collection explained
Clarification on the unique characteristics and differences of each fence panel
MAVLLI provides 5 distinct fence panel styles, each boasting its own unique design and visual aspect.
Rombo Mini
Rombo Mini – Design Fence Panel with Rhomboid Slats
The Rombo Mini fence panel is a contemporary and functional screening solution distinguished by its rhomboid (diamond-shaped) slat design. This carefully engineered slat geometry prevents direct lines of sight while still allowing air and wind to pass through, creating an optimal balance between privacy, comfort, and structural performance.
The slats are positioned at an angle, breaking sightlines without forming a completely closed surface. This makes the Rombo Mini particularly well suited for gardens, terraces, and outdoor environments where privacy is required, but where wind permeability and a light, architectural appearance are equally important.
Key features:
- Rhomboid slat profile for enhanced privacy without a solid or closed look
- No direct visibility, achieved through angled slat placement
- Wind-permeable construction, reducing wind pressure on the fence
- Clean, modern design, compatible with contemporary architecture
- Slat width: 11.3 cm, offering a refined and balanced visual rhythm
Visually, the panel is characterized by strong horizontal lines and subtle depth, resulting in a sleek yet robust appearance. The compact 11.3 cm slat size reinforces the “Mini” concept: precise, elegant, and technically refined without compromising durability.
The Rombo Mini is an ideal choice for customers seeking a design-focused fence panel that seamlessly combines privacy, airflow, and modern aesthetics.
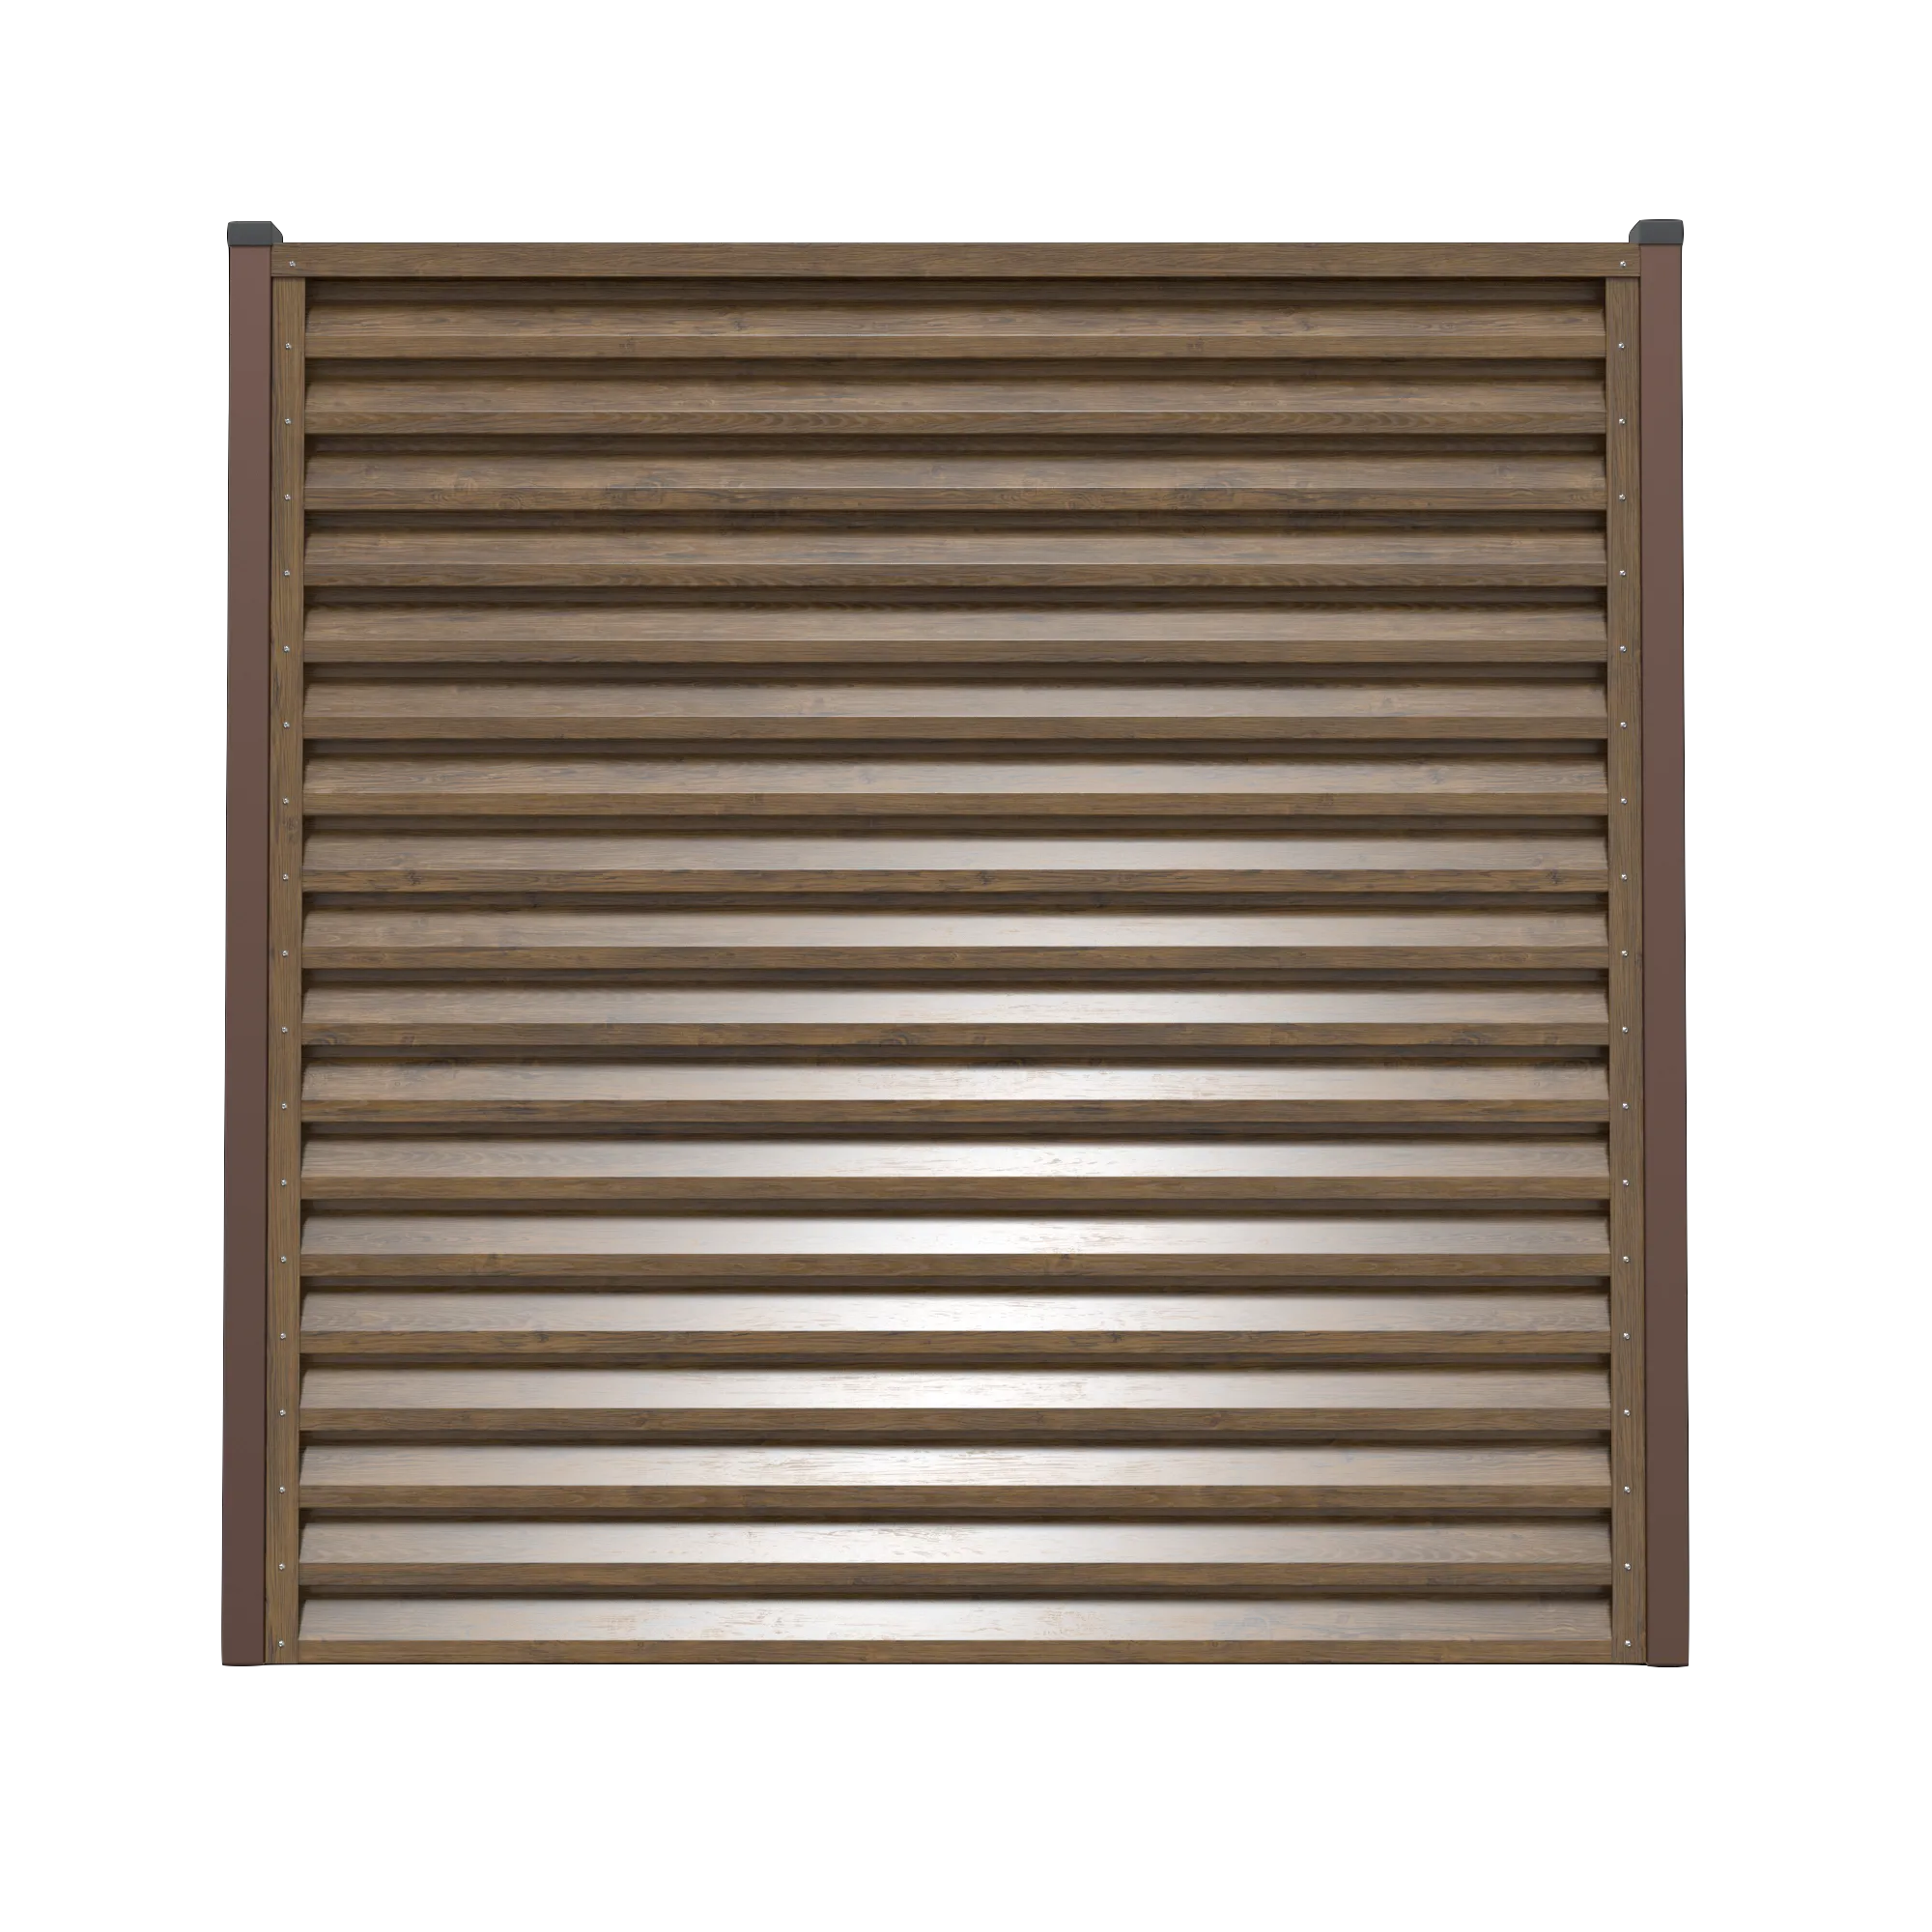
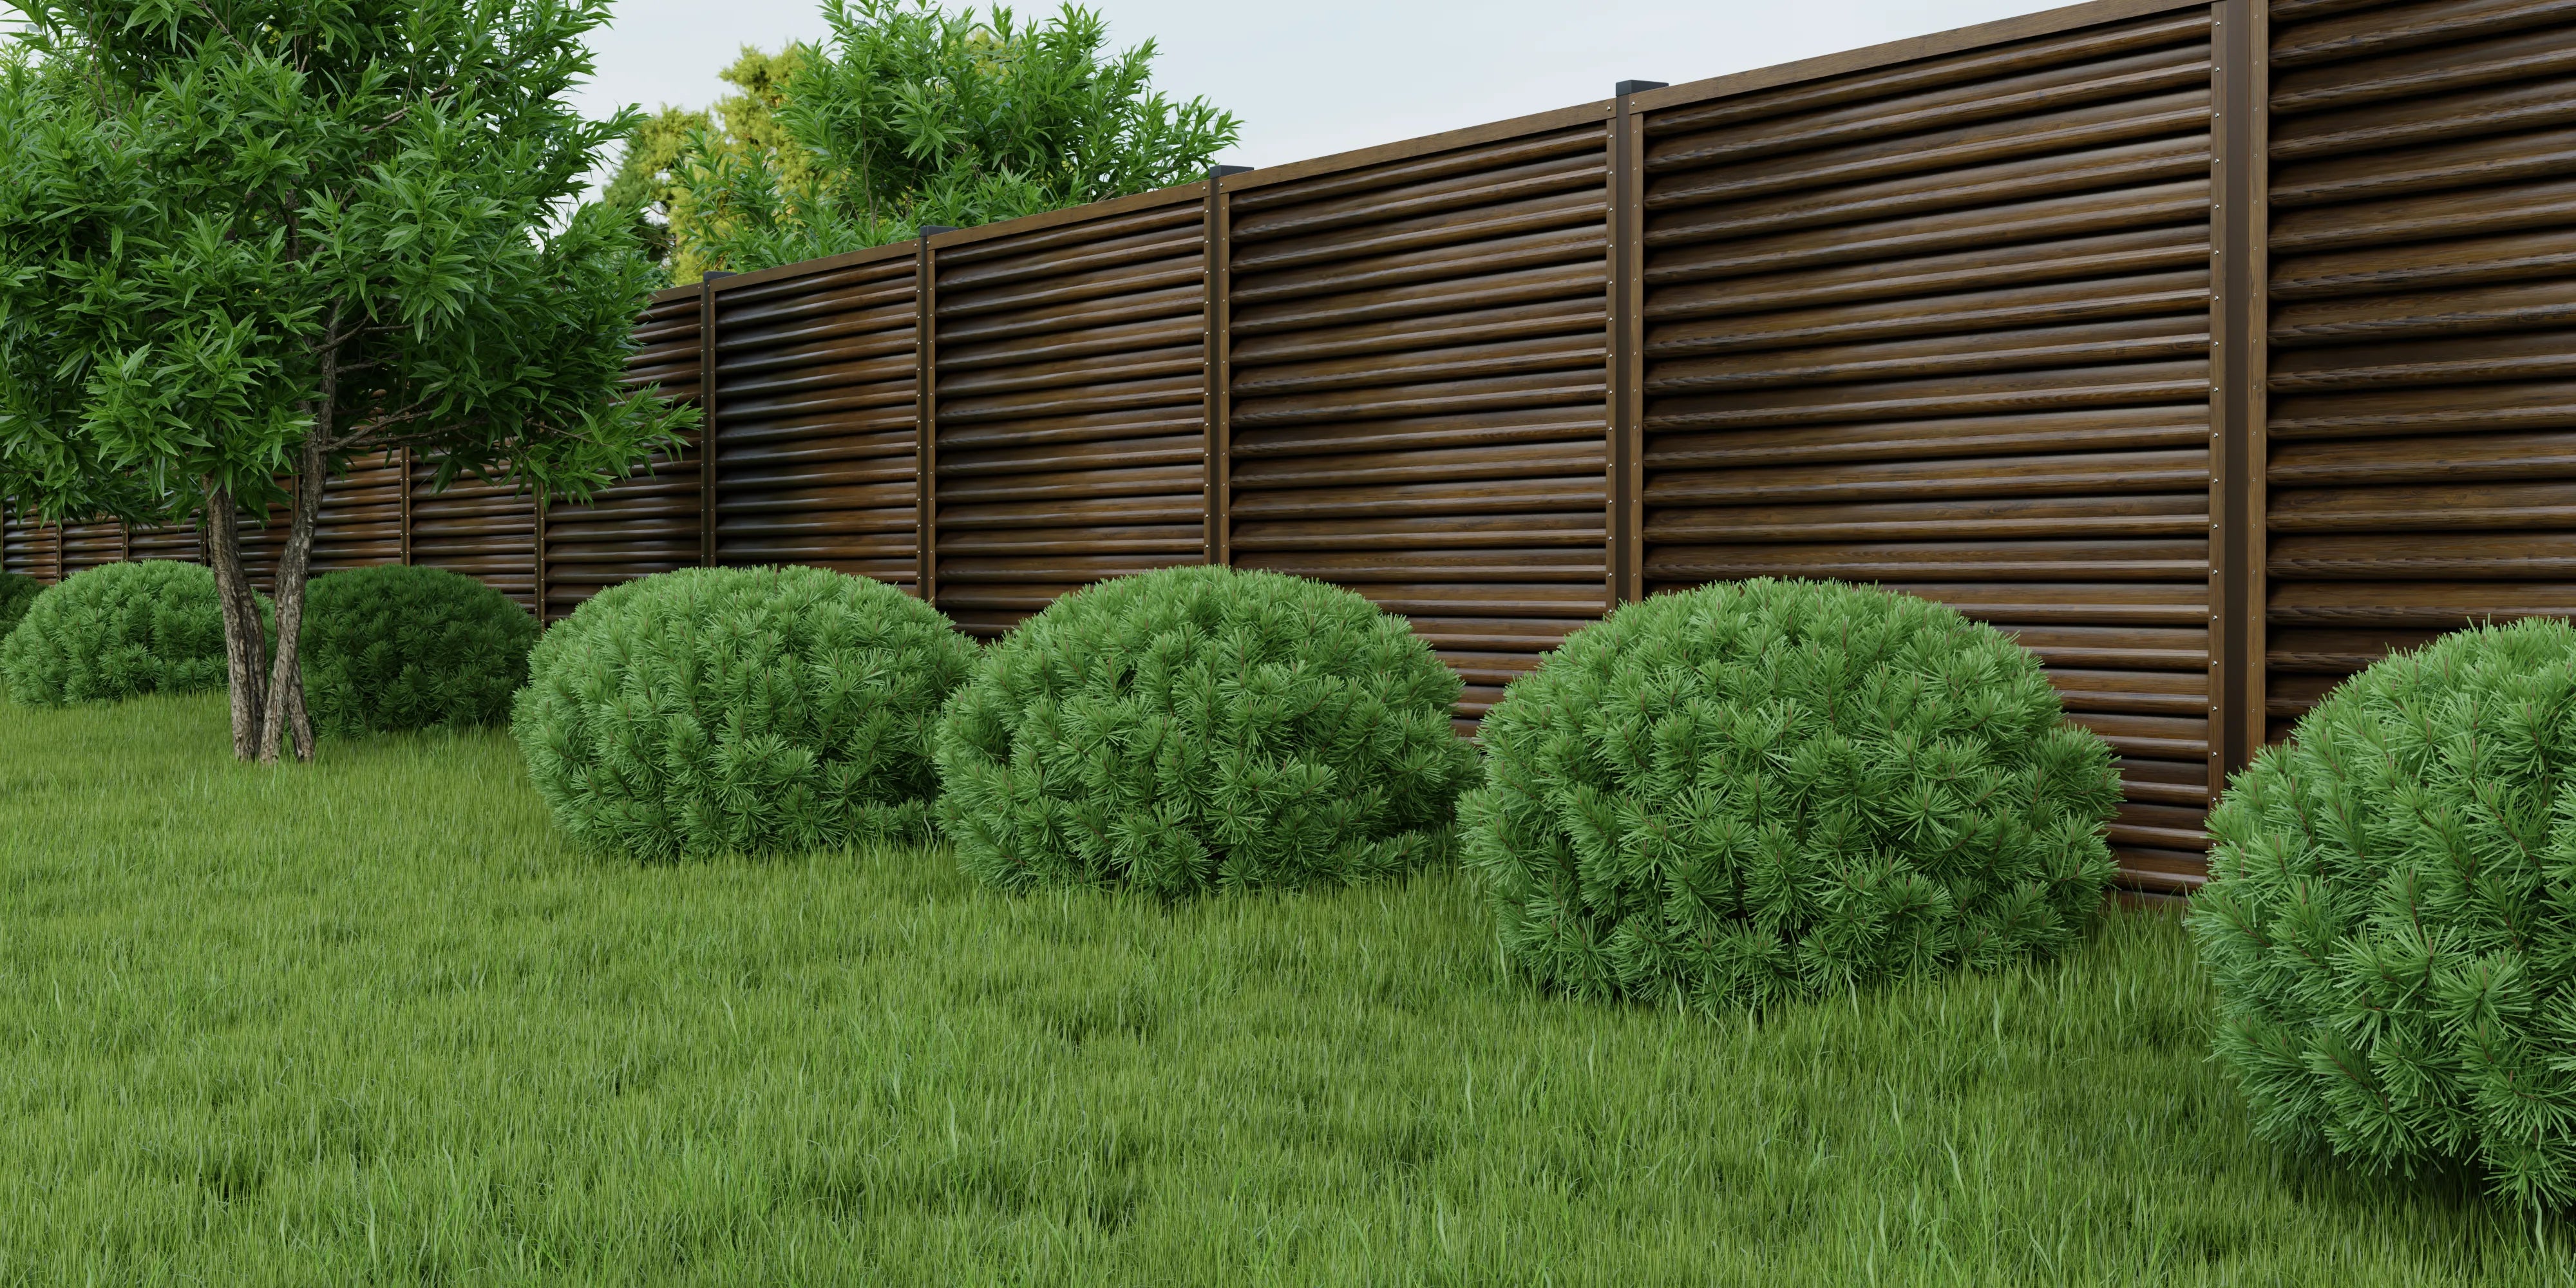
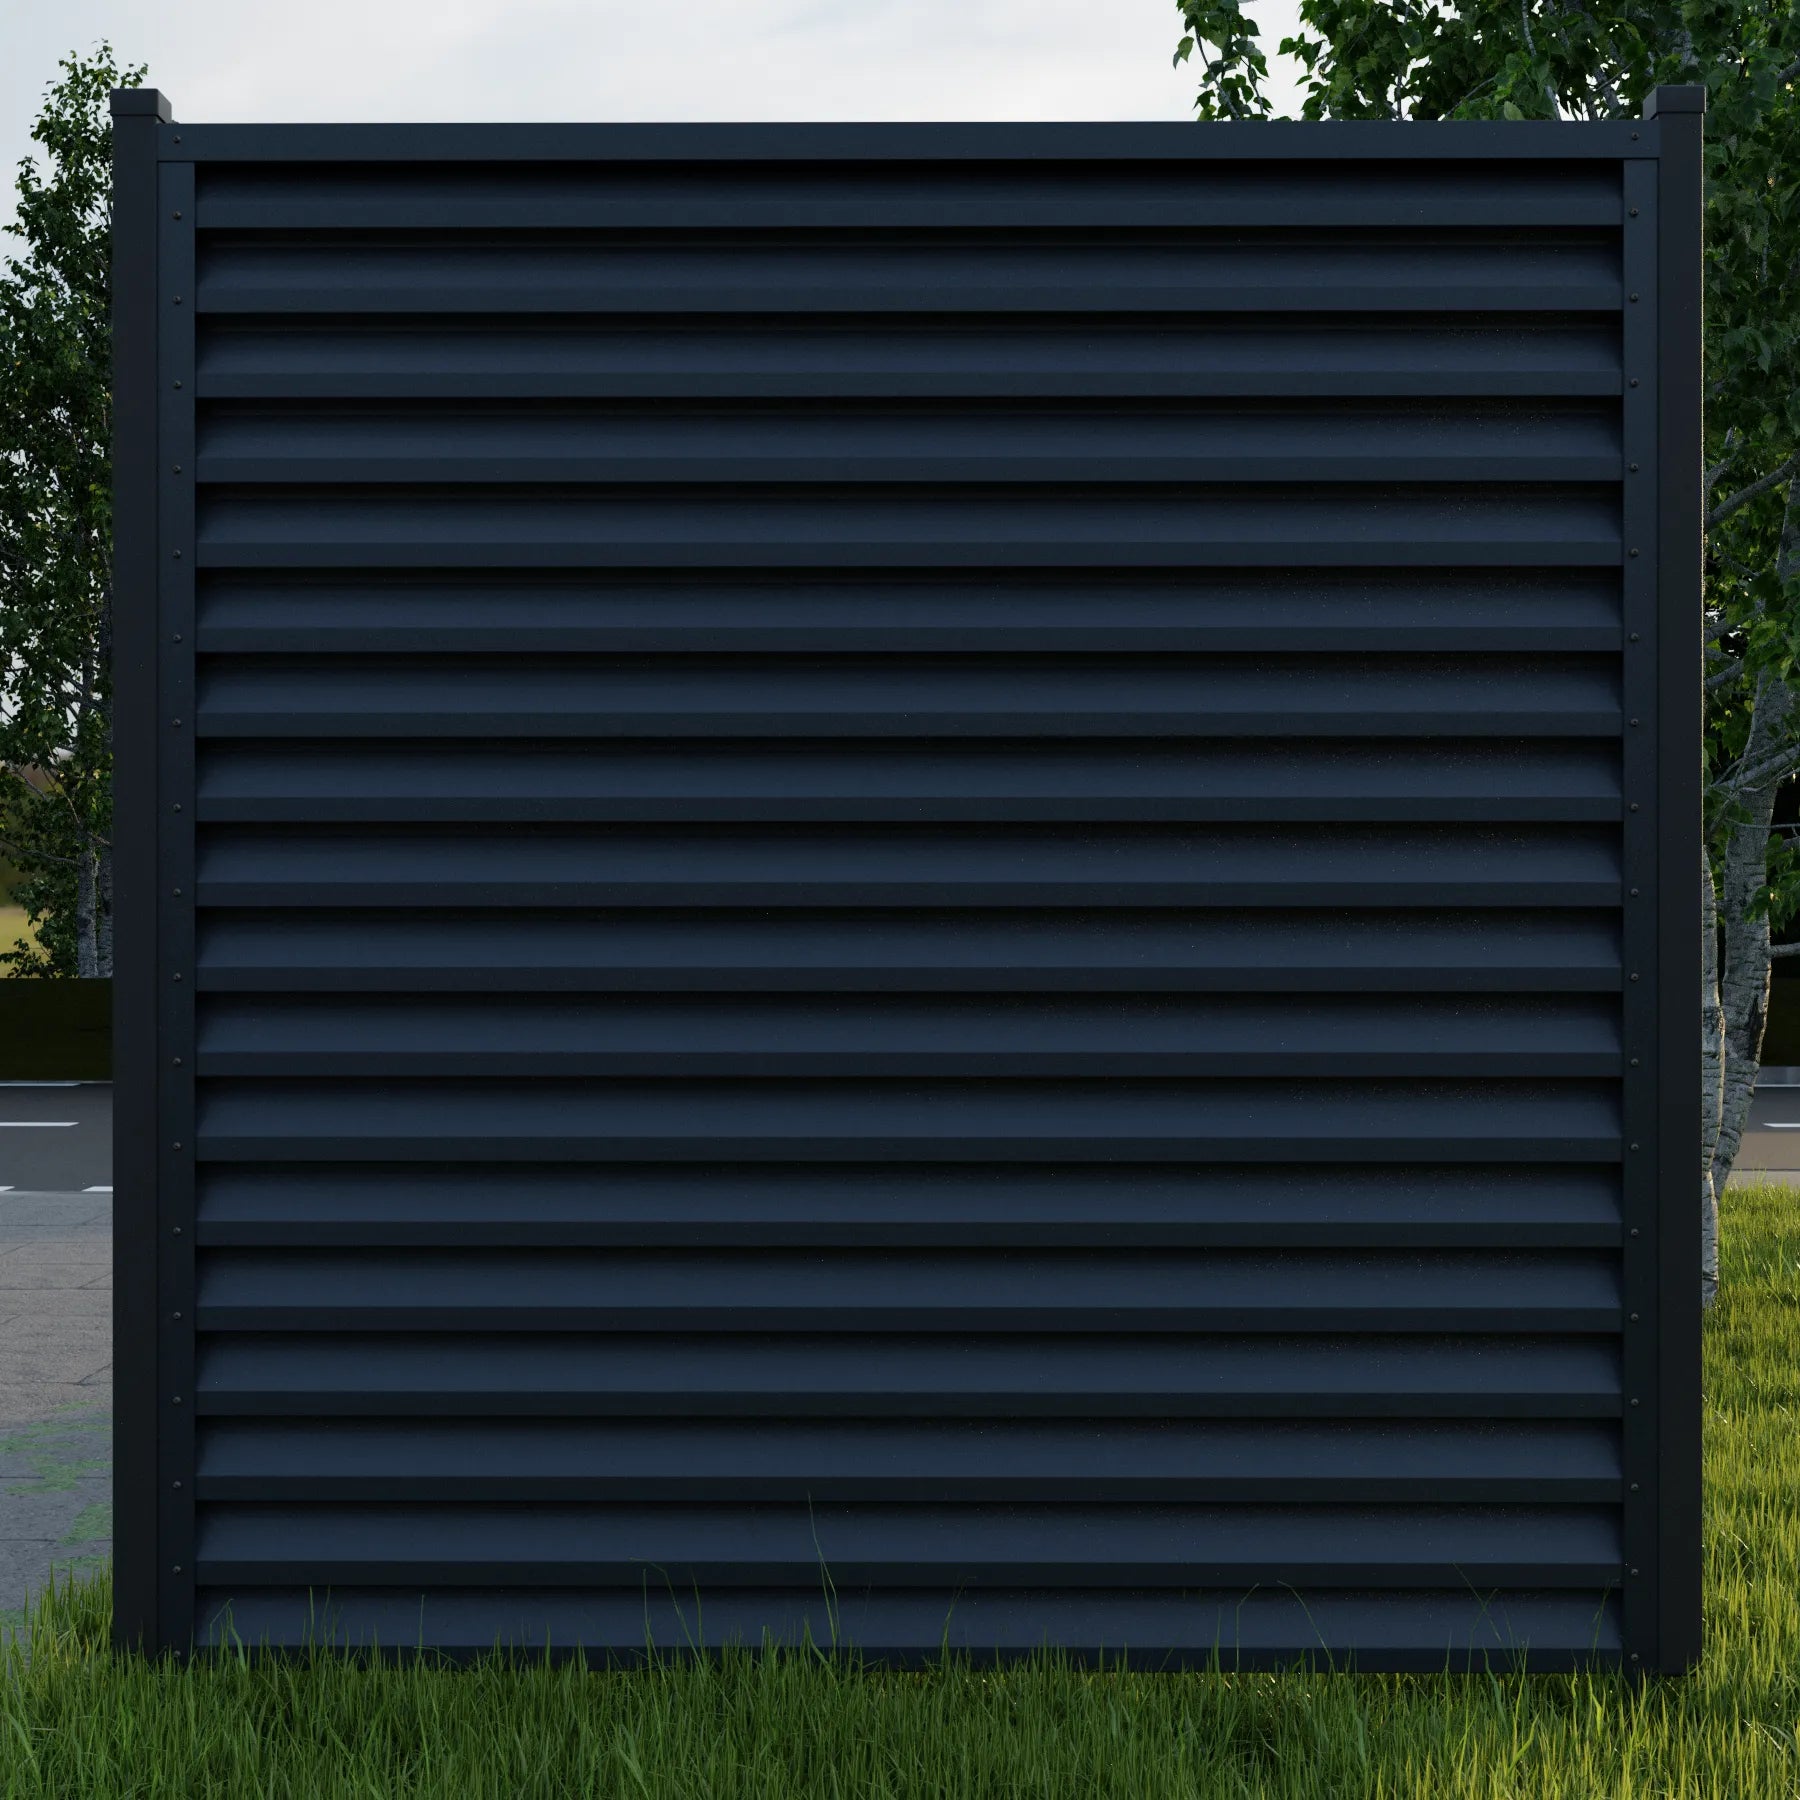
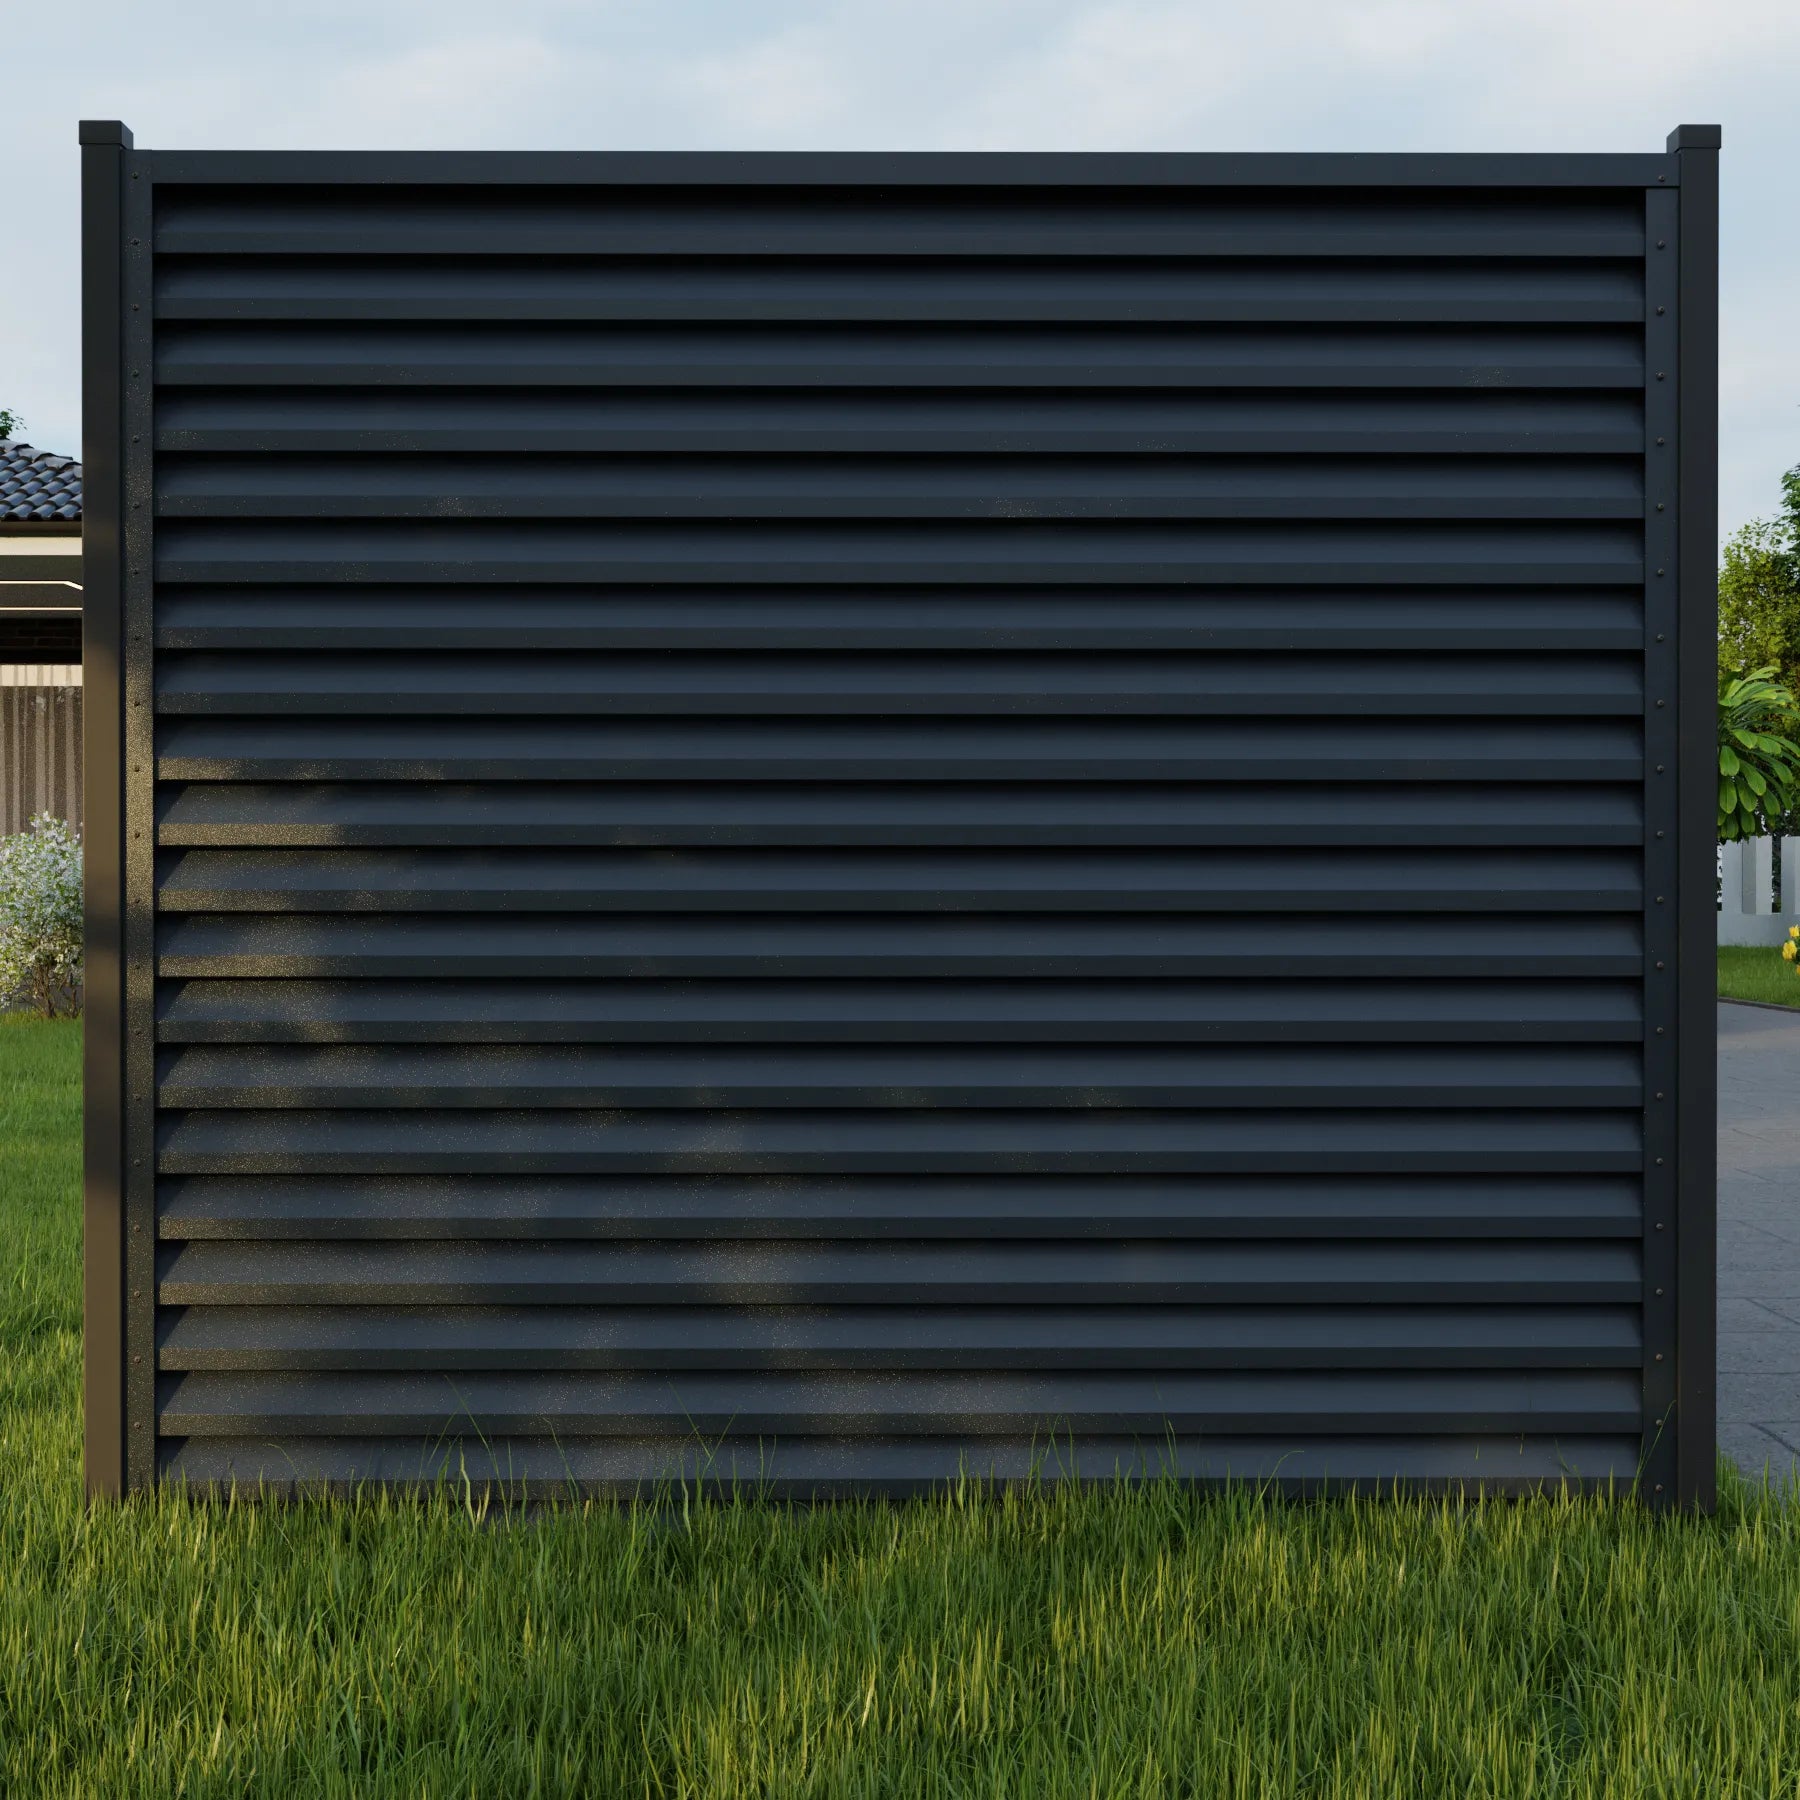
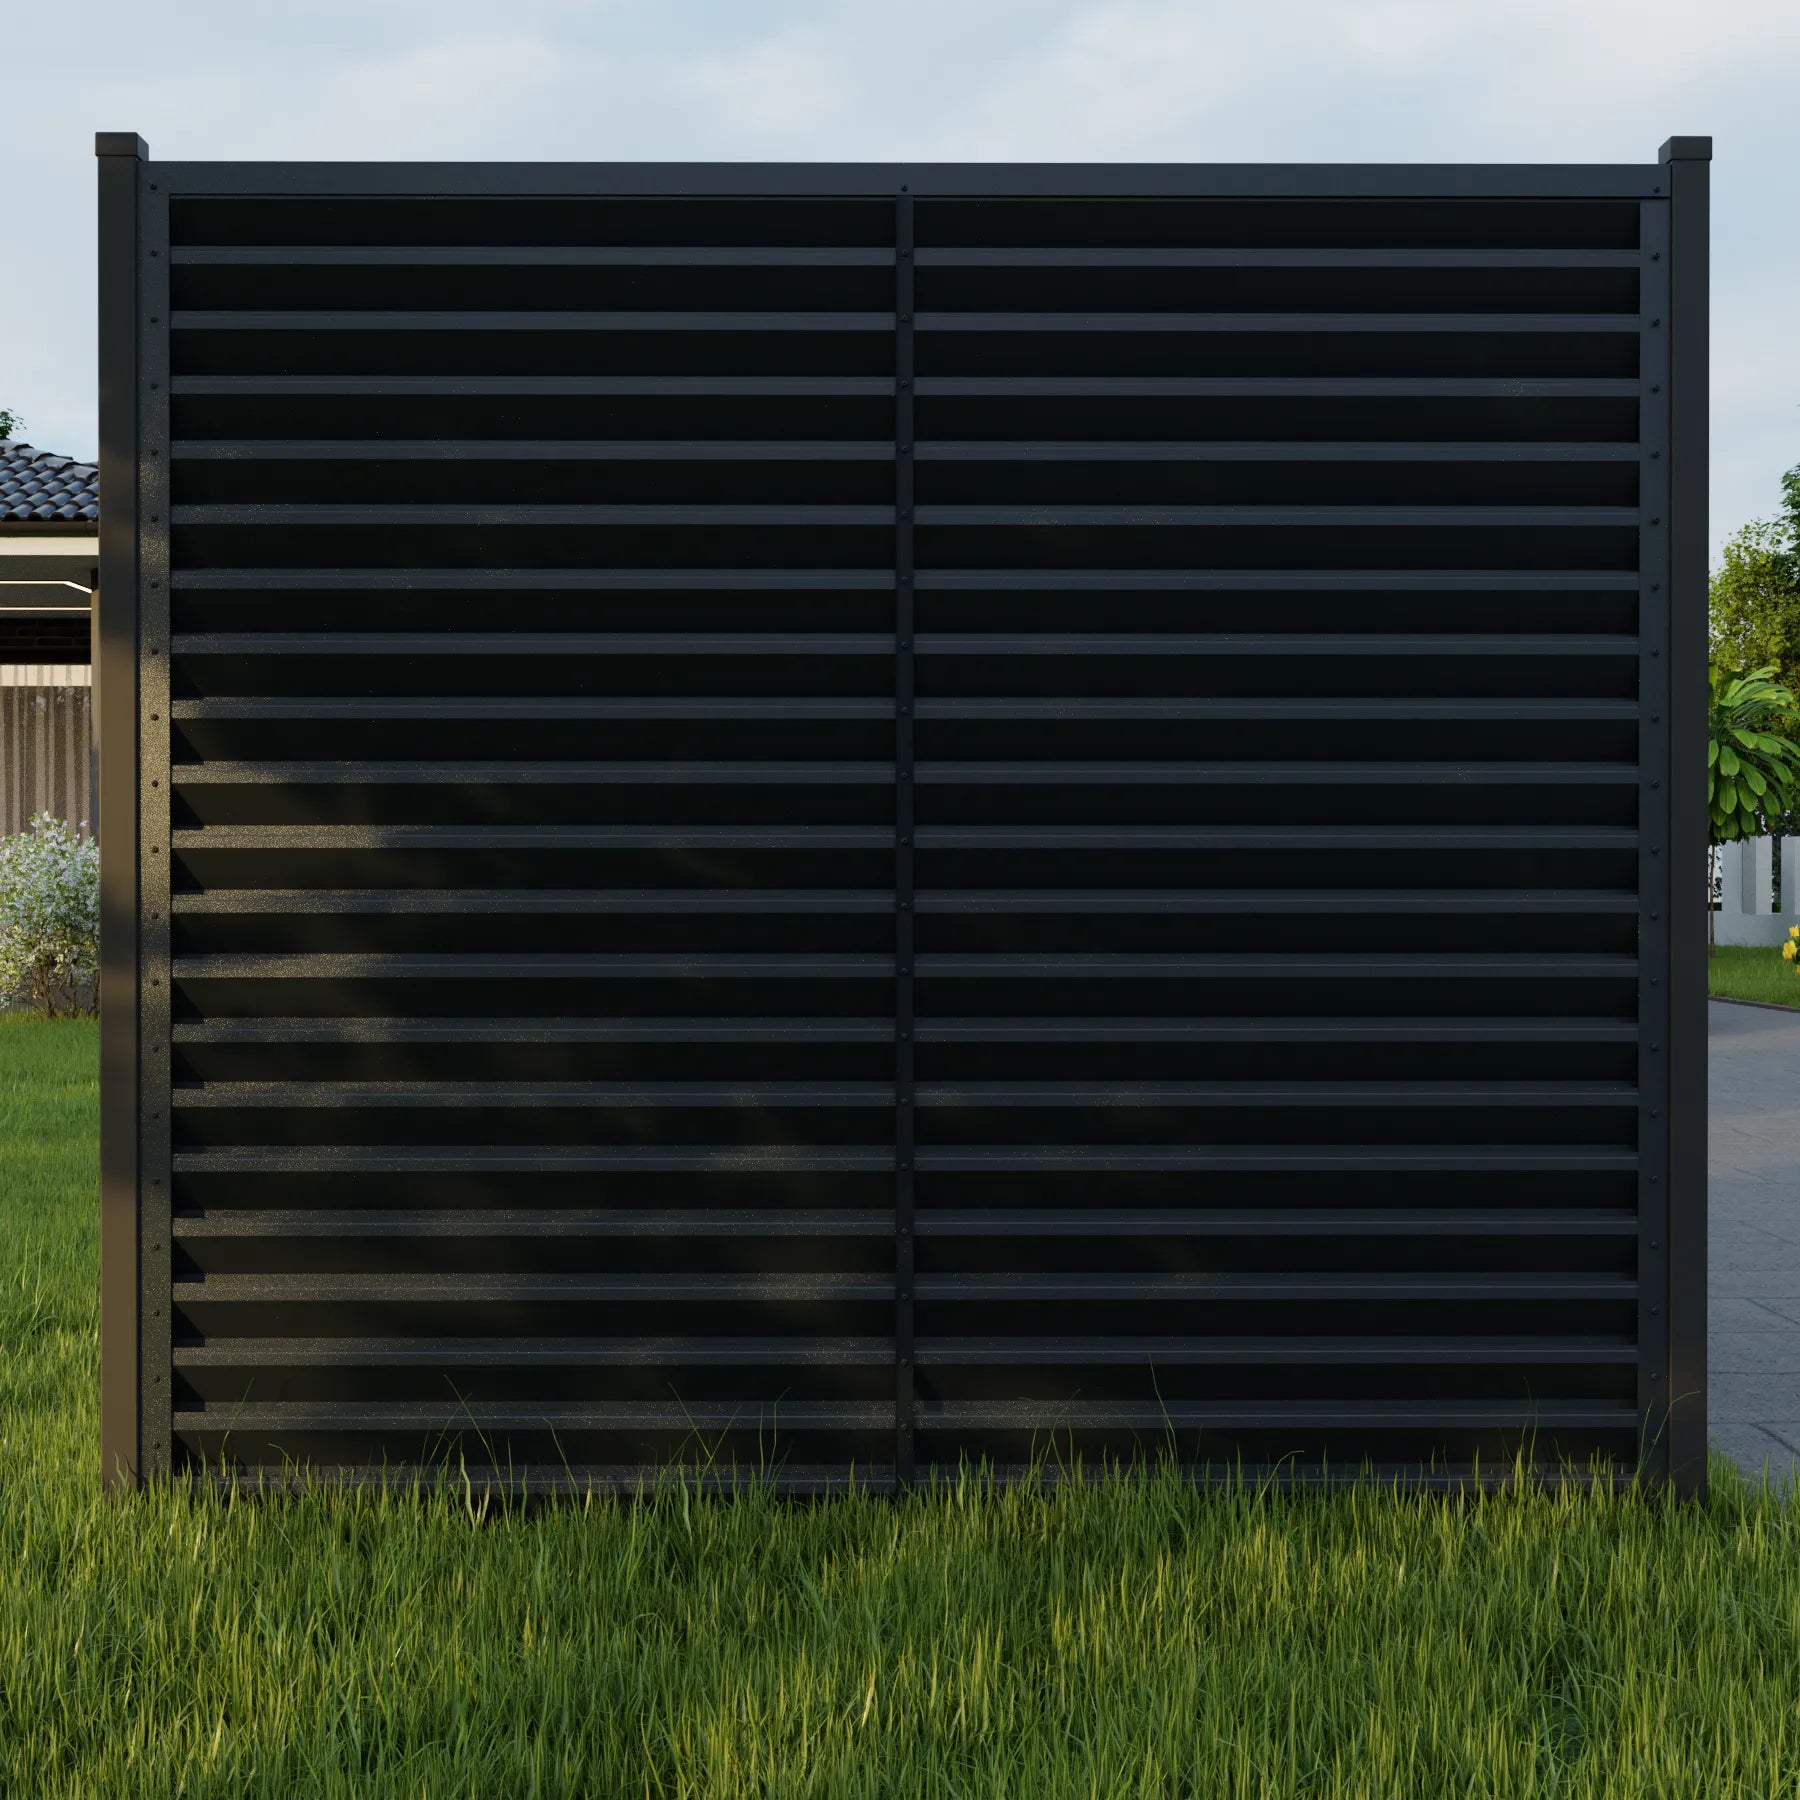
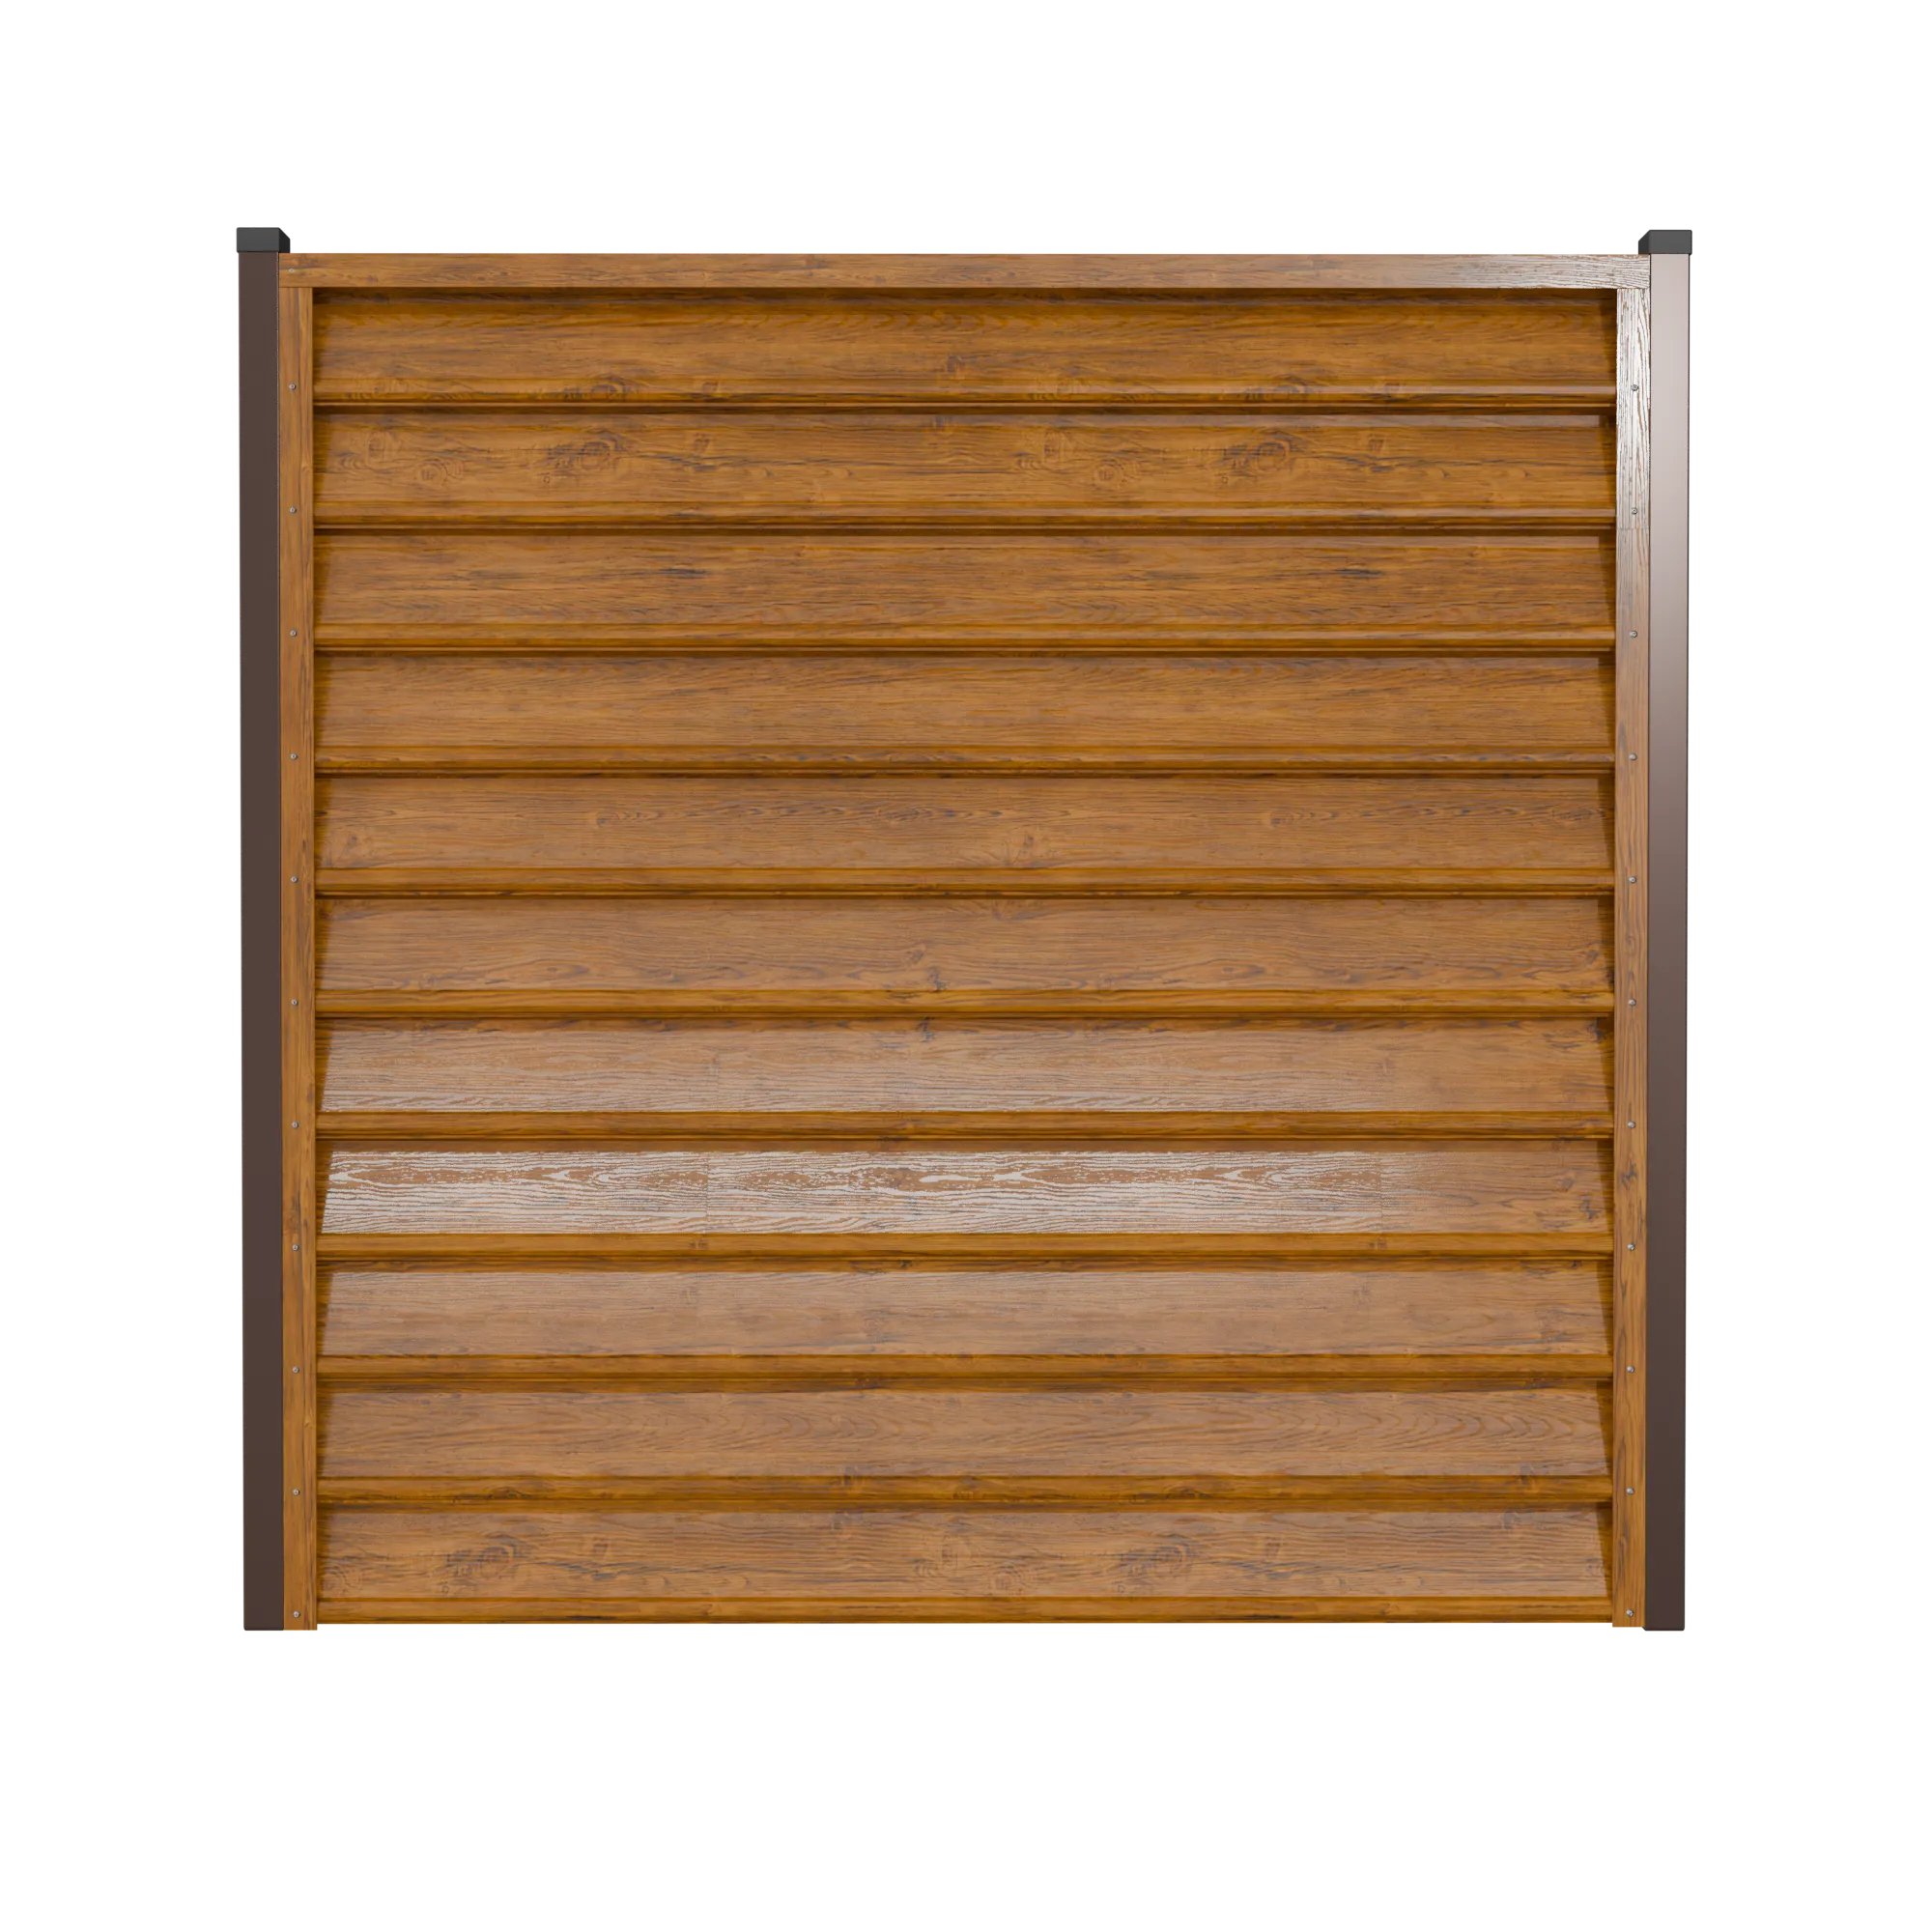
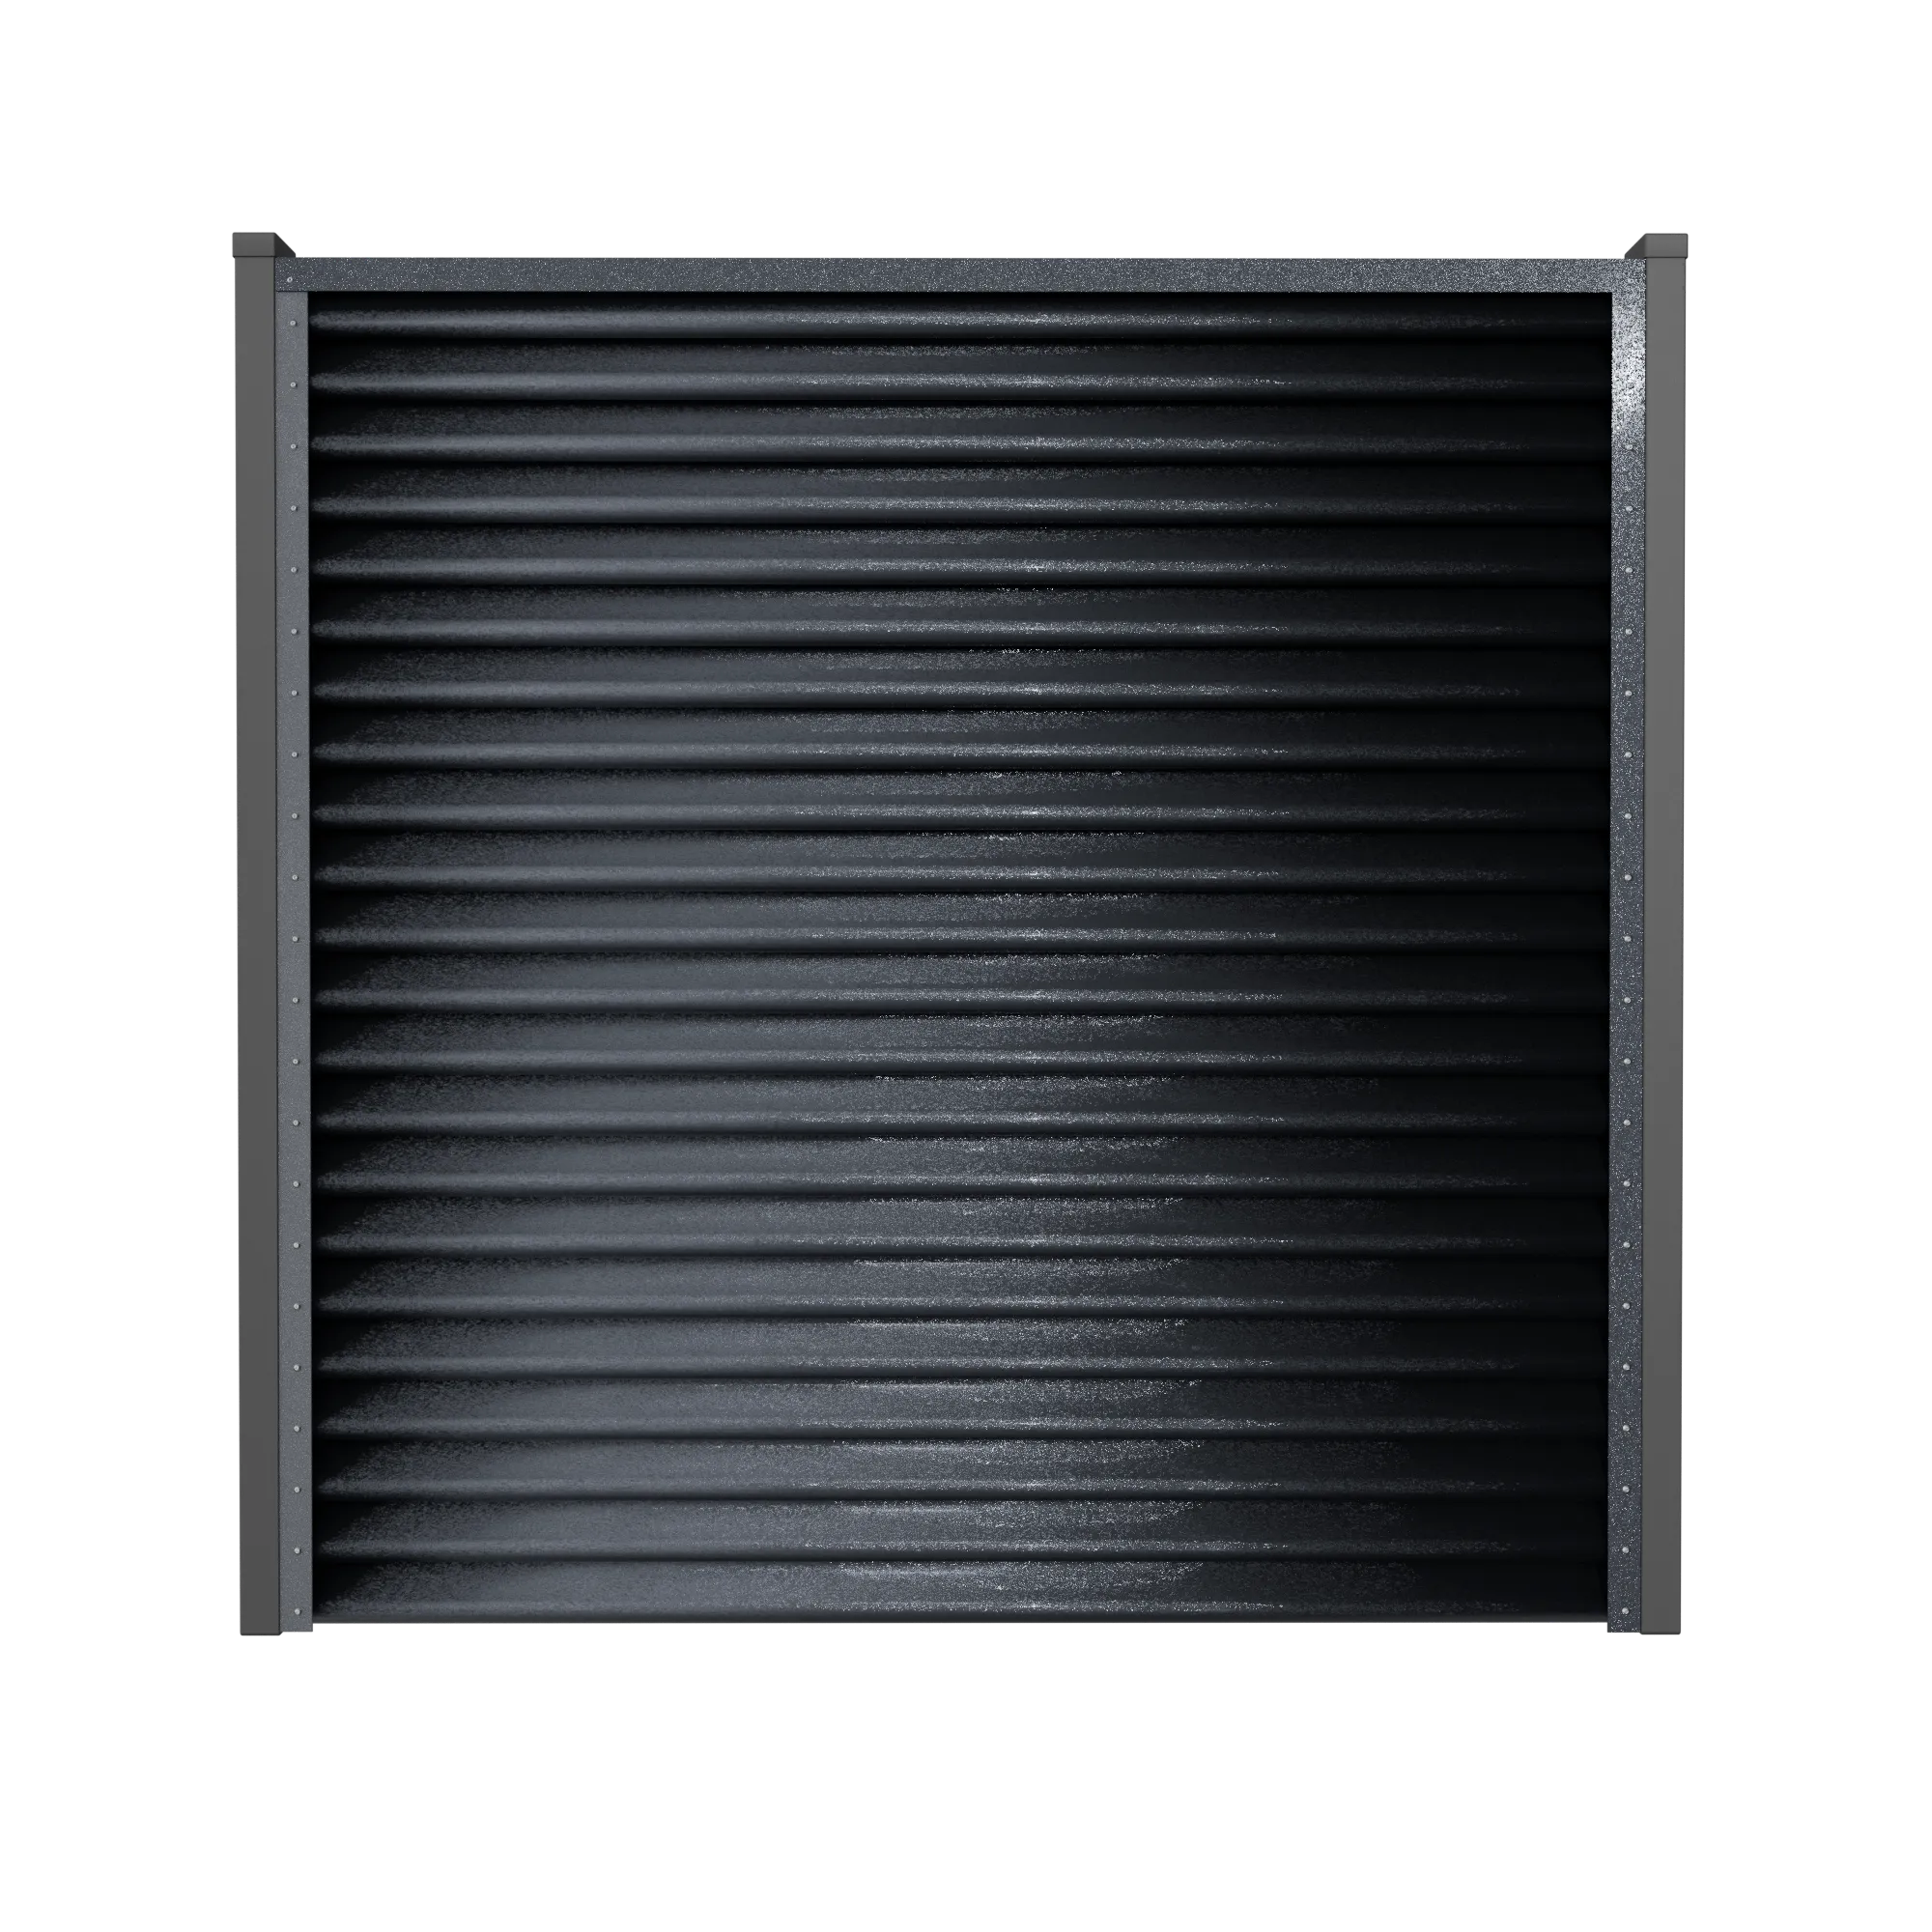
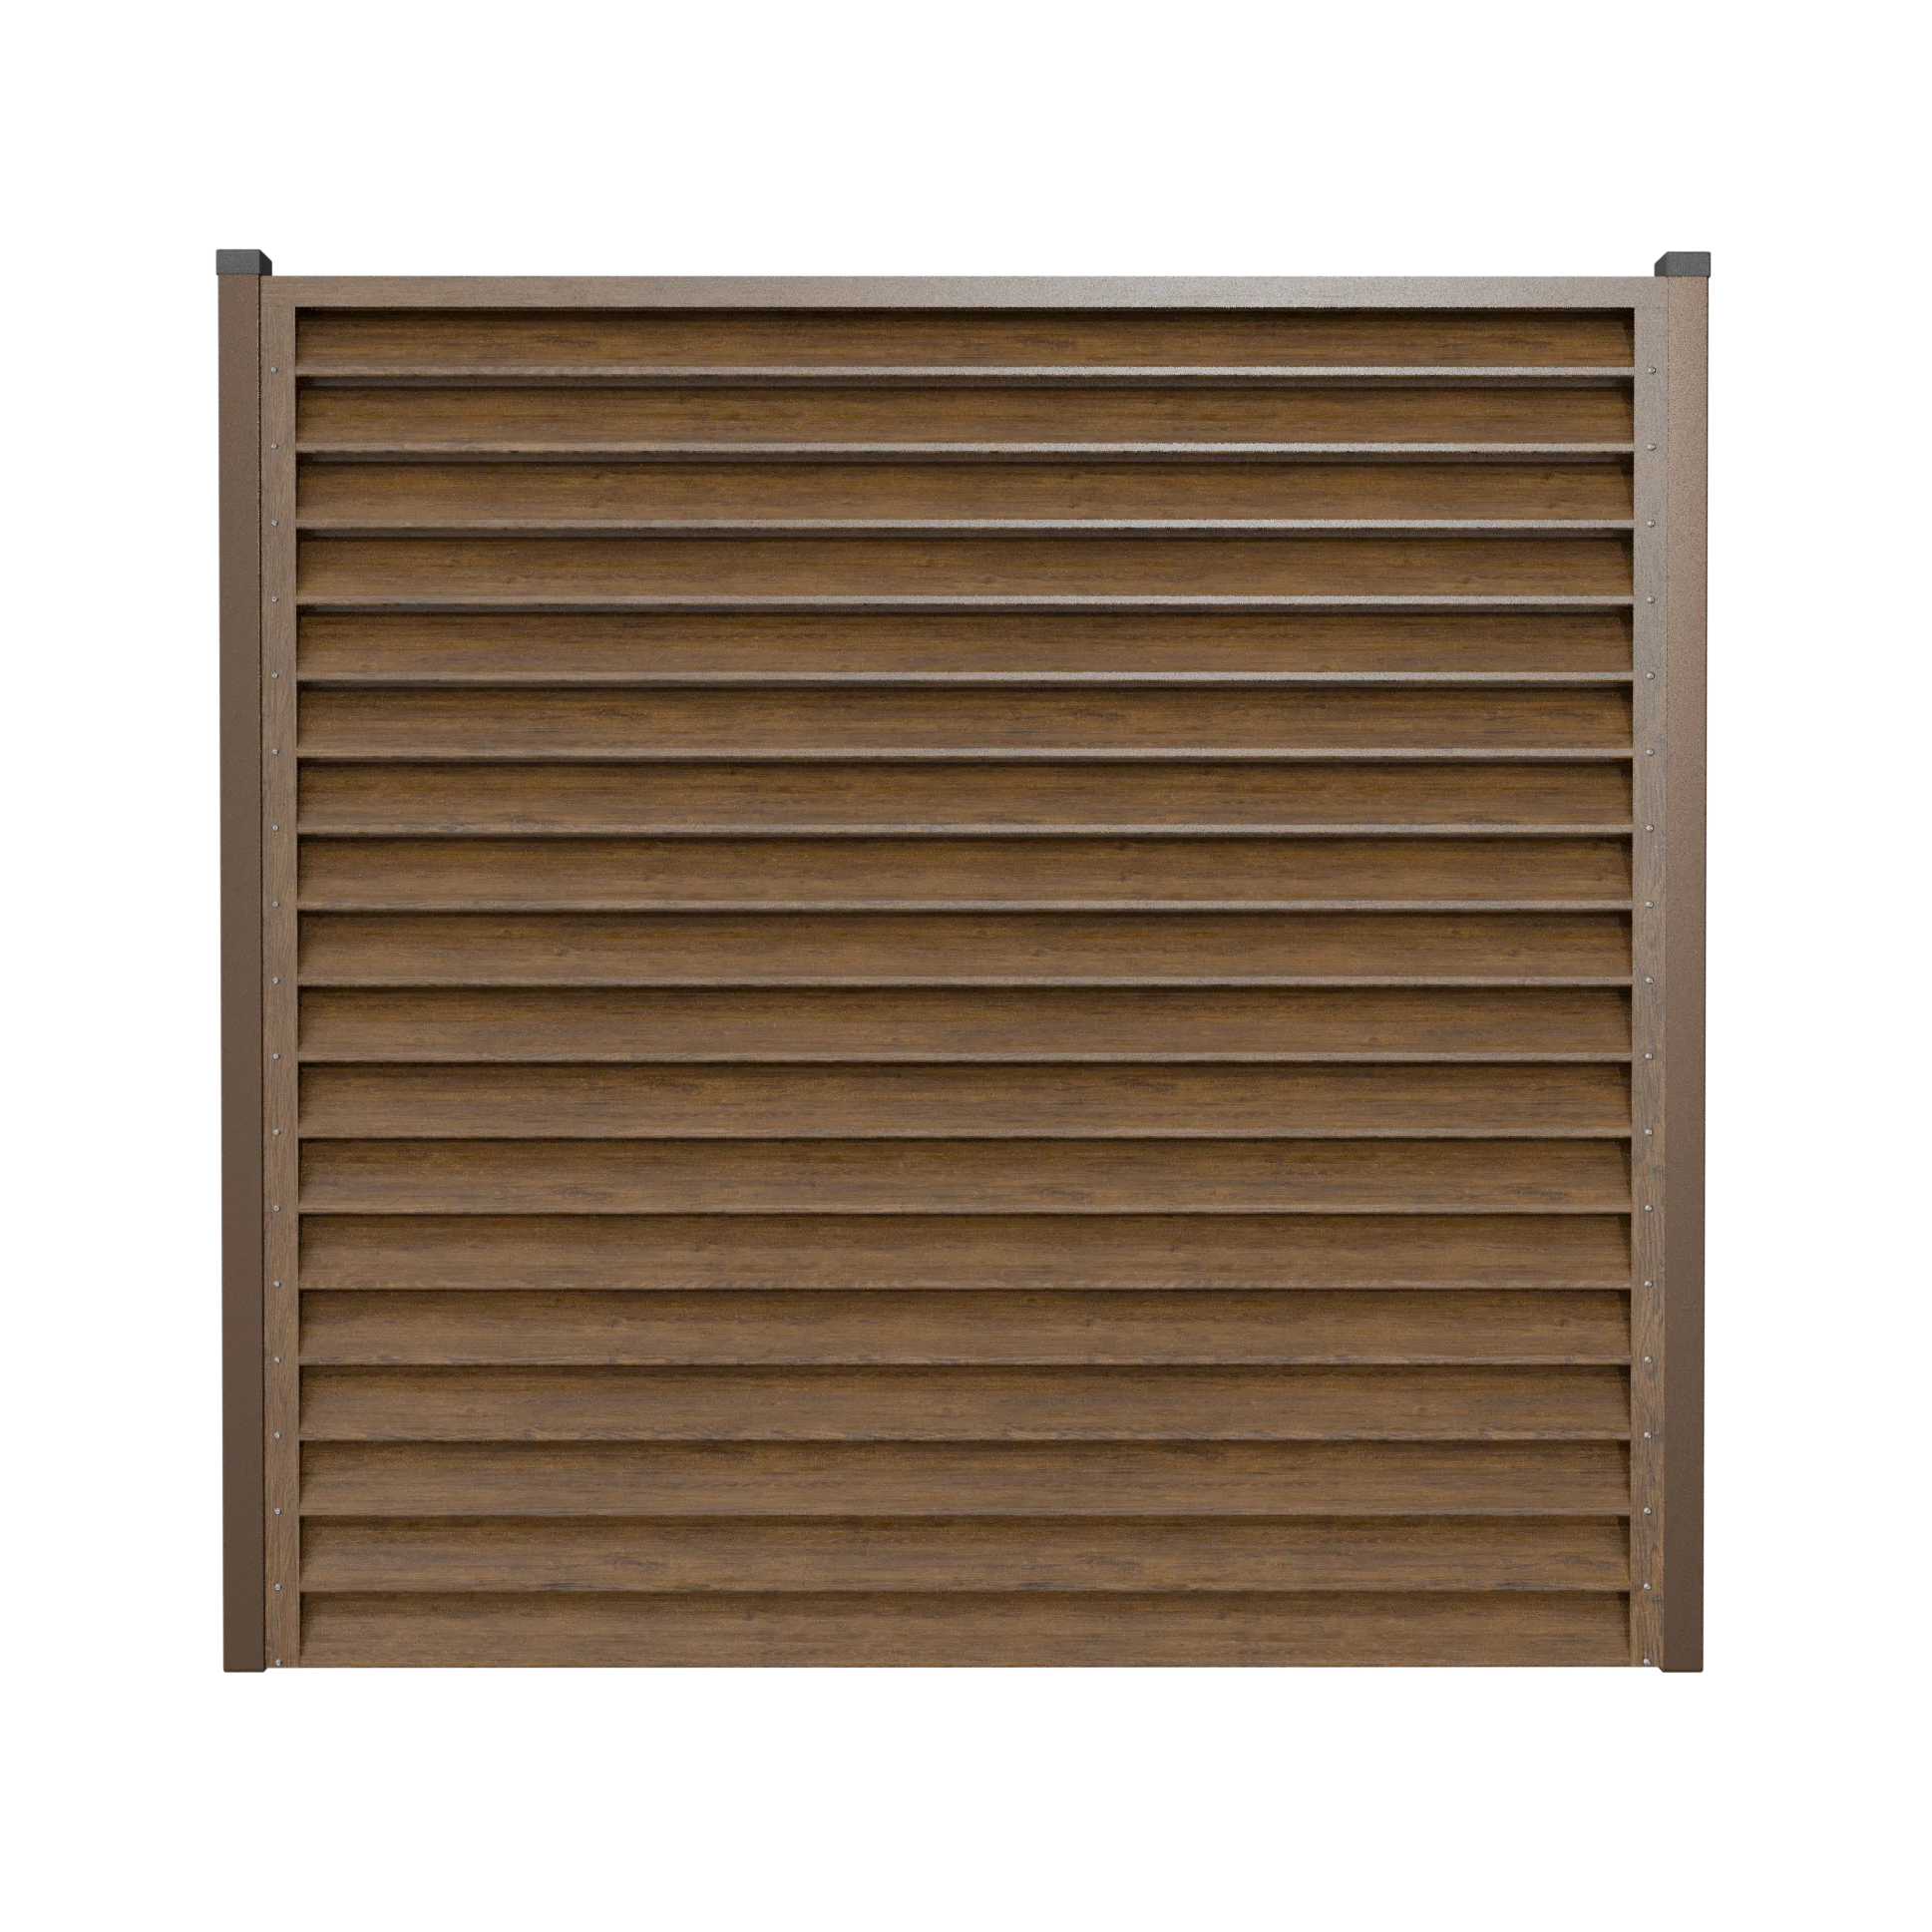
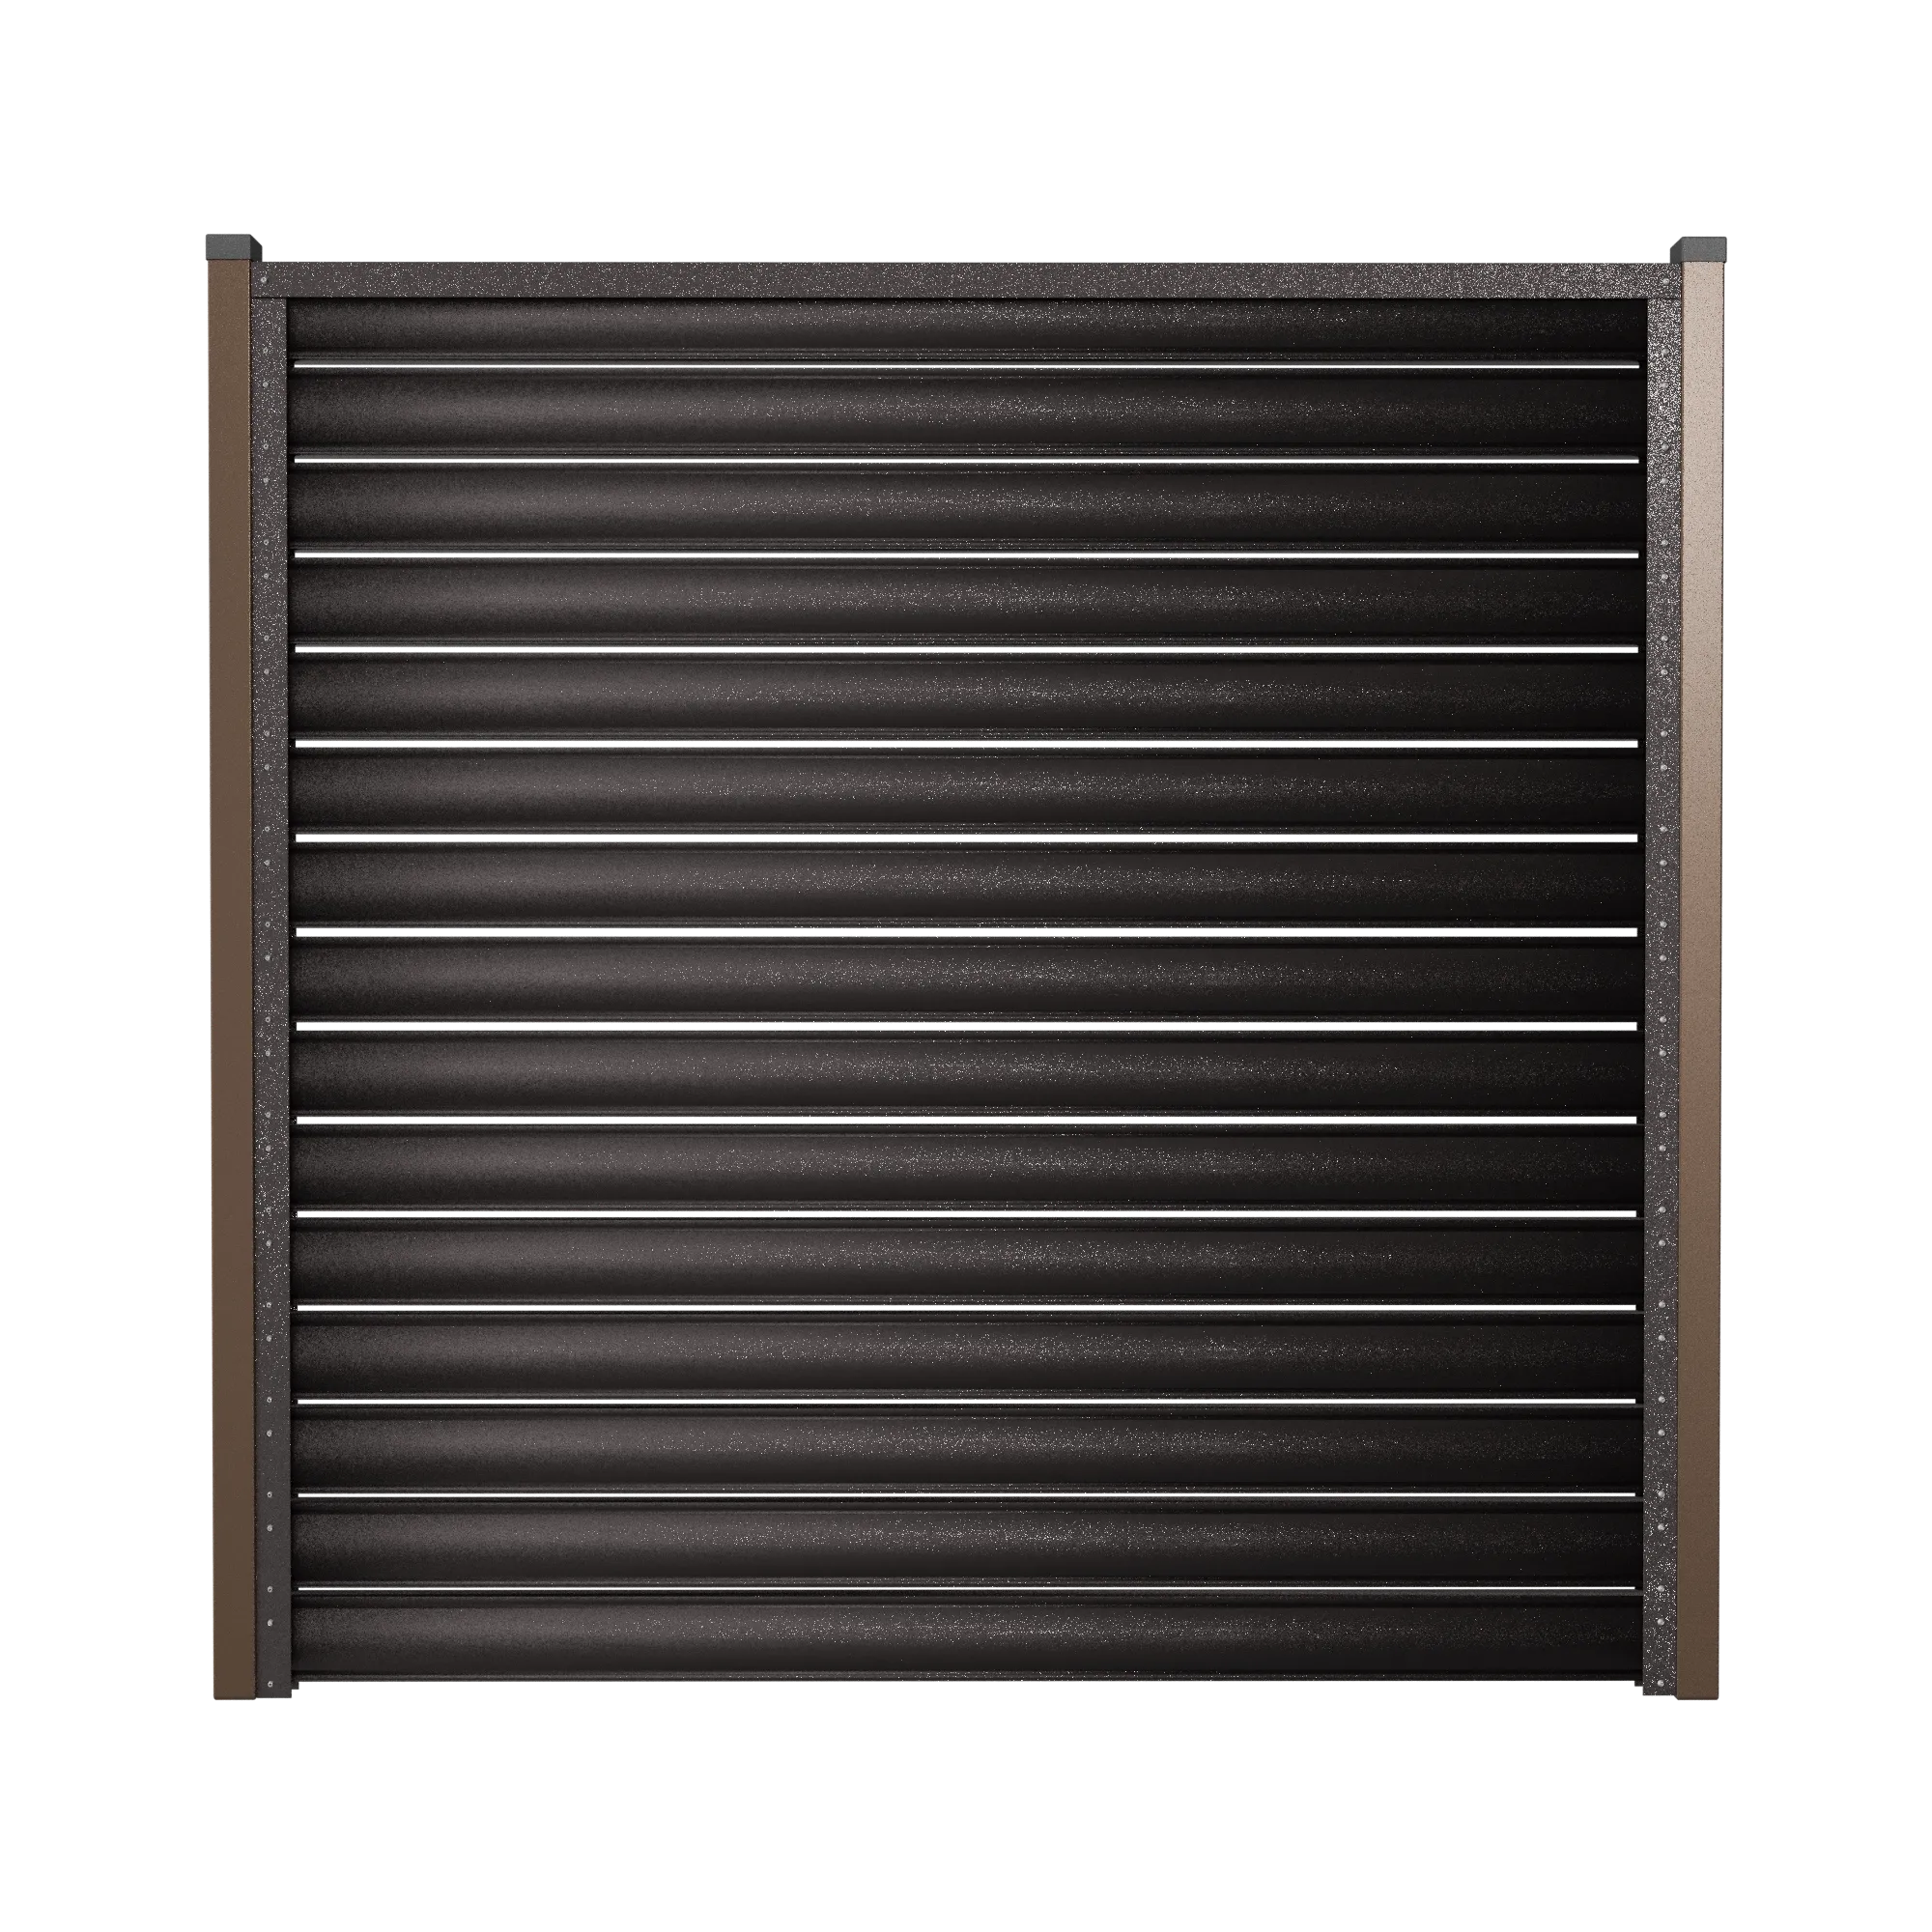
Atlas
Atlas Fence
The Atlas fence panels are composed of horizontal metal slats stacked one above another. They provide full privacy through opacity while also allowing excellent ventilation via subtle spacing—essential for cultivating a healthy microclimate for plants and outdoor spaces.
Panel Height
- Minimum height: 0.745 m, using 7 slat profiles
- Additional height options: 0.845 m, 0.945 m, etc., in 10 cm increments, up to 2.00 m
- Slat profile height (before installation): 11.2 cm
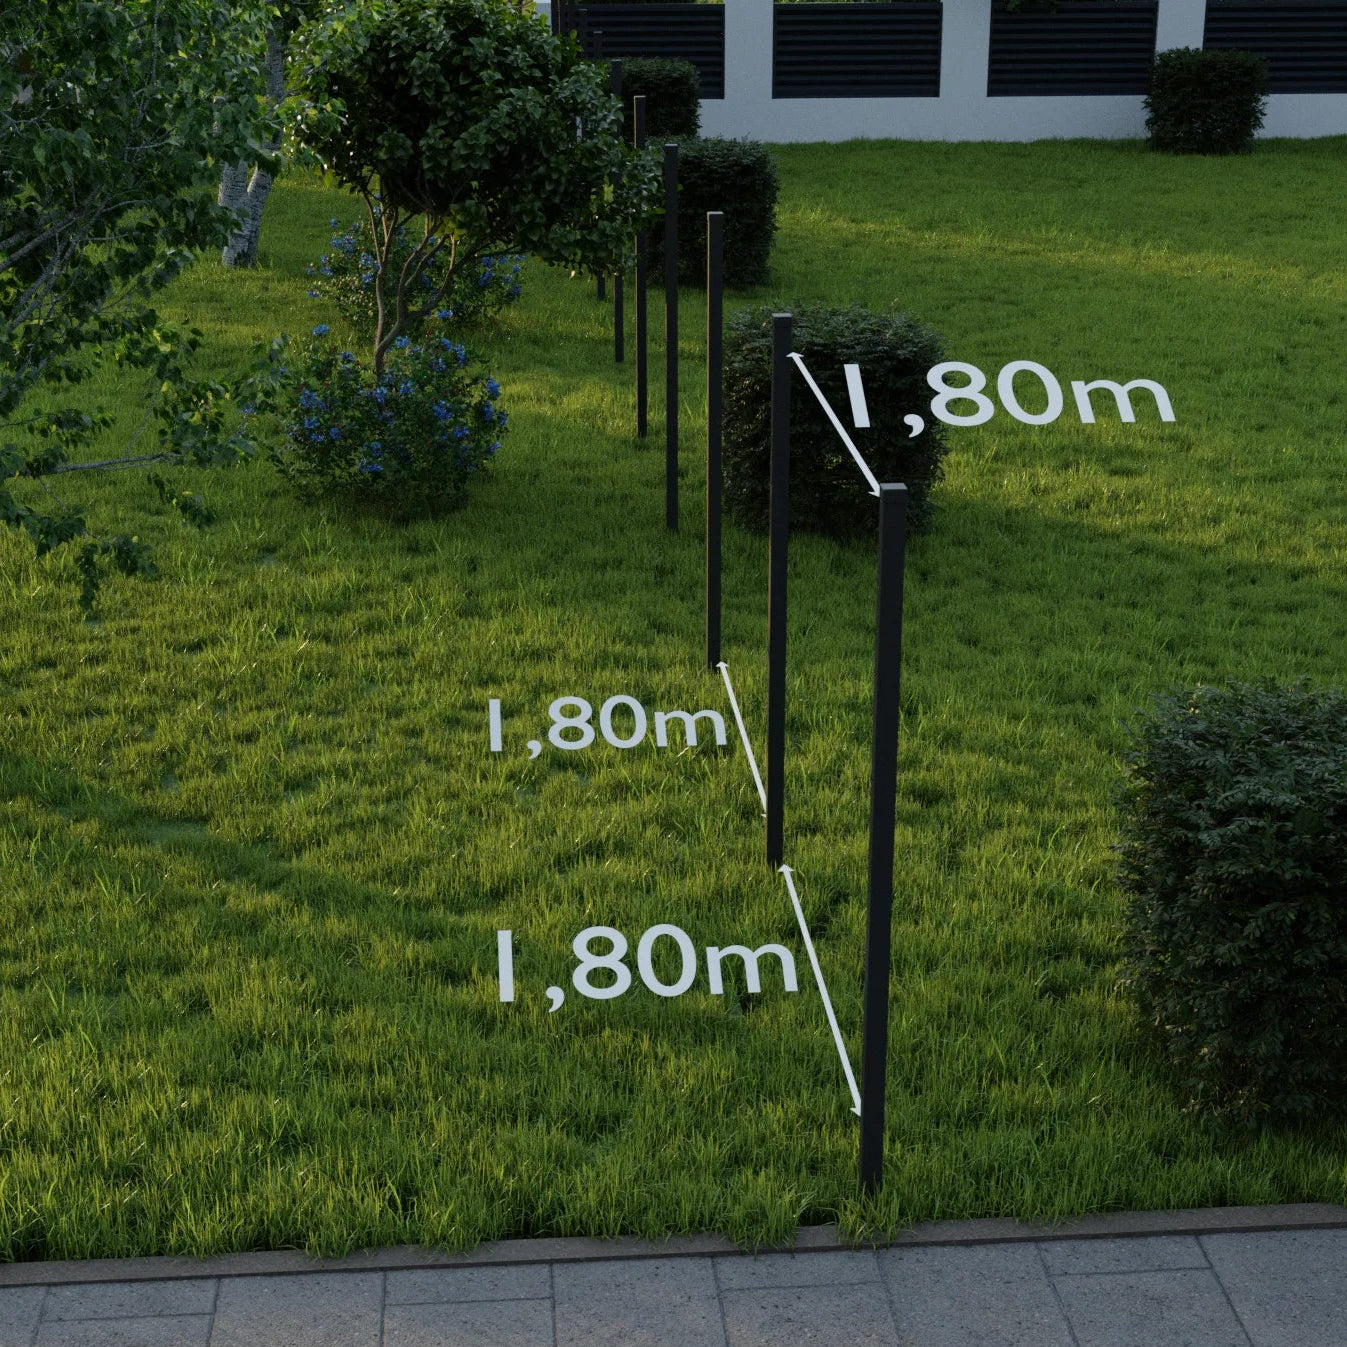
Panel Width
- Range: 0.40 m to 1.80 m, adjustable in 1 cm increments
- Panel depth: 35 mm
Gamma
Gamma Collection
The Gamma Collection features flat, wide steel slats designed to highlight the natural textures of sheet materials, delivering architectural elegance and bold visual depth.
Finishes
Choose from 8 finishes:
- Solid tones: RAL 7016, RAL 7024, RAL 8017, RAL 8019
- Wood-imitations: Walnut, Mahogany, Oak, Birch
Dimensions
- Panel height: The standard recommended height is 0.69 m, which comprises 4 slats. Each slat profile has a height of 16.7 cm (before installation).
- Panel width: Adjustable between 1.00 m and 1.80 m, in 1 cm increments.
- Panel depth: 56 mm
Pyramid
Pyramid Collection
The Pyramid Collection features slats with a subtle pyramidal profile and softly rounded edges, adding light play and dimension while retaining clean, modern geometry. Each panel is offered in the full palette of finishes:
- Solid tones: RAL 7016, RAL 7024, RAL 8017, RAL 8019
- Wood-imitations: Walnut, Mahogany, Oak, Birch
- Metallic finishes: Metallic 7024, Metallic 8019, Metallic Black 9005
With its textured form and refined finishes, the Pyramid line merges sculptural presence and functional durability — transforming your fence into a design statement.
Sigma
Sigma Collection
The Sigma Collection features sleek S-shaped slats engineered to let air flow freely while blocking direct lines of sight. This clever form ensures privacy without stifling ventilation. Each panel is offered in the same 8 finishes as our Gamma line:
- Solid tones: RAL 7016, RAL 7024, RAL 8017, RAL 8019
- Wood-imitations: Walnut, Mahogany, Oak, Birch
Sigma fuses function and form — letting your fence breathe while maintaining the visual strength and design integrity your space deserves.
Terra
Terra Fence
The Terra horizontal fence blends durability and refined aesthetics. Though it evokes the visual appeal of WPC terrace fencing, Terra is crafted from robust metal for superior longevity. Its strong box-type profiles support large panels without needing a central support strip, making installation simpler. Terra is ideal for dividing spaces, ceiling pergolas in interiors or lofts, as well as outdoor structures like pergolas and terraces.
Panel Height
- The spacing between profiles is adjustable
- You may also set the gap between the base and the first profile
- A site calculator can help you determine the optimal height (up to 2.00 m) based on your specific design parameters
Panel Width
- Range: 0.40 m to 1.80 m, in 1 cm increments
- Panel depth: 37 mm