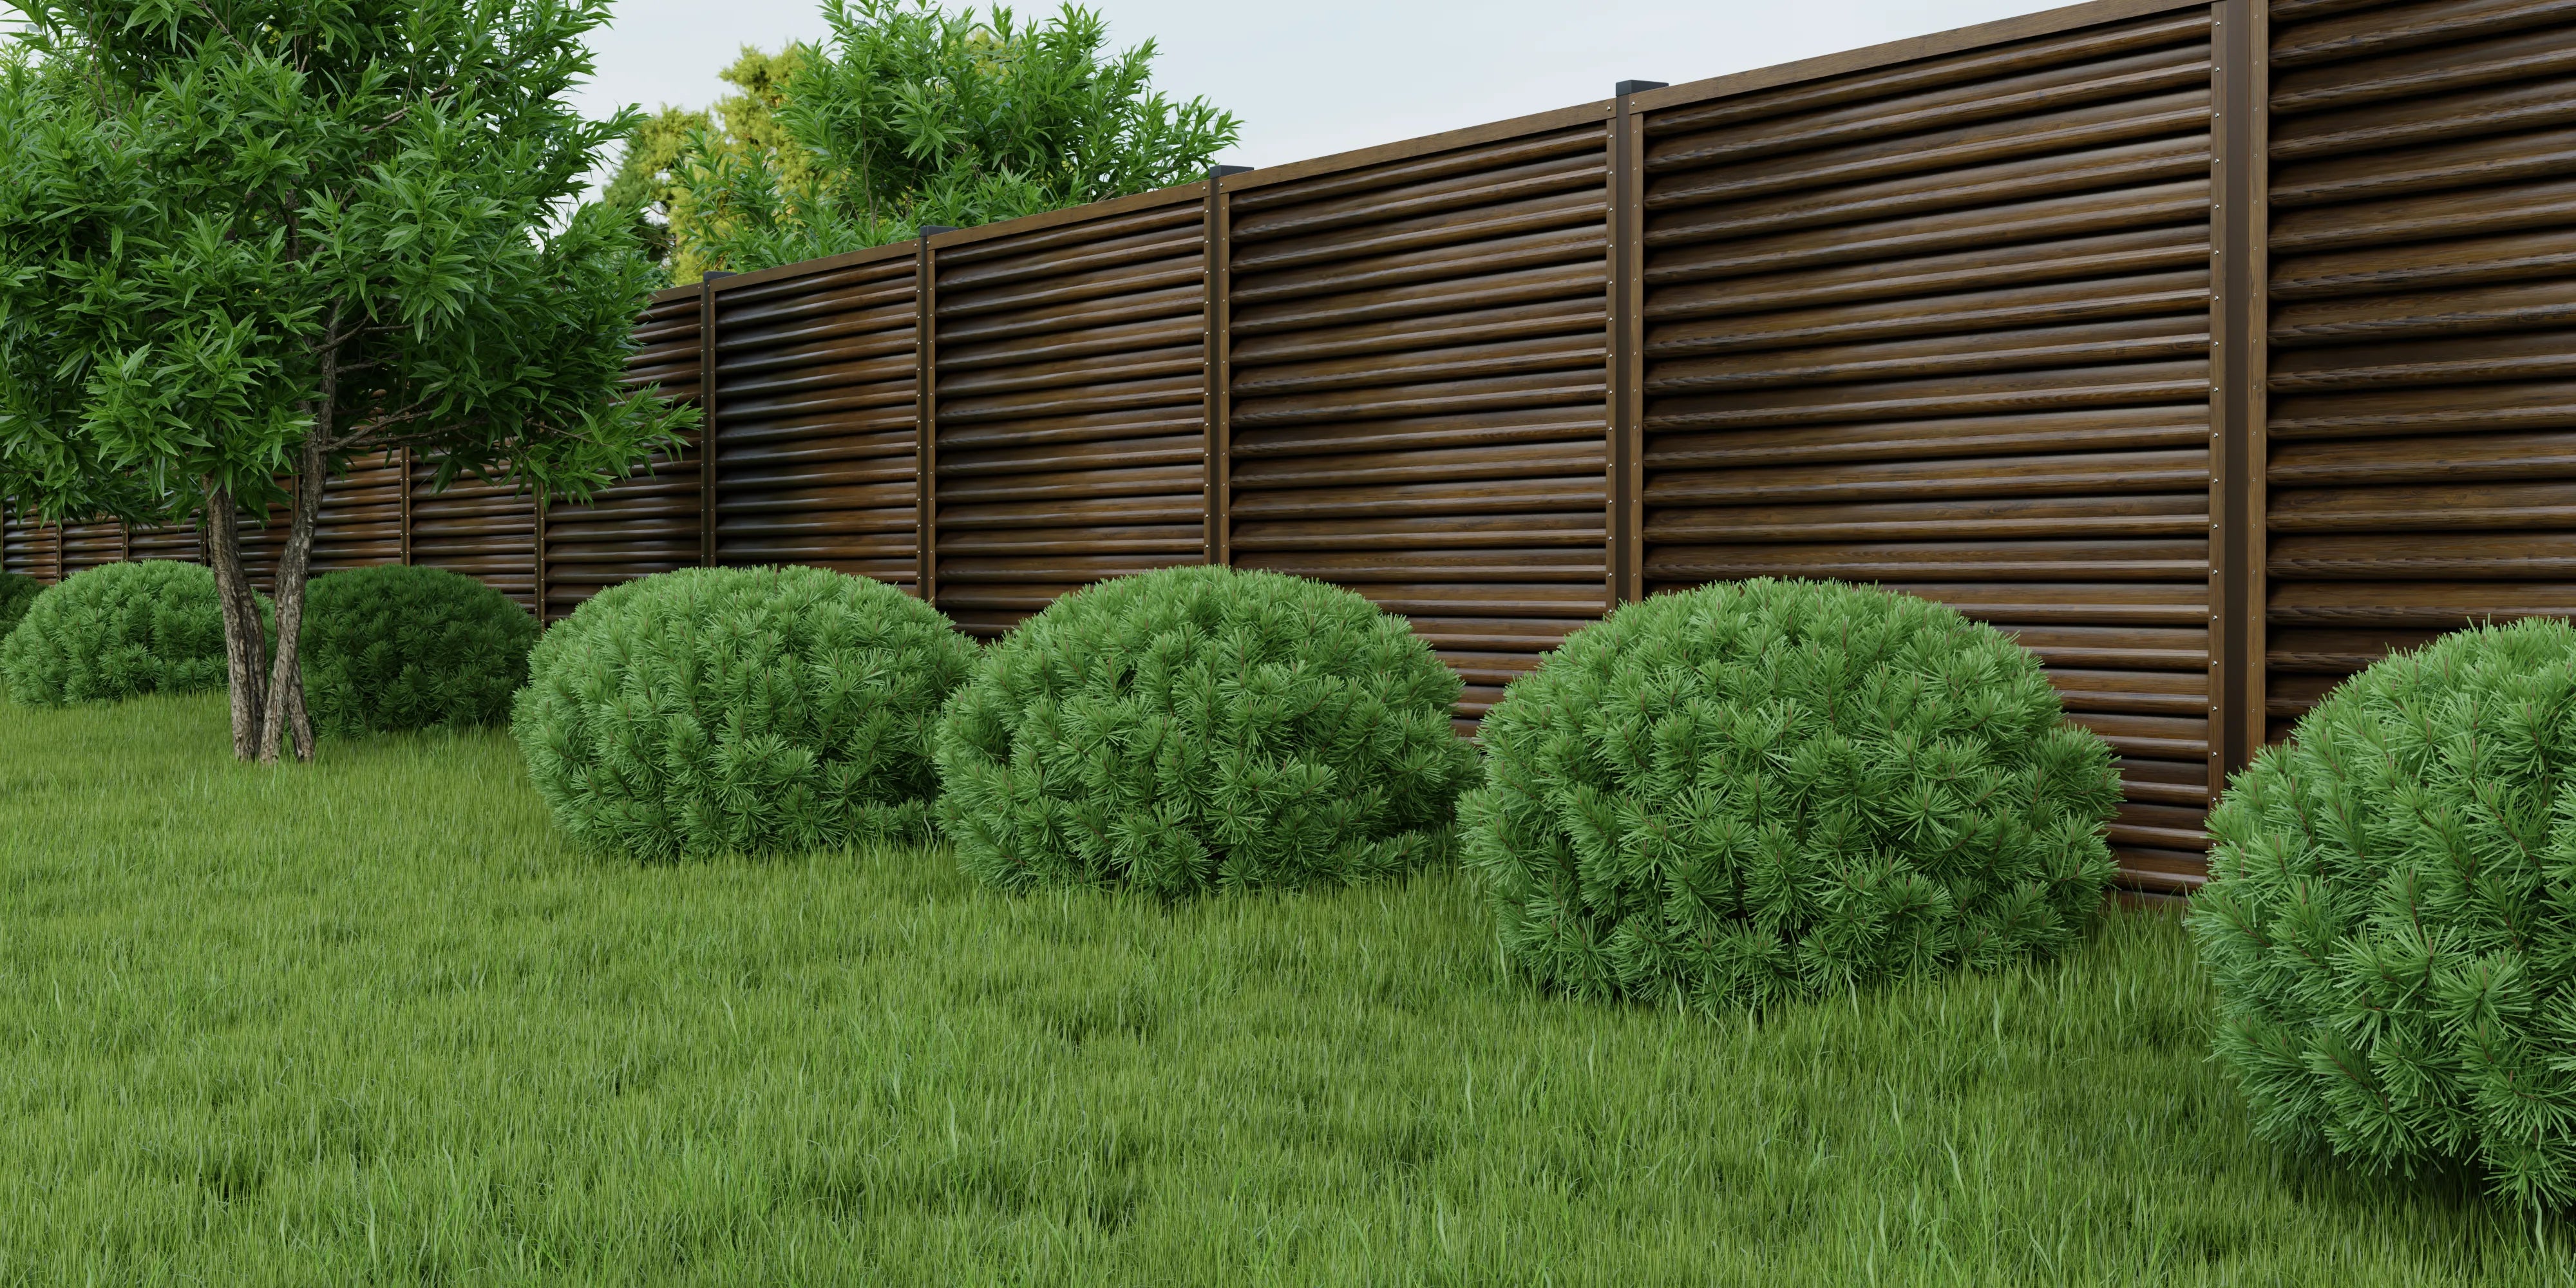
Waarom met ons samenwerken?
Materialen van Hoge Kwaliteit
Gedetailleerde Handleidingen
Technische ondersteuning en beschikbaarheid van onderdelen
Als je technische vragen hebt, staan we voor je klaar. Gezien onze directe samenwerking met een fabriek, bieden we graag ondersteuning voor reserveonderdelen of onderdelen op maat.
Bezoeken op locatie en training
Onze experts komen naar jouw locatie om begeleiding te bieden bij de juiste procedures voor het installeren van hekwerken.
Toegang tot updates, revisies en nieuws.
De leveranciers verbeteren ons productassortiment jaarlijks en leveren superieure oplossingen om problemen op locatie aan te pakken. Regelmatige beleidsherzieningen zorgen ervoor dat iedereen op de hoogte blijft.
Richtlijnen over prijzen en installatietijden
Wij bieden richtlijnen over prijsstrategieën voor nieuwkomers om nauwkeurige prijsstelling te waarborgen.
Benodigde Gereedschappen
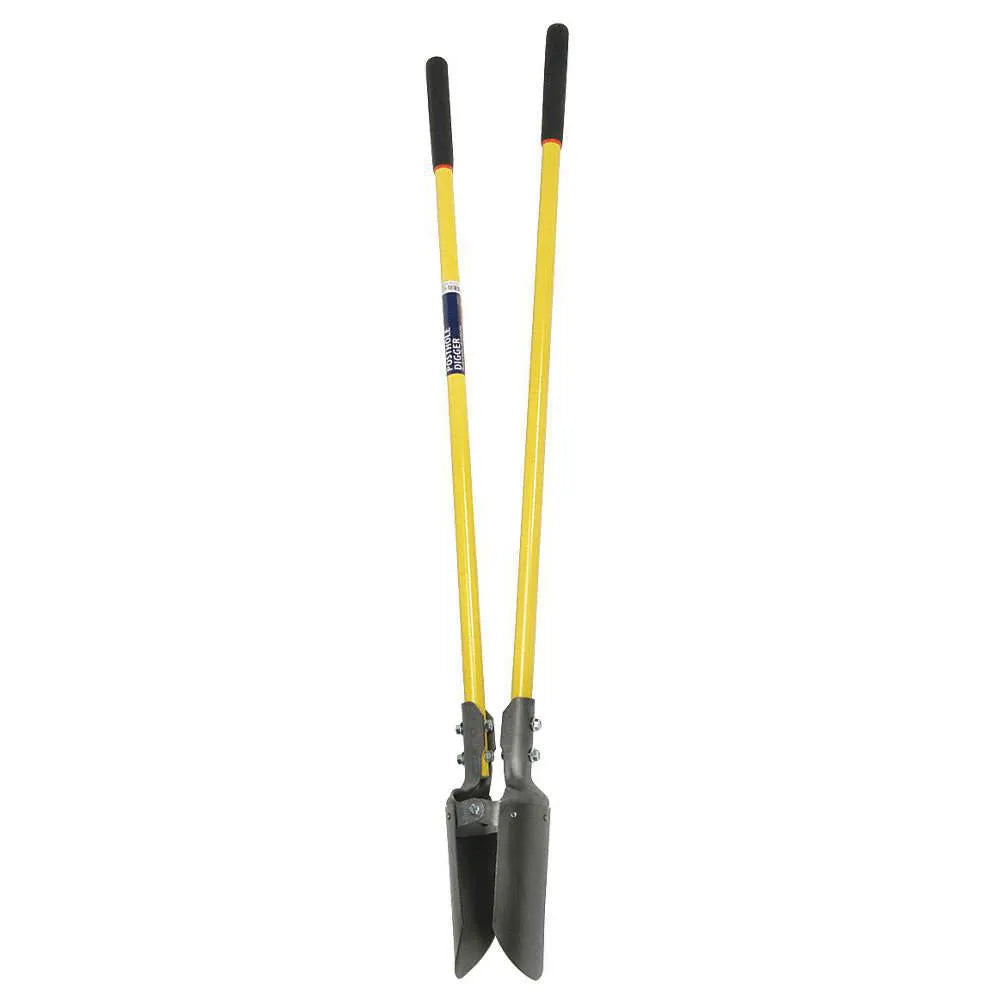
Palenboor
Paalgatenboor: Kan handmatig zijn (met twee handgrepen) of mechanisch (spiraalboor op een boormachine / tractor). Handmatig is goedkoper; mechanisch is sneller.
Goede paalgaten zijn essentieel voor de stabiliteit van een hek.
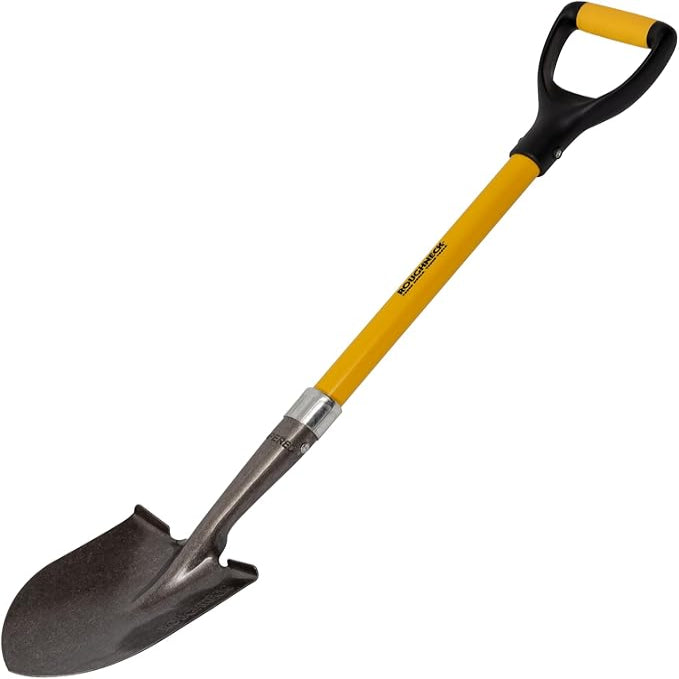
Schep
Voor het verplaatsen van aarde, grind of beton; opruimen; het aanpassen van de diepte van gaten; en het egaliseren van de grond.
Handig voor de laatste aanpassingen, het opvullen en algemene terreinvoorbereiding.
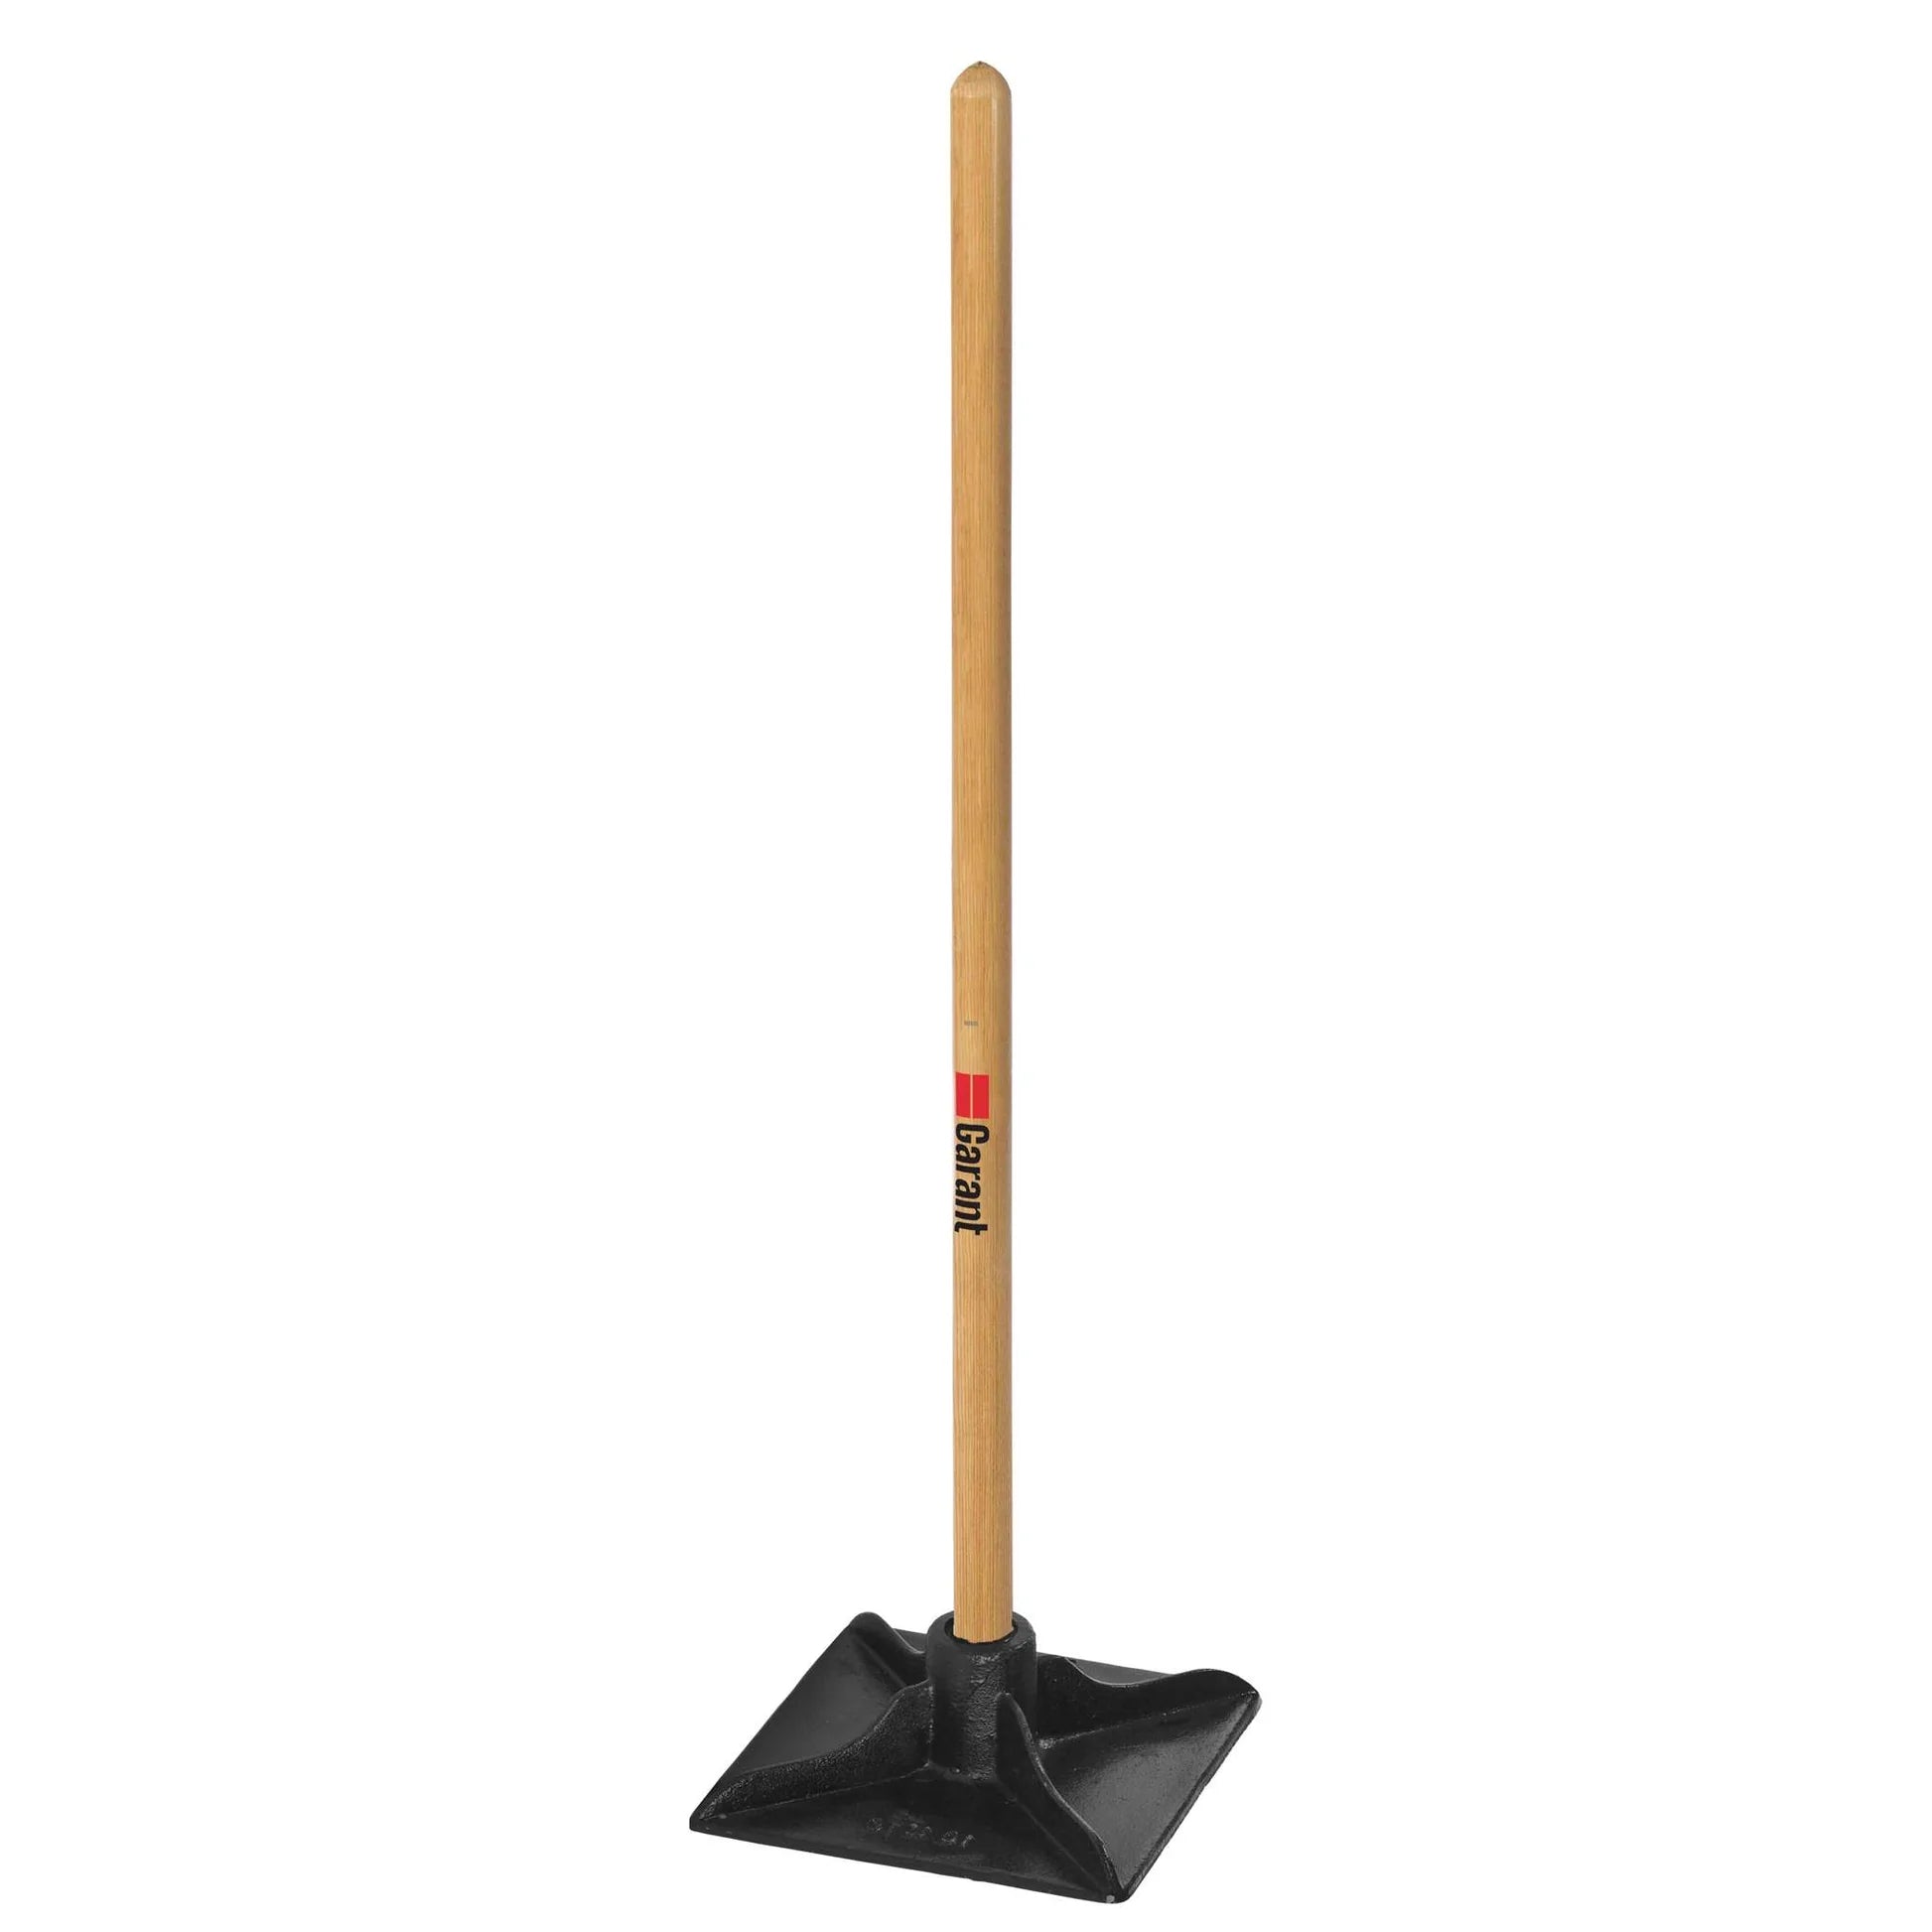
Opvulgereedschap / grond stamper
Zorgt ervoor dat de paal stevig blijft staan en niet verschuift na verloop van tijd.
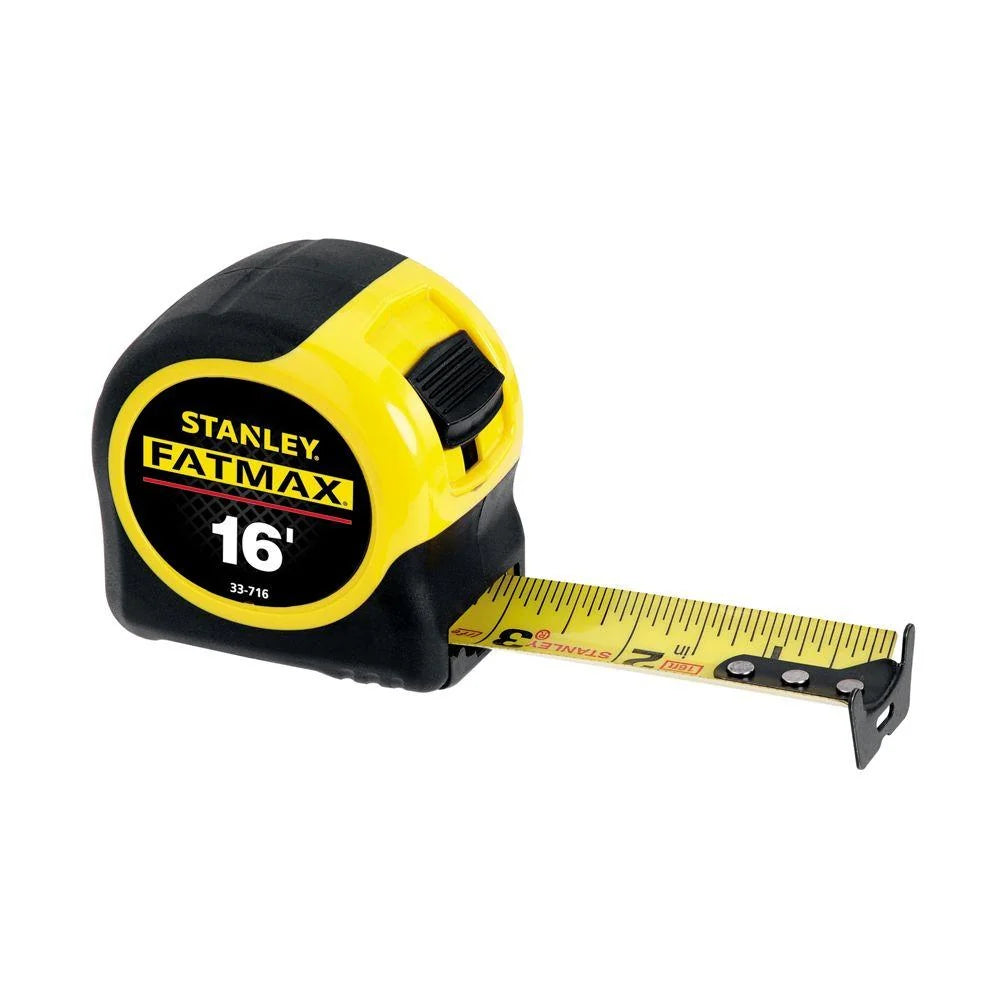
Rolmaat
Meet afstanden tussen palen, controleer de afstand tussen panelen, zorg voor uitlijning, controleer paaldieptes, enzovoort.
Een stevige rolmaat met duidelijke markeringen helpt bij een nauwkeurige meting.
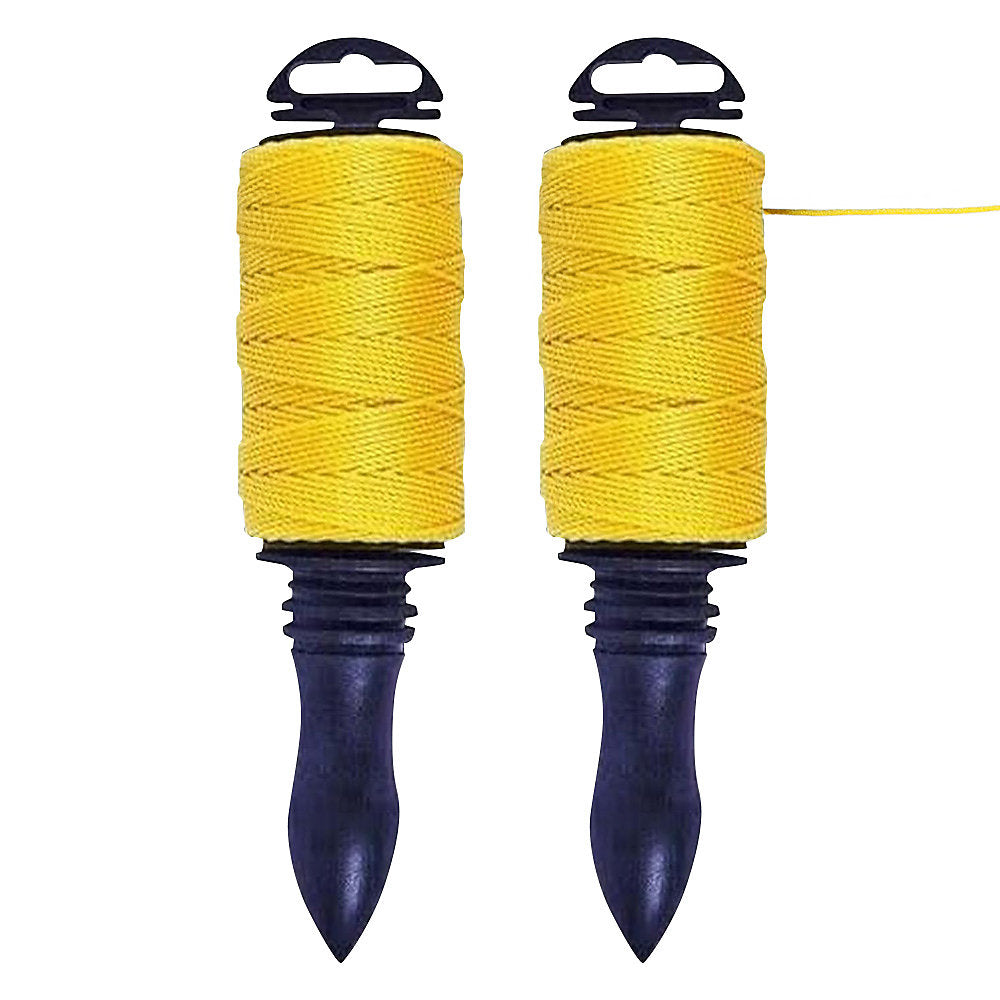
Afstandstouw / metskoord
Wordt gebruikt om rechte heklijnen uit te zetten en te behouden. Het touw wordt strak gespannen tussen paaltjes om de uitlijning van de palen te begeleiden.
Helpt om afwijkingen te voorkomen en zorgt dat alles in één vlak blijft.
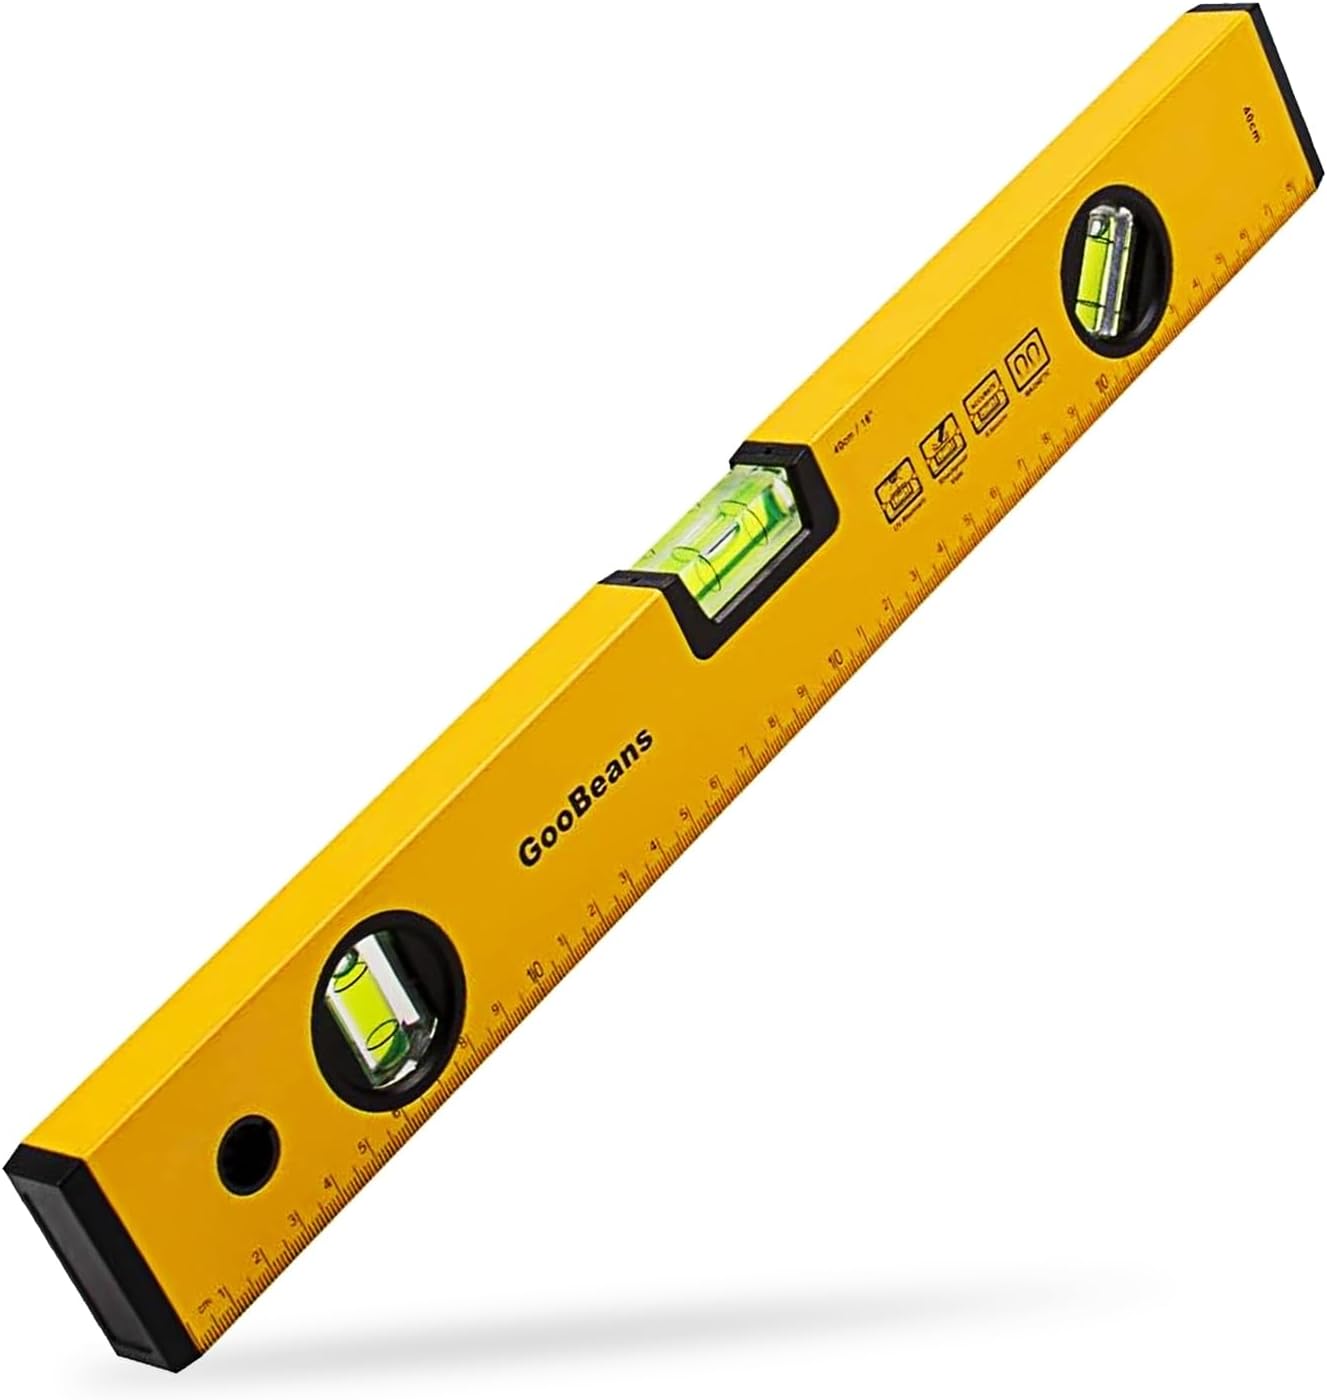
Waterpas
Een kleine waterpas die op een paal kan worden geplaatst; wordt gebruikt om te controleren of palen loodrecht (verticaal recht) en waterpas staan.
Sommige waterpassen kunnen om de paal worden gewikkeld om tegelijkertijd vanaf meerdere zijden af te lezen.

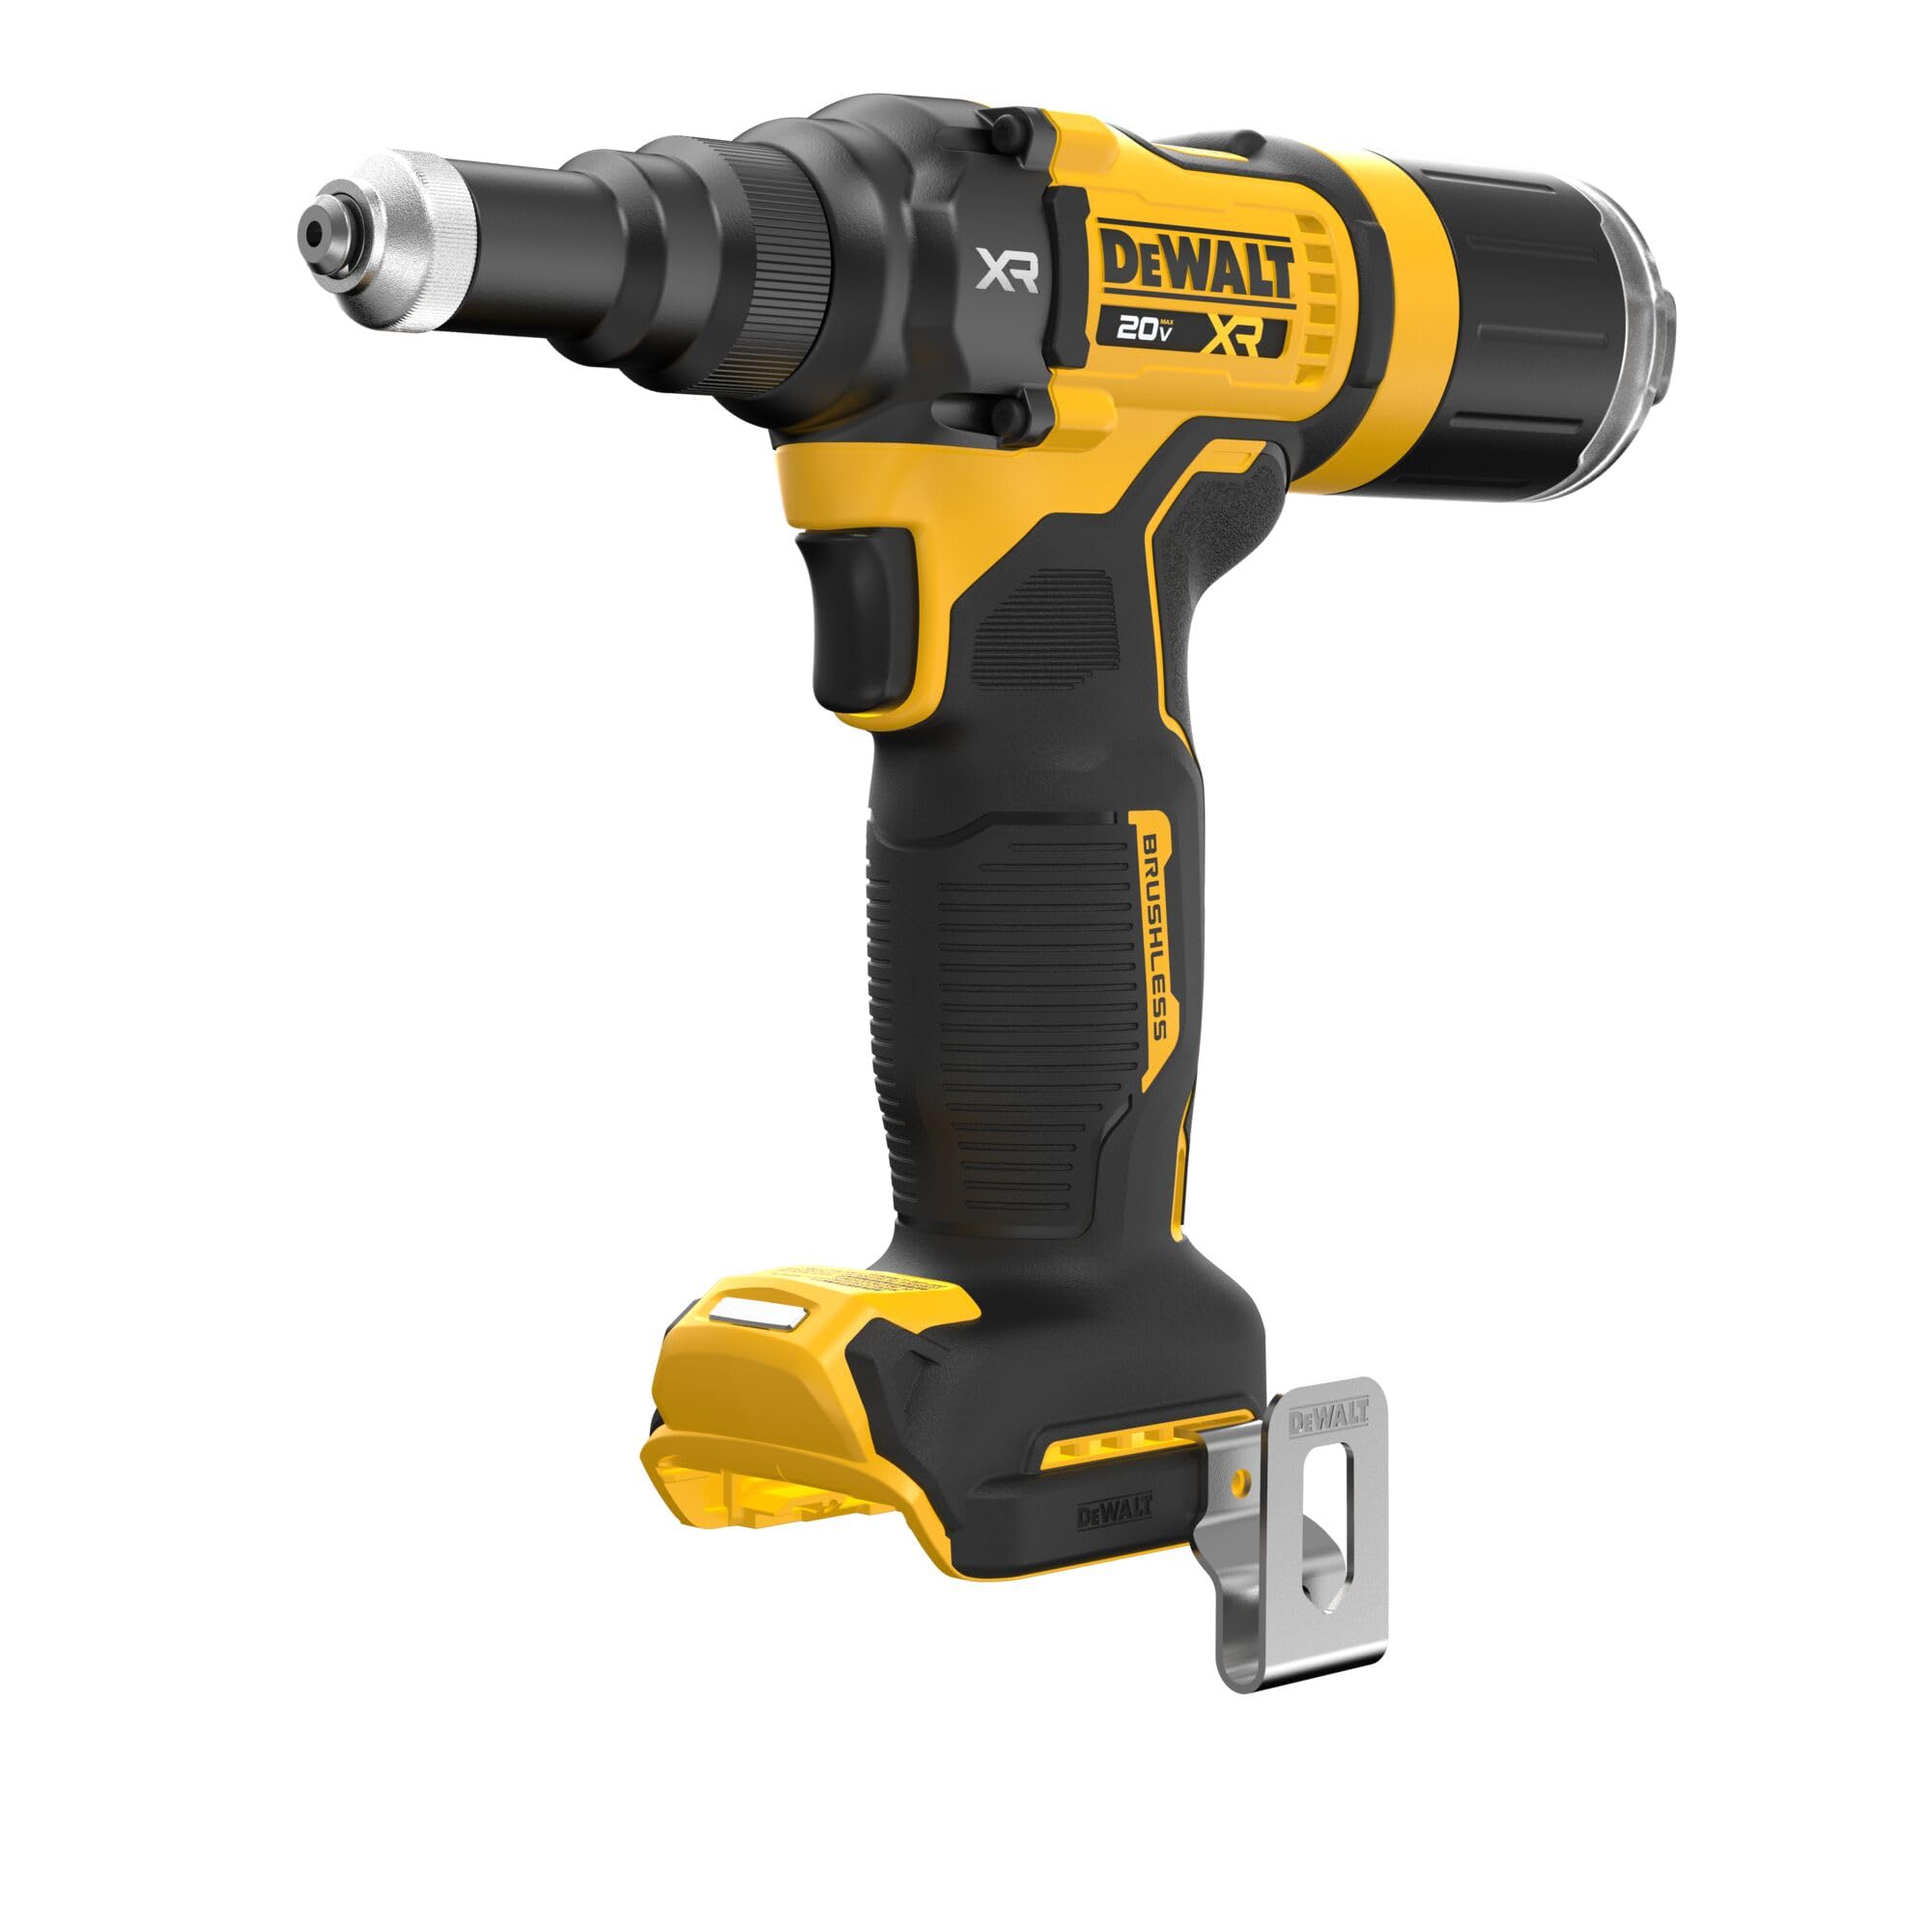
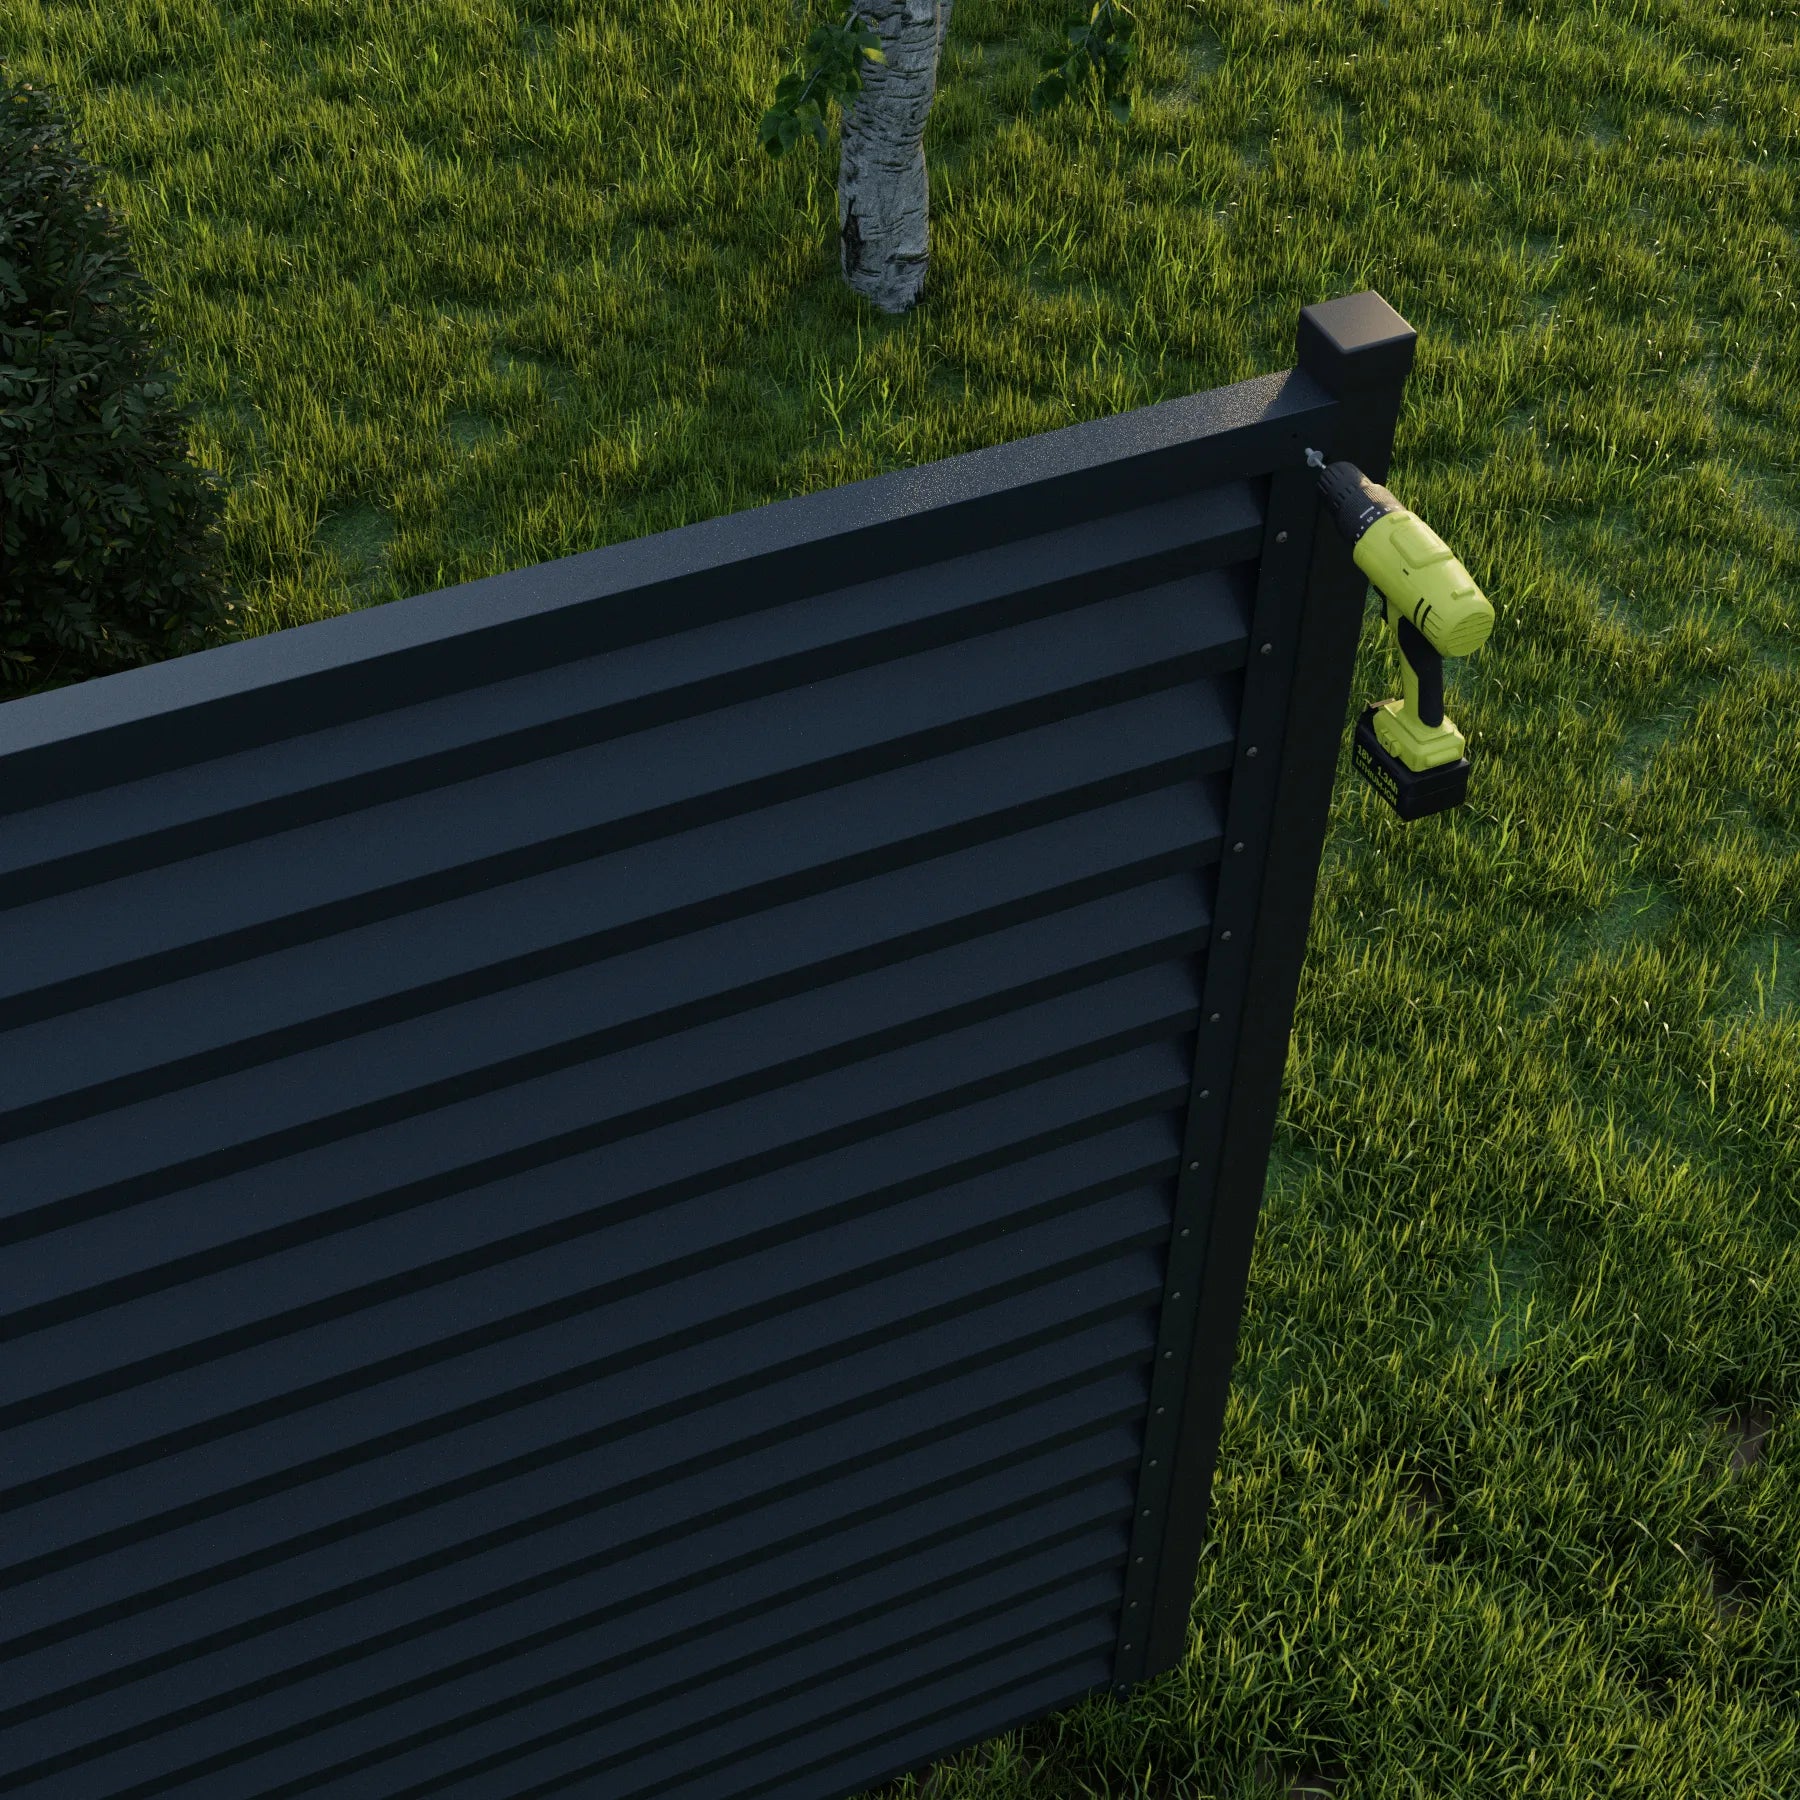
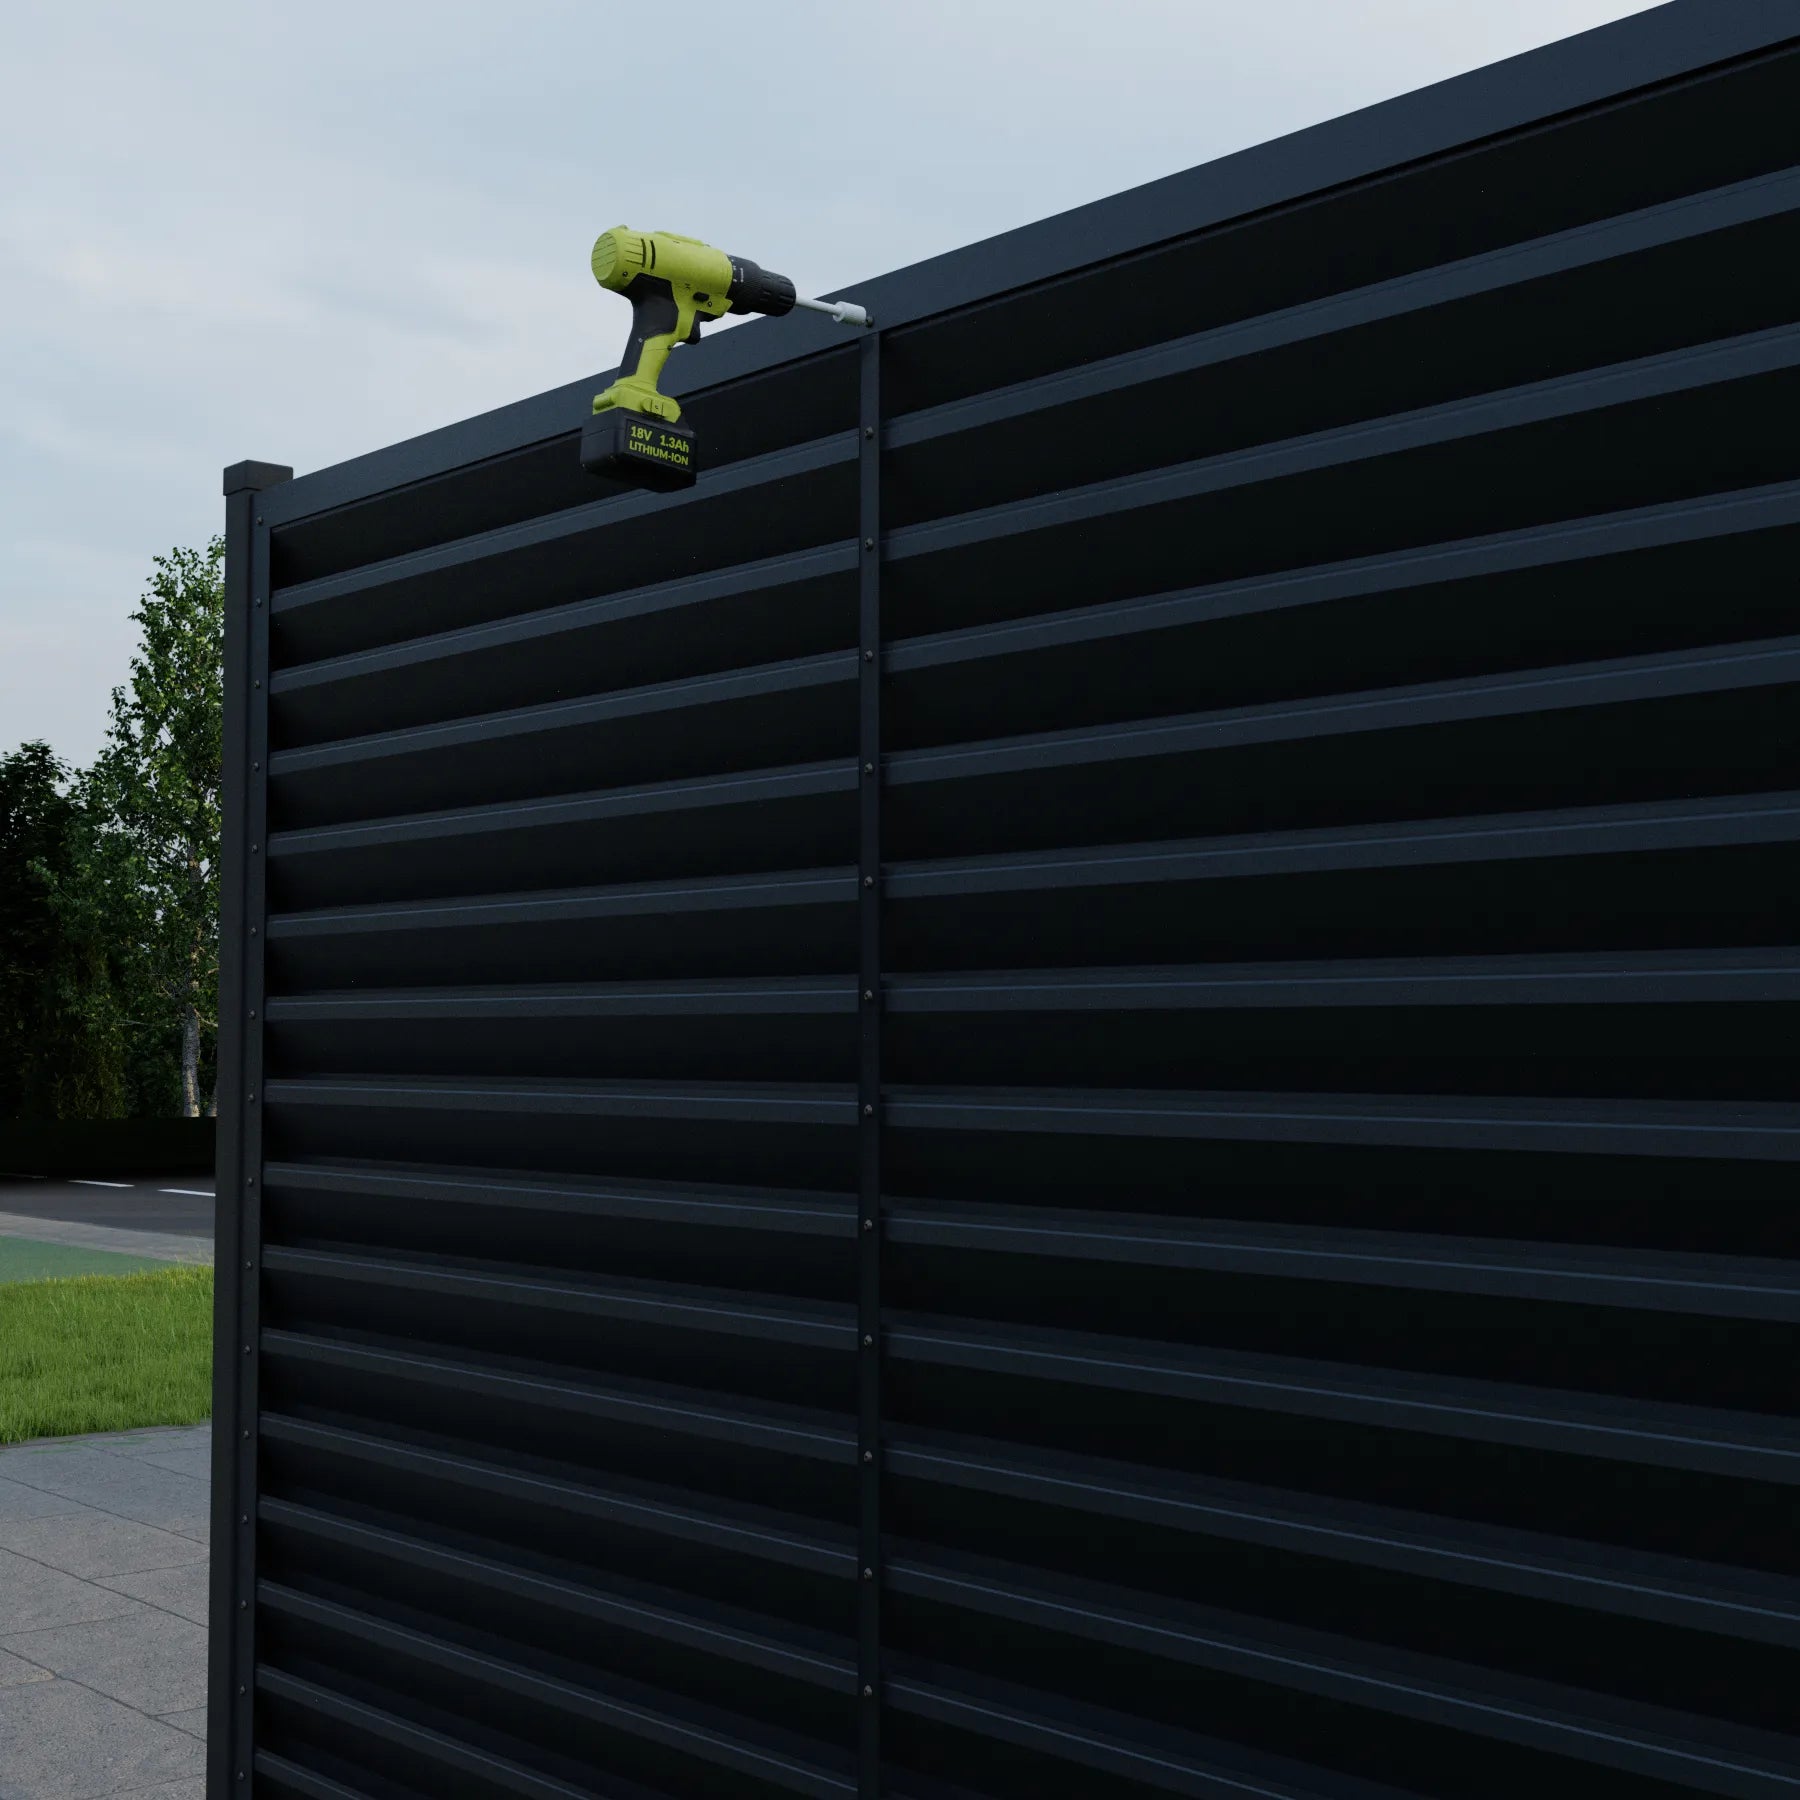
Elektrische schroevendraaier / slagschroevendraaier / boormachine
Voor het indraaien van schroeven, bouten en bevestigingen; om eventueel voor te boren.
Maakt herhaald werk sneller en consistenter (vergeleken met handmatige schroevendraaiers).
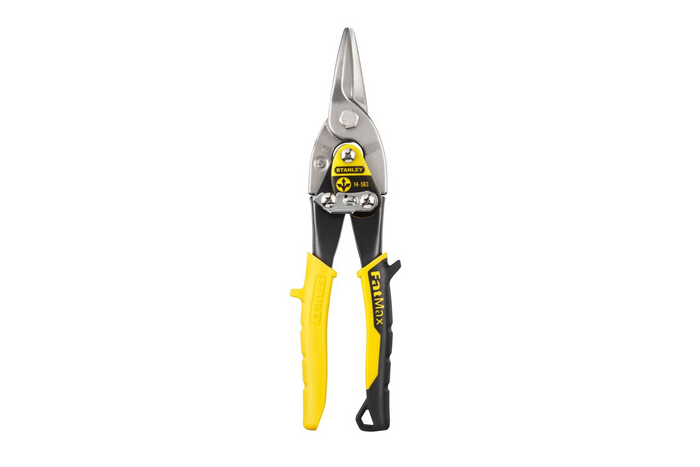
Metaalschaar
Wordt gebruikt om onderdelen van hekpanelen op maat te snijden.
(Let op: Vermijd het gebruik van hitteproducerend gereedschap, zoals haakse slijpers, aangezien dit de beschermende coating kan beschadigen en de garantie ongeldig kan maken.)
Popnageltang
Wordt gebruikt om de hekplanken stevig aan de U-profielen te bevestigen.
Wij raden aan om een accu-aangedreven popnageltang te gebruiken voor een eenvoudigere installatie. Het gebruik van een handmatige tang zal het werk aanzienlijk vertragen. Het popnageltuig moet compatibel zijn met popnagels van 40 mm.
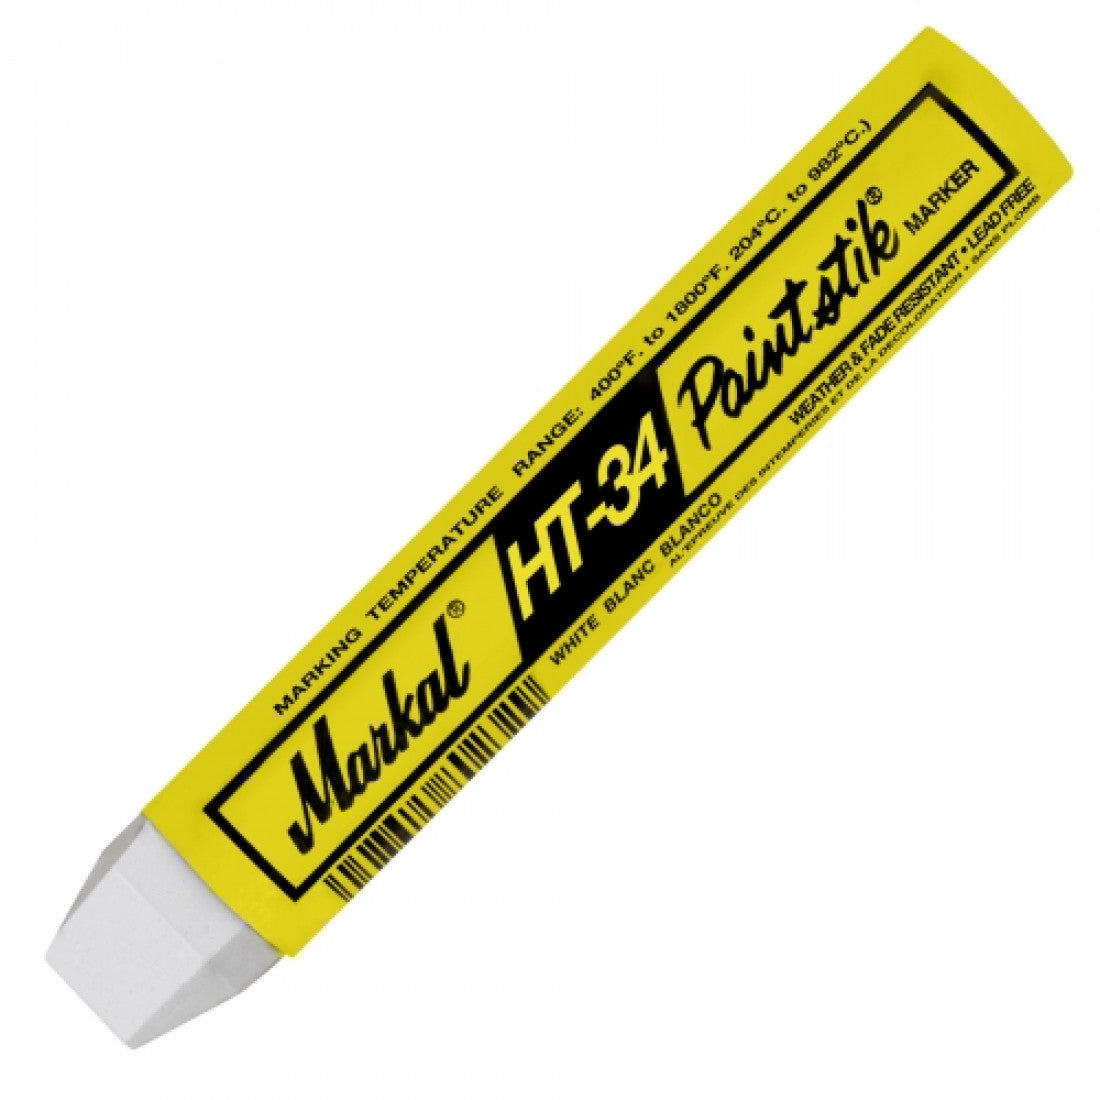
Markeergereedschap
Het correct markeren van de posities van onderdelen verbetert de installatiesnelheid en vermindert fouten.
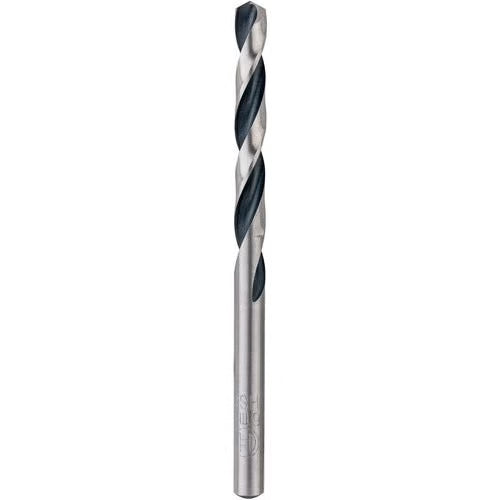
Stalen boor Ø 4,5 mm
Hekonderdelen
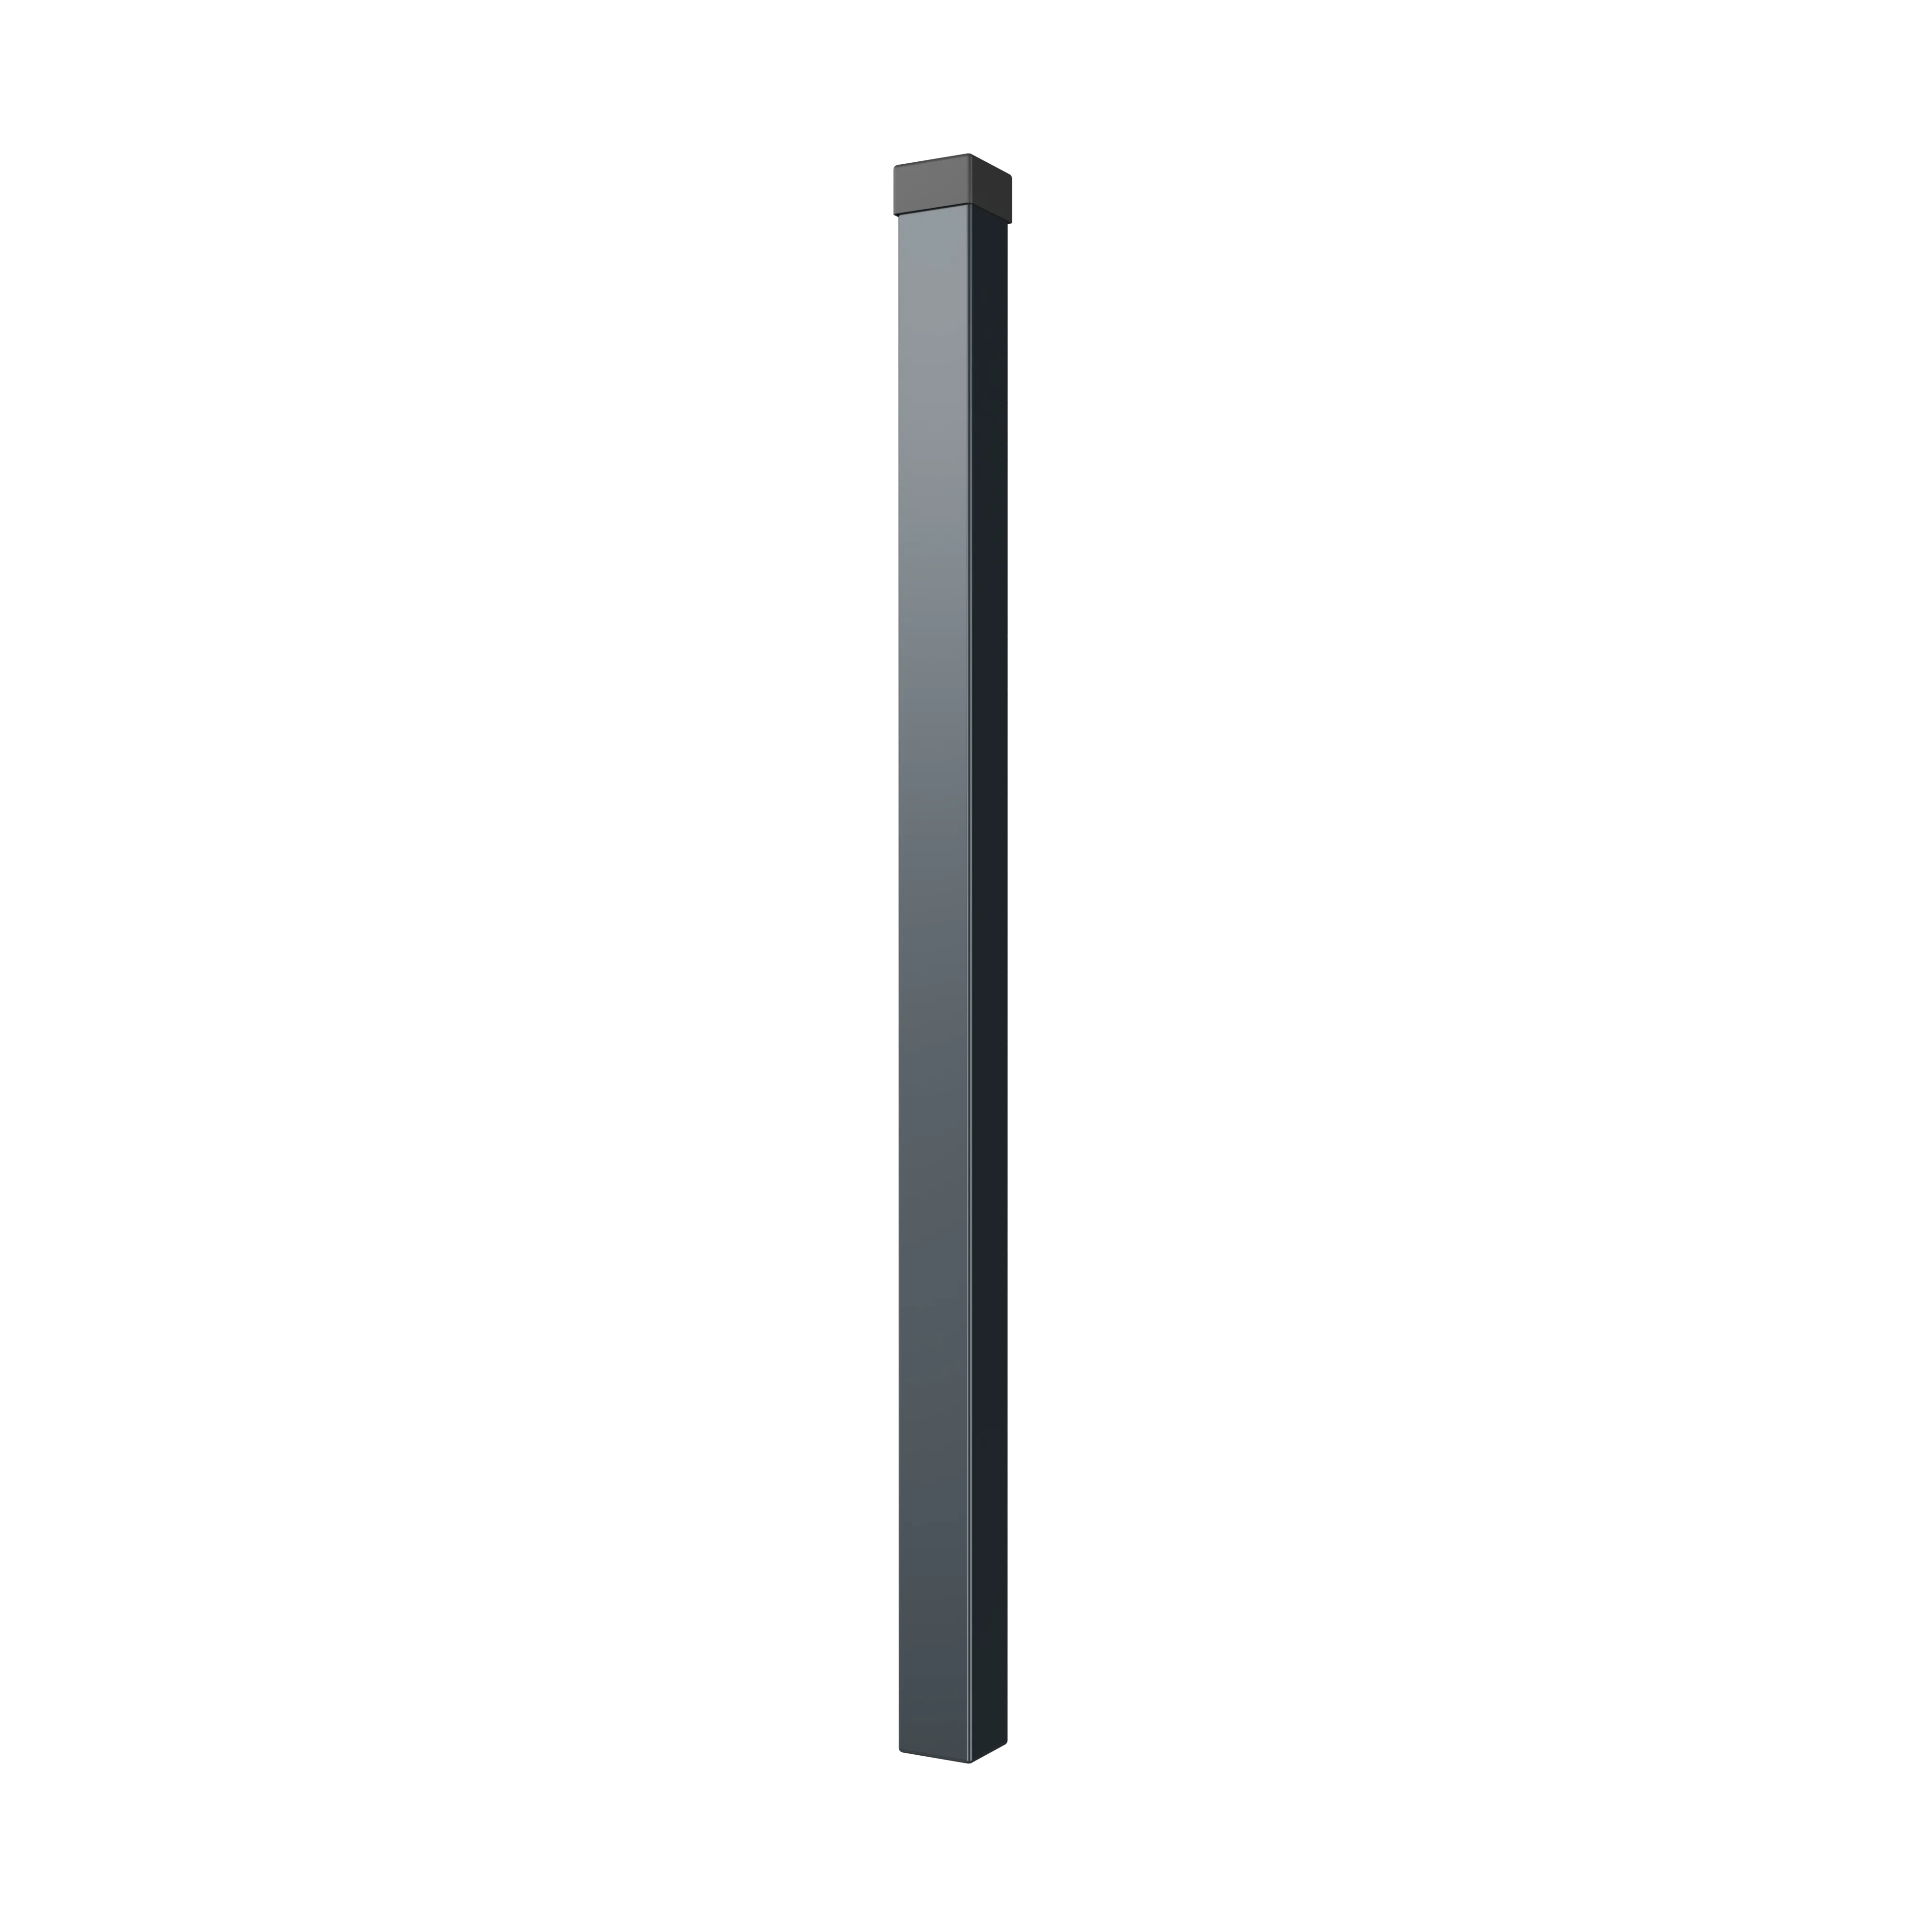
Hekpaal (zonder voetplaat)
Voor het direct in de grond plaatsen van het hek.
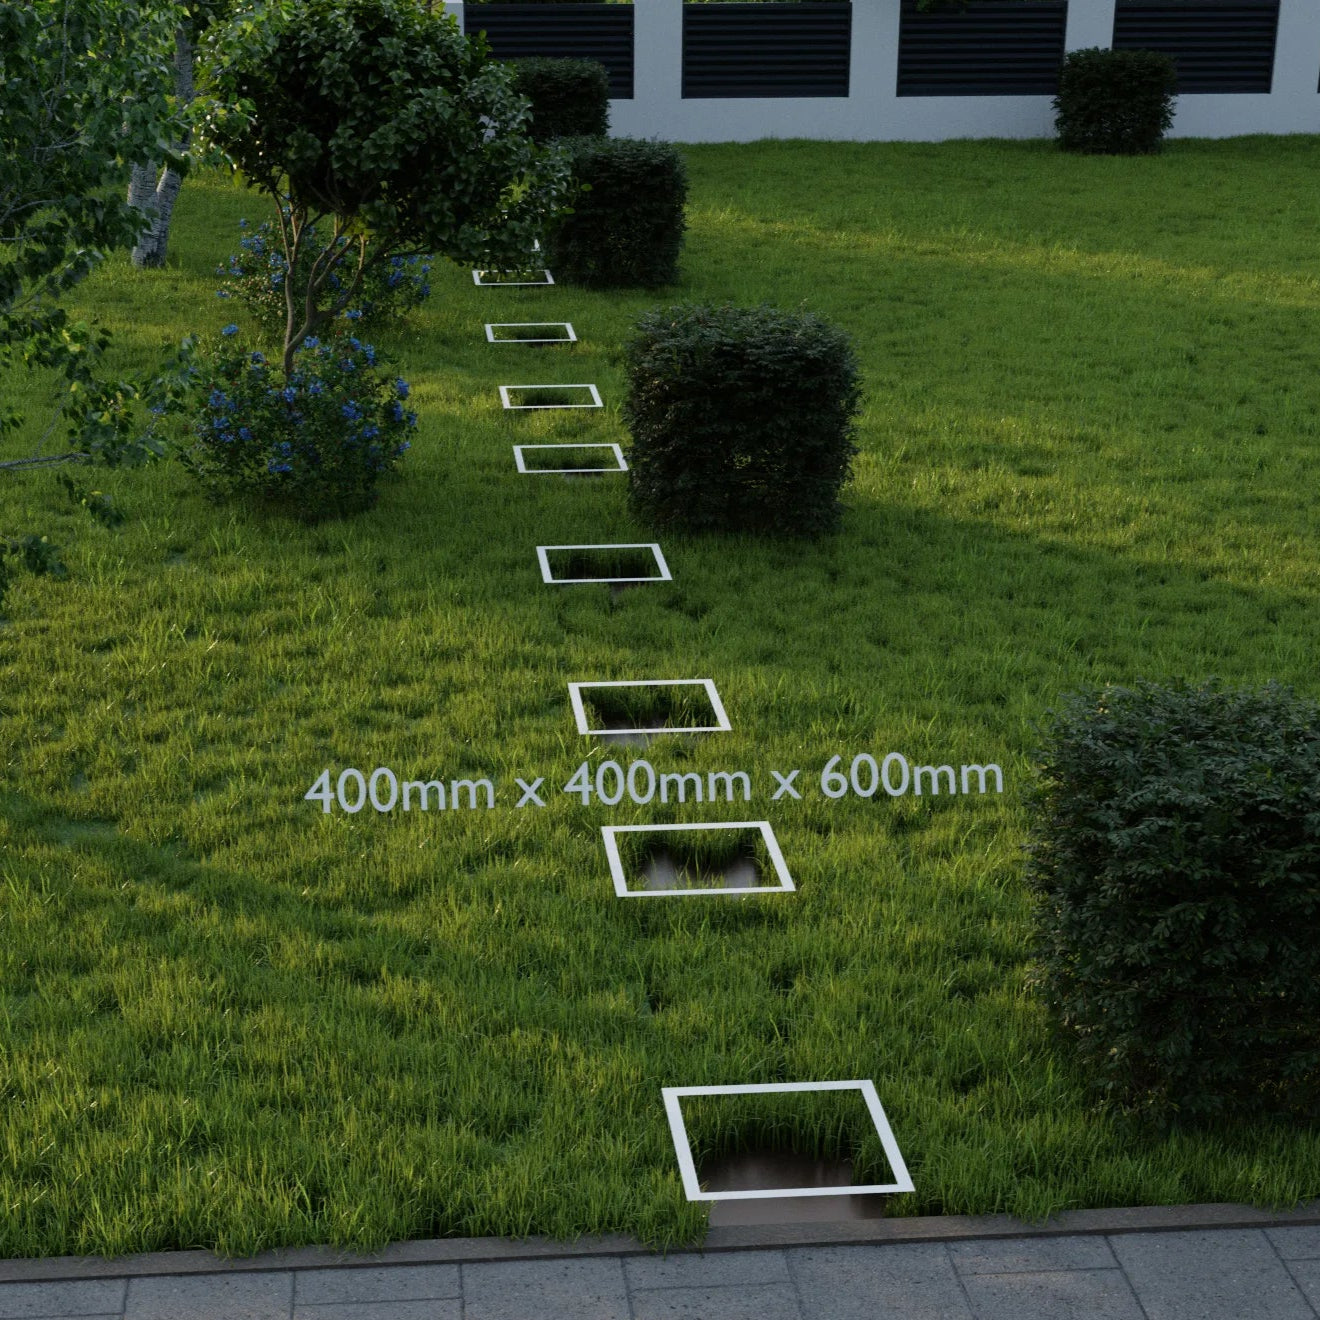
Graaf gaten in de grond van 400 mm x 400 mm x 600 mm diep en vul deze met snelbeton of een vergelijkbaar bevestigingsmateriaal voor het beste resultaat.
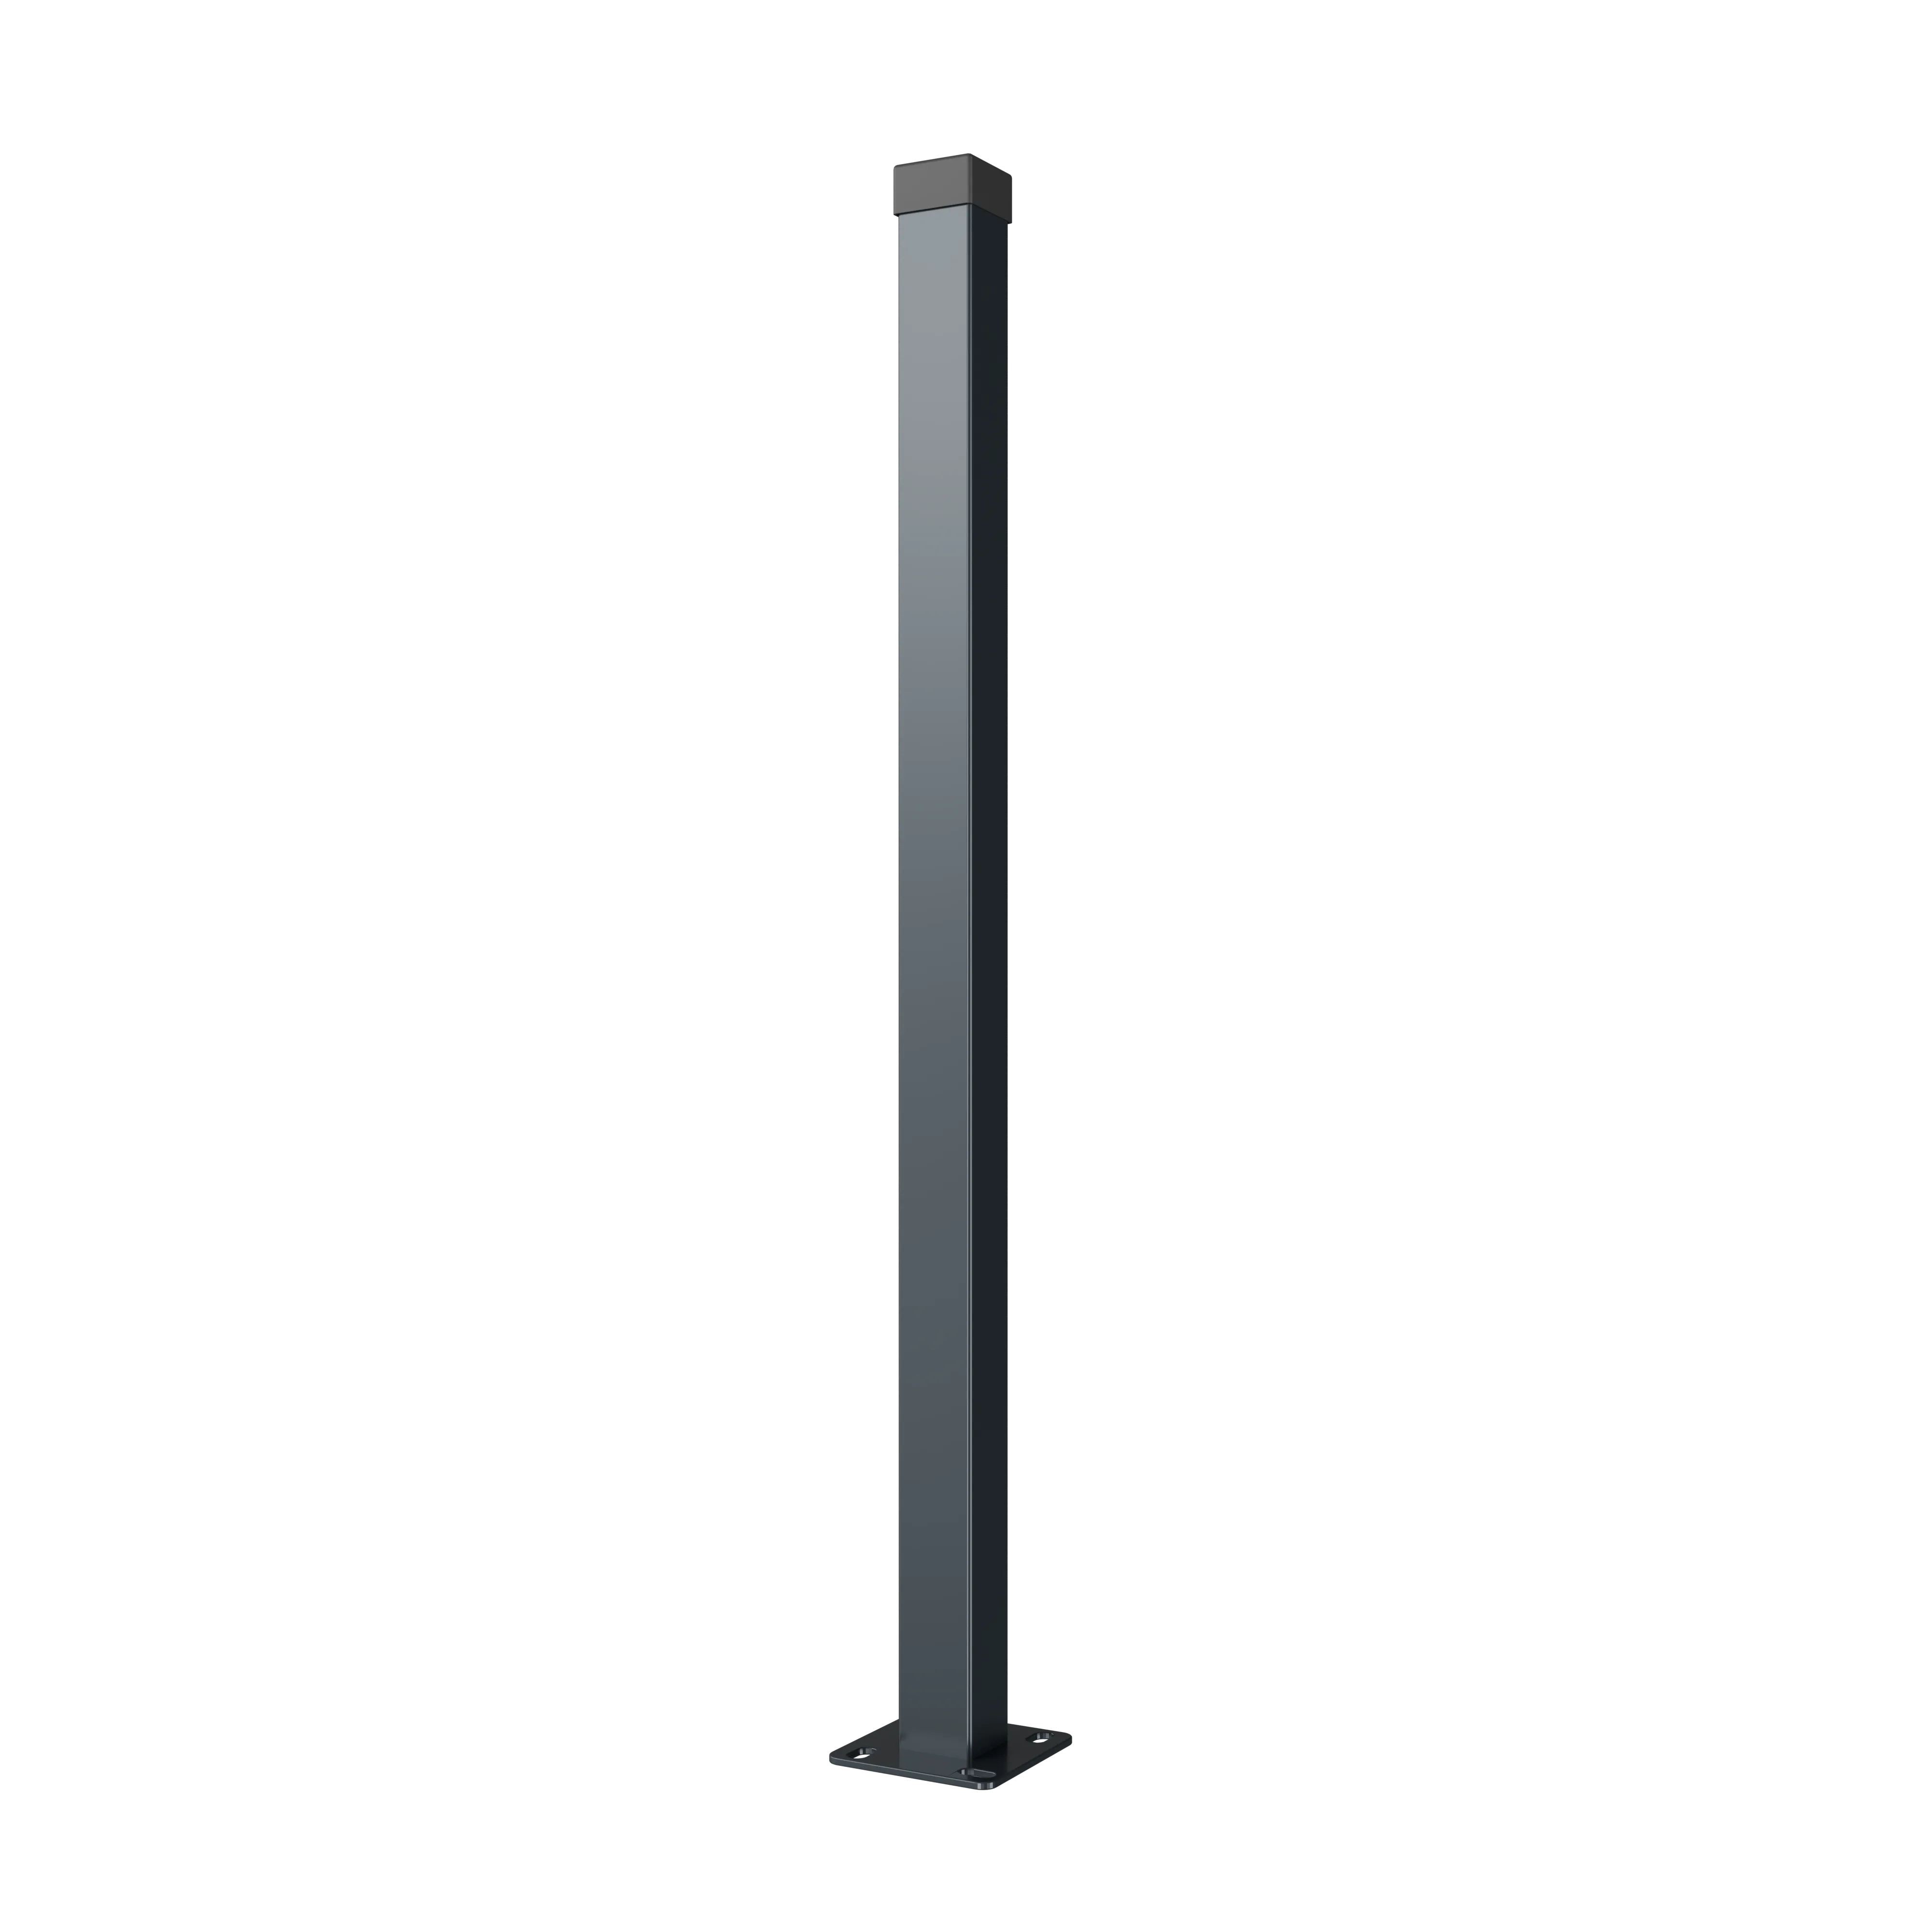
Hekpaal met voetplaat
Voor bevestiging op een bestaande dragende constructie.
Deze palen zijn ontworpen om te worden gemonteerd op bestaande muren of een betonnen fundering/oprit.
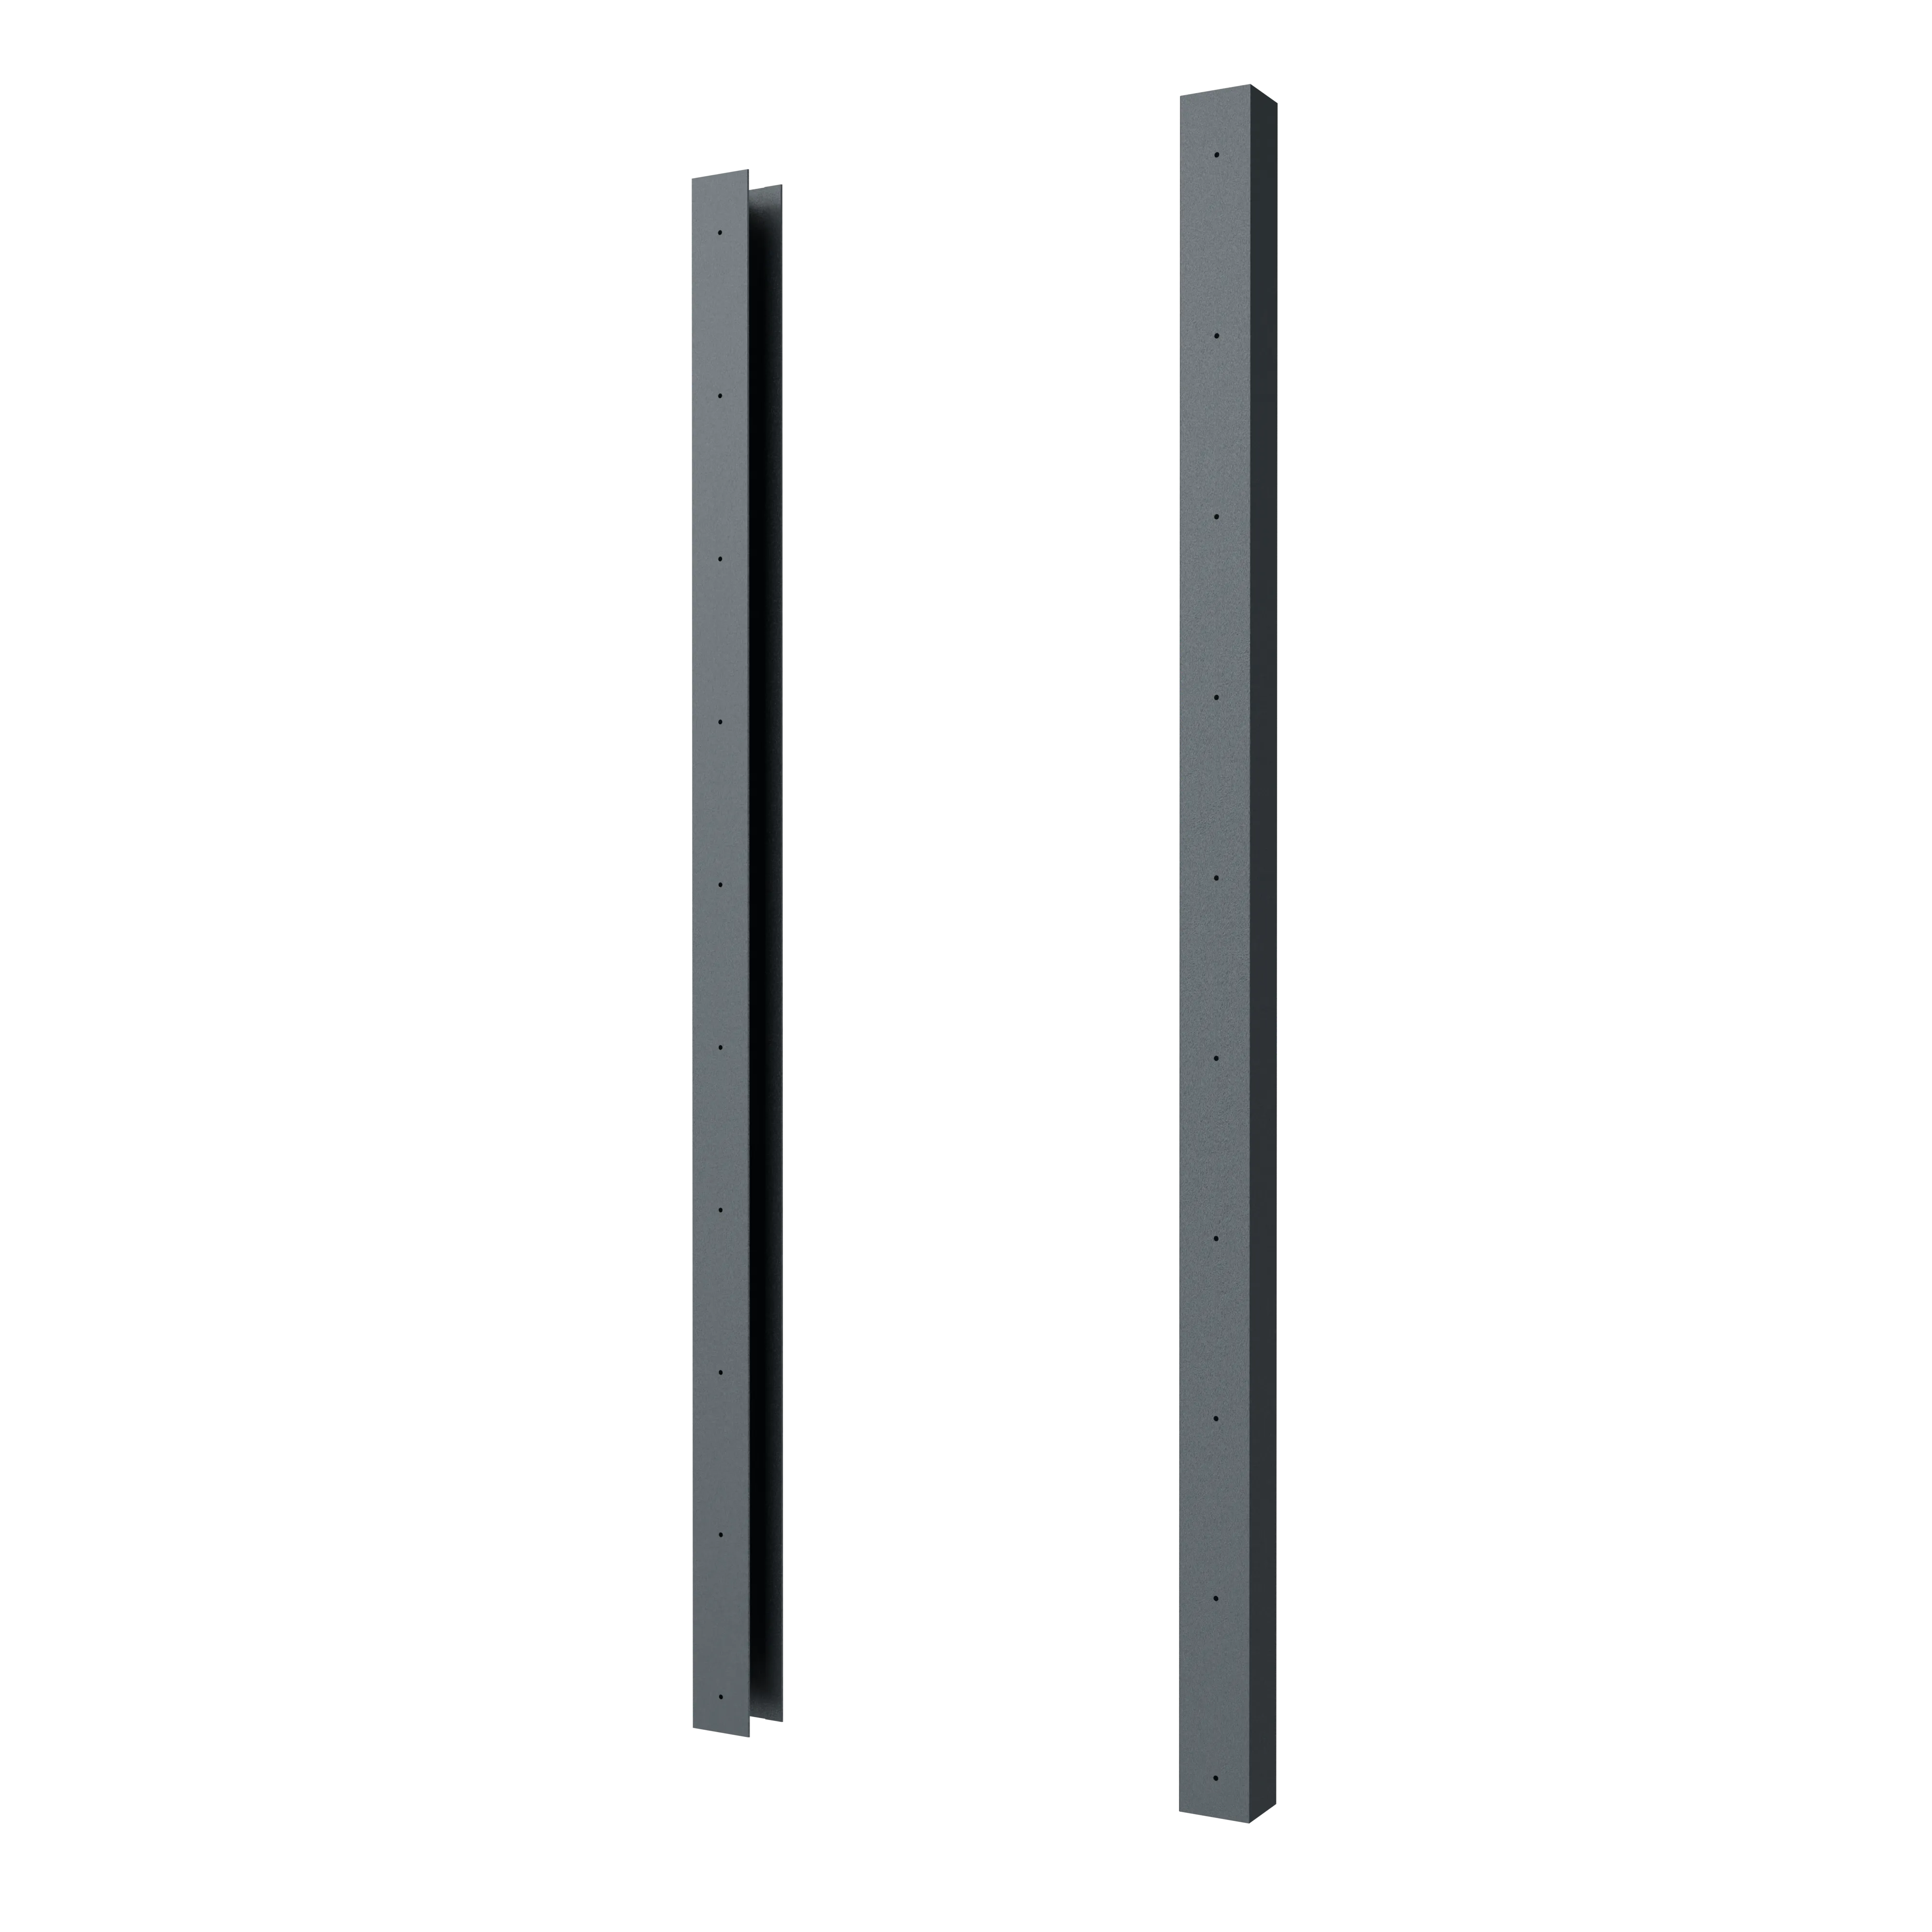
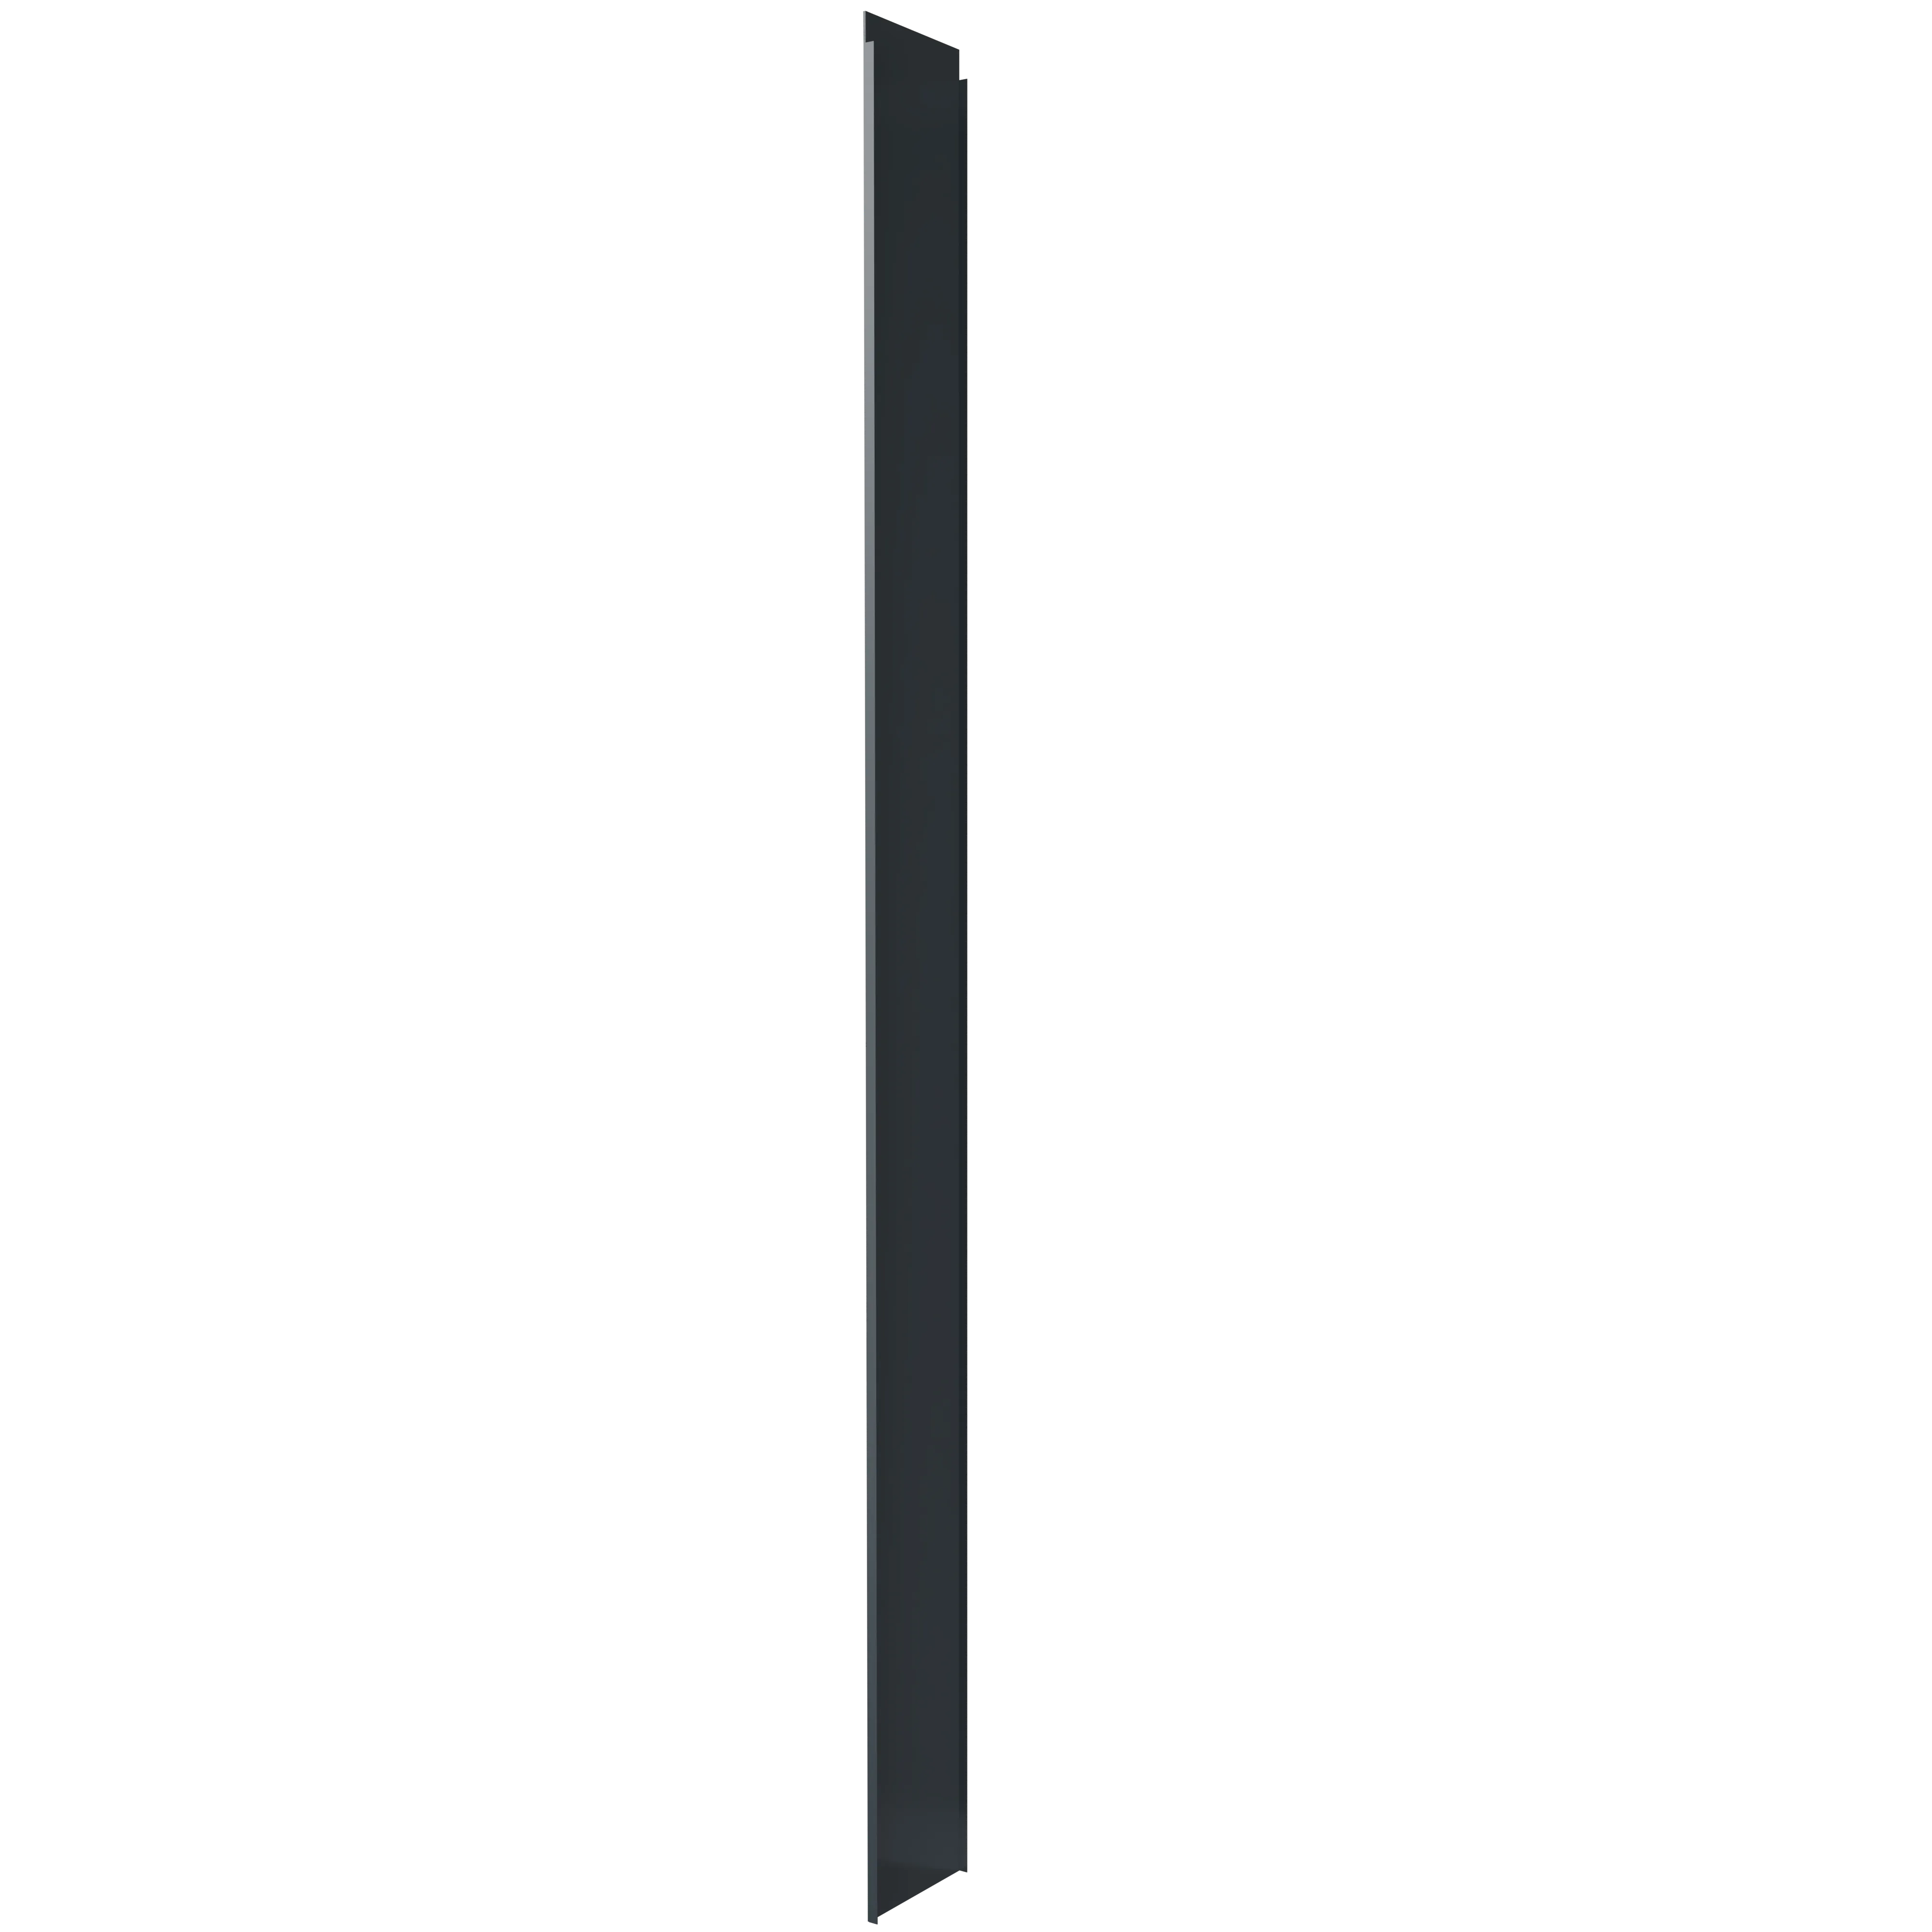
Verticaal U-profiel
U-vormig profiel met voorgeboorde gaten ter ondersteuning van horizontale hekplanken.
Twee verticale profielen zijn inbegrepen in elke hekpanelen set. Eén wordt aan de rechterkant geplaatst en de andere aan de linkerkant.
(Let op: De positionering van deze U-profielen bepaalt wat de voorzijde en wat de achterzijde van je hekpaneel is.)
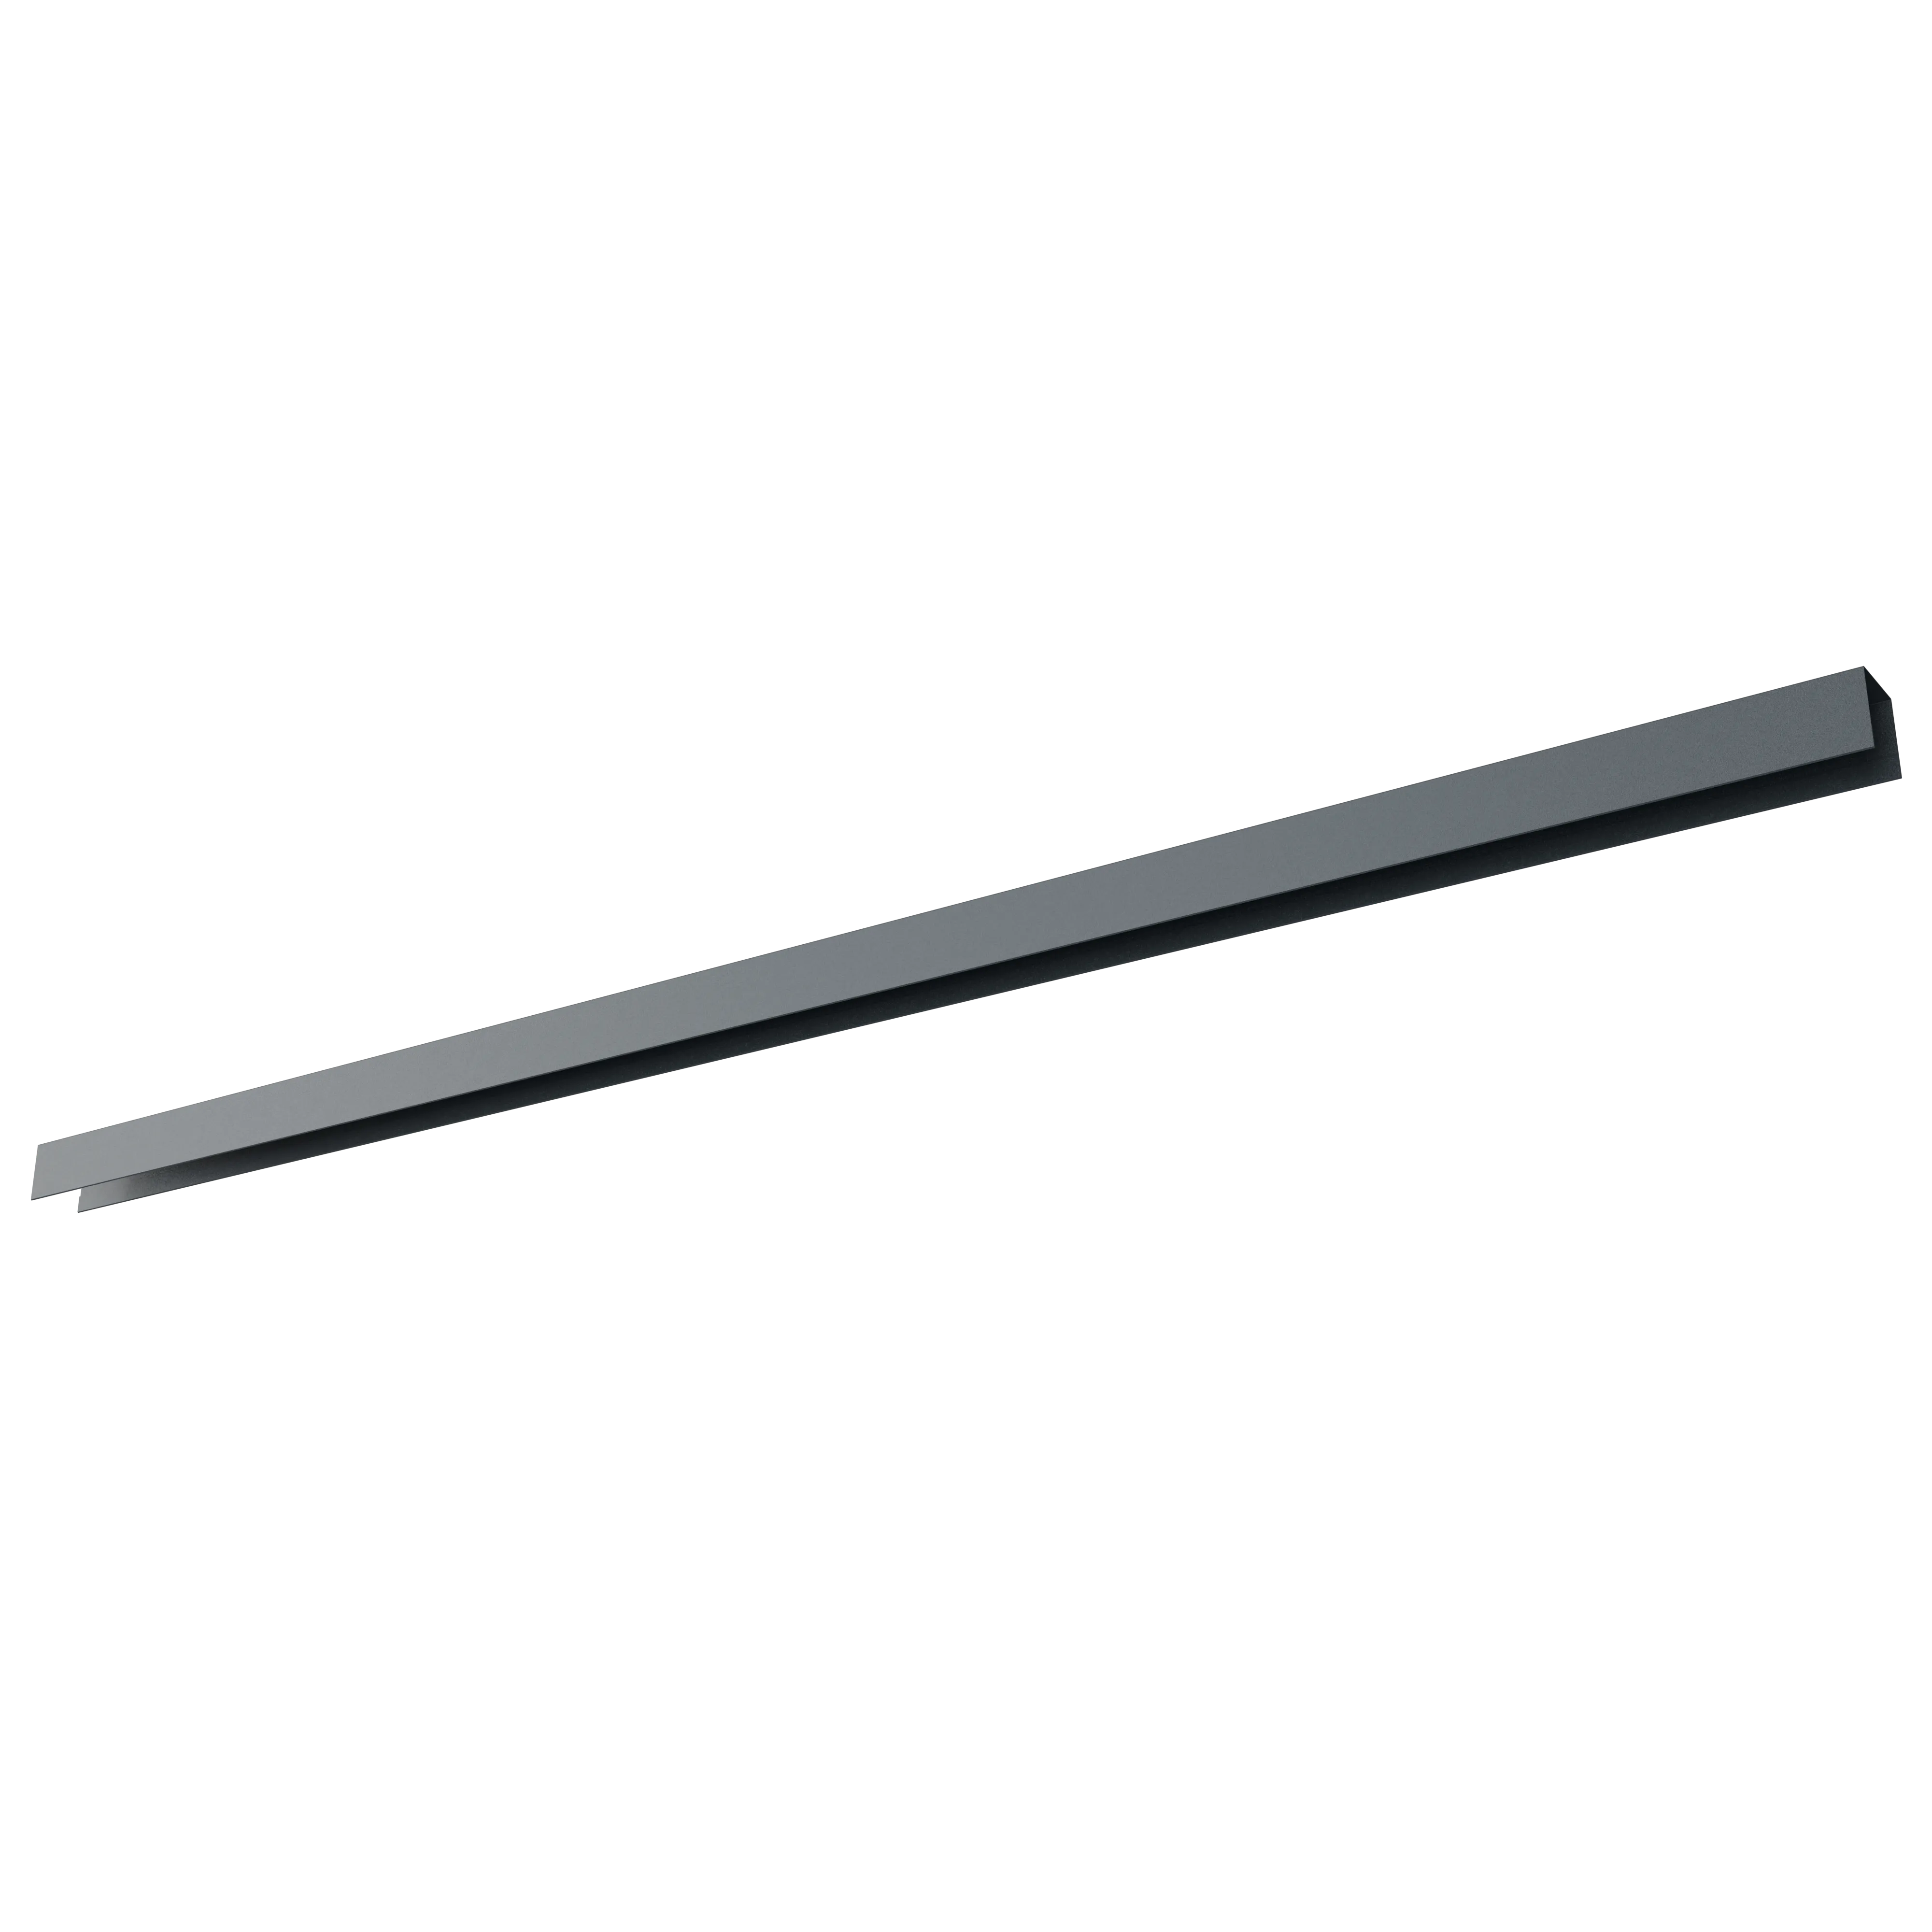
Horizontaal U-profiel
Wordt boven op de hekplanken geplaatst en bevestigd aan de verticale U-profielen.
Het horizontale U-profiel verbetert het uiterlijk van het hekpaneel en biedt structurele ondersteuning aan de bovenzijde van het hek.
Elke hekpanelen set bevat één horizontaal U-profiel.
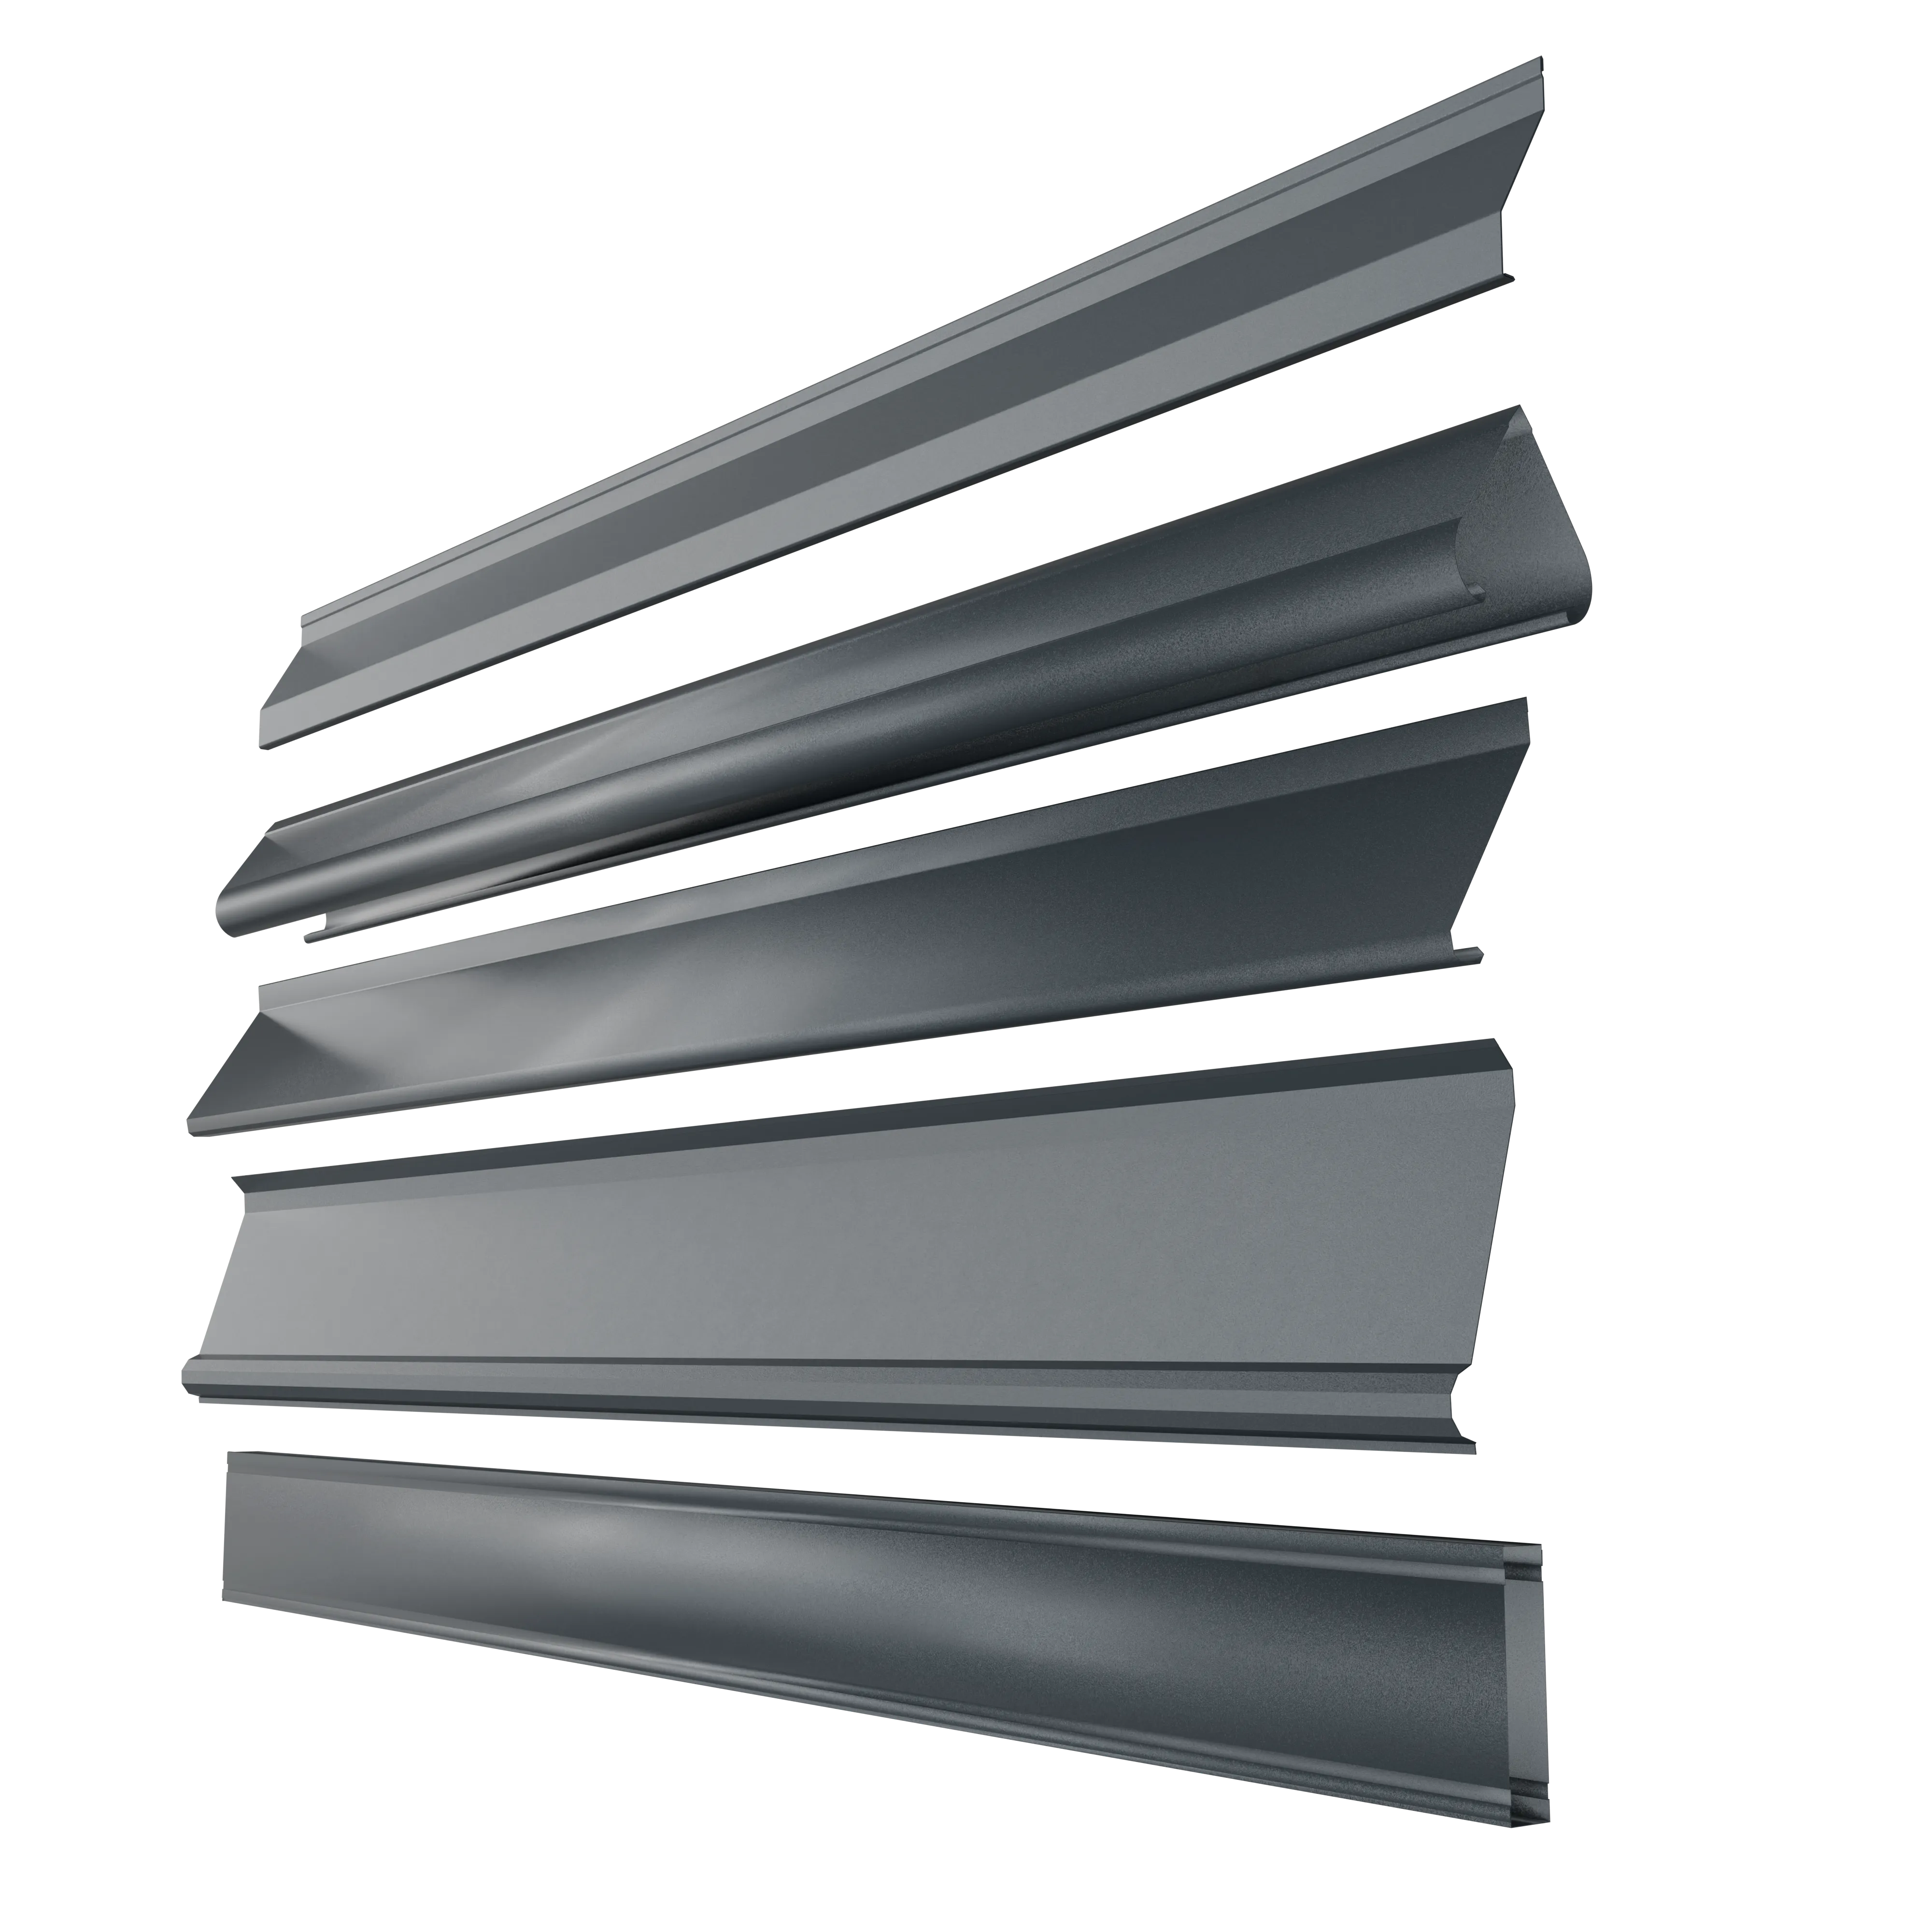
Hekplank
Belangrijk onderdeel voor het opvullen van de hekpaneelstructuur.
Plaats deze tussen de U-profielen en bevestig ze met de meegeleverde popnagels.
De verschillende vormen van onze hekplanken bepalen het uiterlijk van het hekpaneel.
Verstevigingsprofiel
Versterkt de schuttingpanelen voor een betere windbestendigheid.
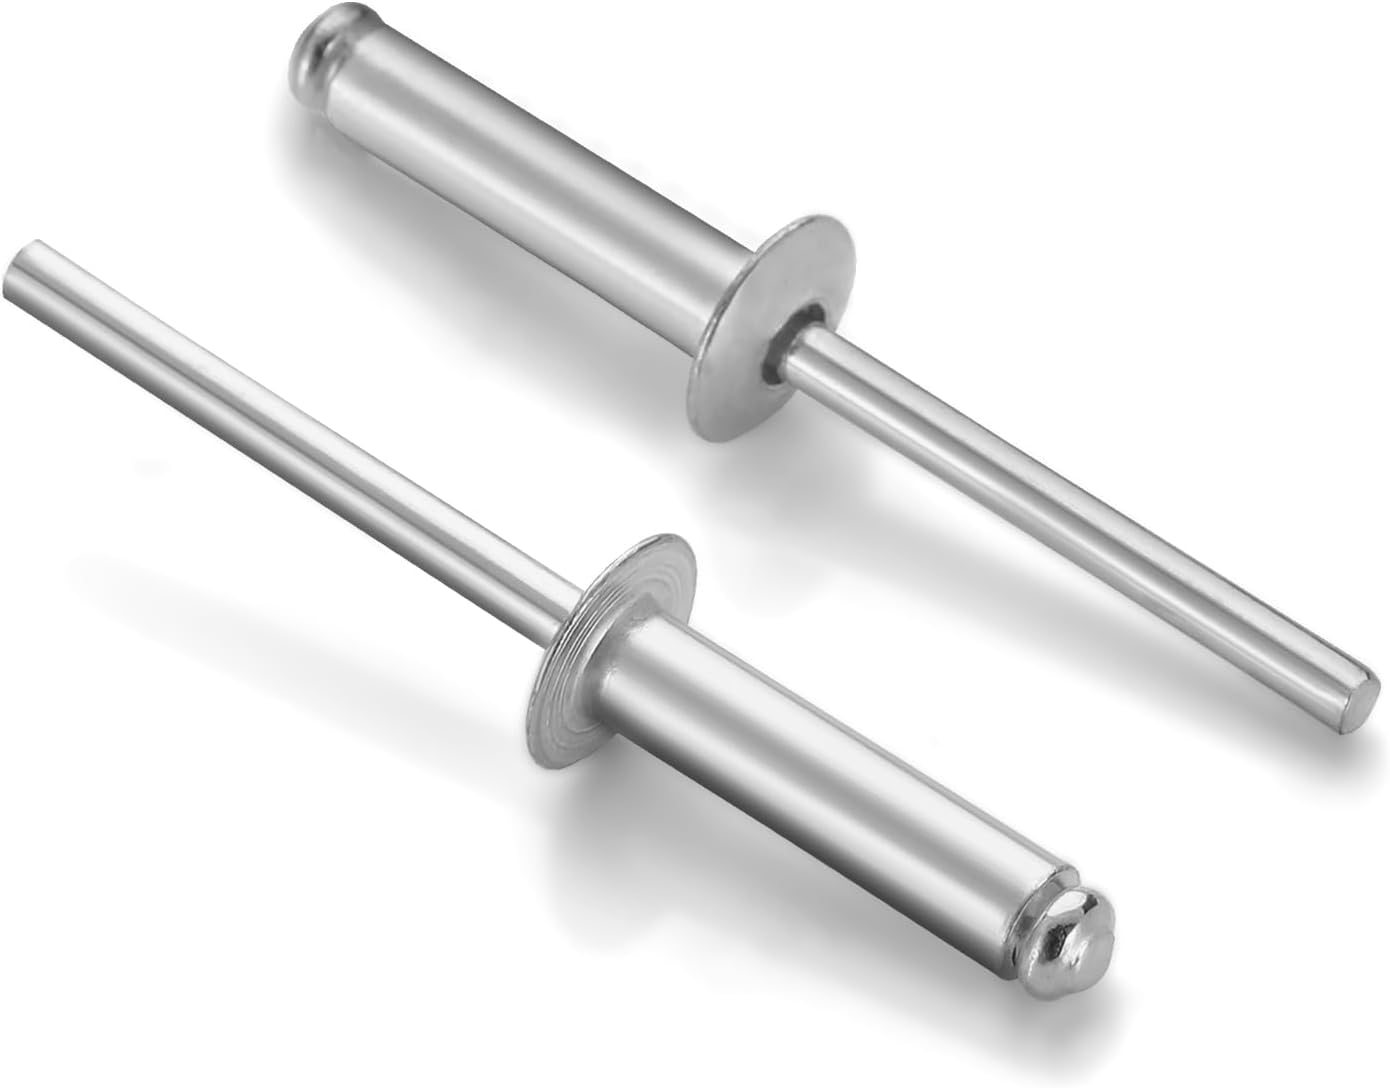
Blindklinknagels (popnagels)
Worden gebruikt om het hekpaneel aan elkaar te bevestigen.
Deze popnagels vergroten de stevigheid van de hekconstructie, omdat de bevestigingen na verloop van tijd niet losraken en niet gemakkelijk met gereedschap kunnen worden verwijderd.
De popnagels zijn inbegrepen in de prijs van het hekpaneel en worden samen met het hekpaneel geleverd, samen met andere bijbehorende bevestigingen.
De popnagel heeft een maat van 40 mm.
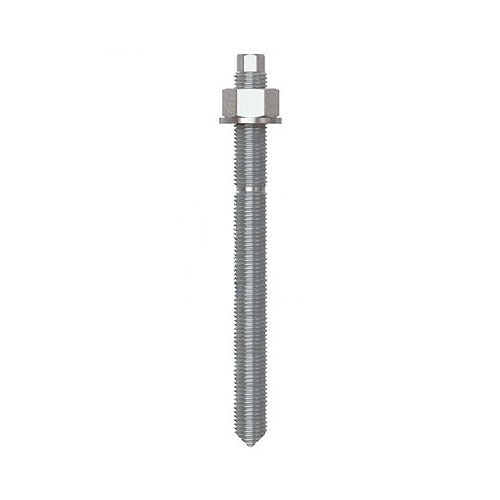
Chemische ankerstangen
Worden gebruikt om de hekpaal met voetplaat aan de onderliggende constructie te bevestigen.
Volg tijdens de installatie nauwkeurig de richtlijnen van de fabrikant.
Installatiestappen

Stap 1
Markeer de locatie van de hekpalen.
Gebruik een metskoord en een spuitmarker om een rechte lijn te trekken en de plaats van de hekpalen nauwkeurig aan te geven op de plekken waar gegraven moet worden.
Stap 2
Graaf de gemarkeerde locaties uit.
Gebruik een grondboor of een paalgatenboor om op de aangegeven plaatsen gaten te graven met een afmeting van 400 mm breed x 400 mm lang x 600 mm diep.
Stap 3
Bevestig de hekpalen op hun plaats.
Plaats de paal correct. Controleer de afstanden zodat deze overeenkomen met de hekpaneelposities. Zorg ervoor dat de palen waterpas en in lijn staan voordat je ze permanent vastzet met snelbeton of een vergelijkbaar materiaal.
Voeg het snelbeton toe om de paal op zijn plaats te bevestigen en laat het uitharden.
Stap 4
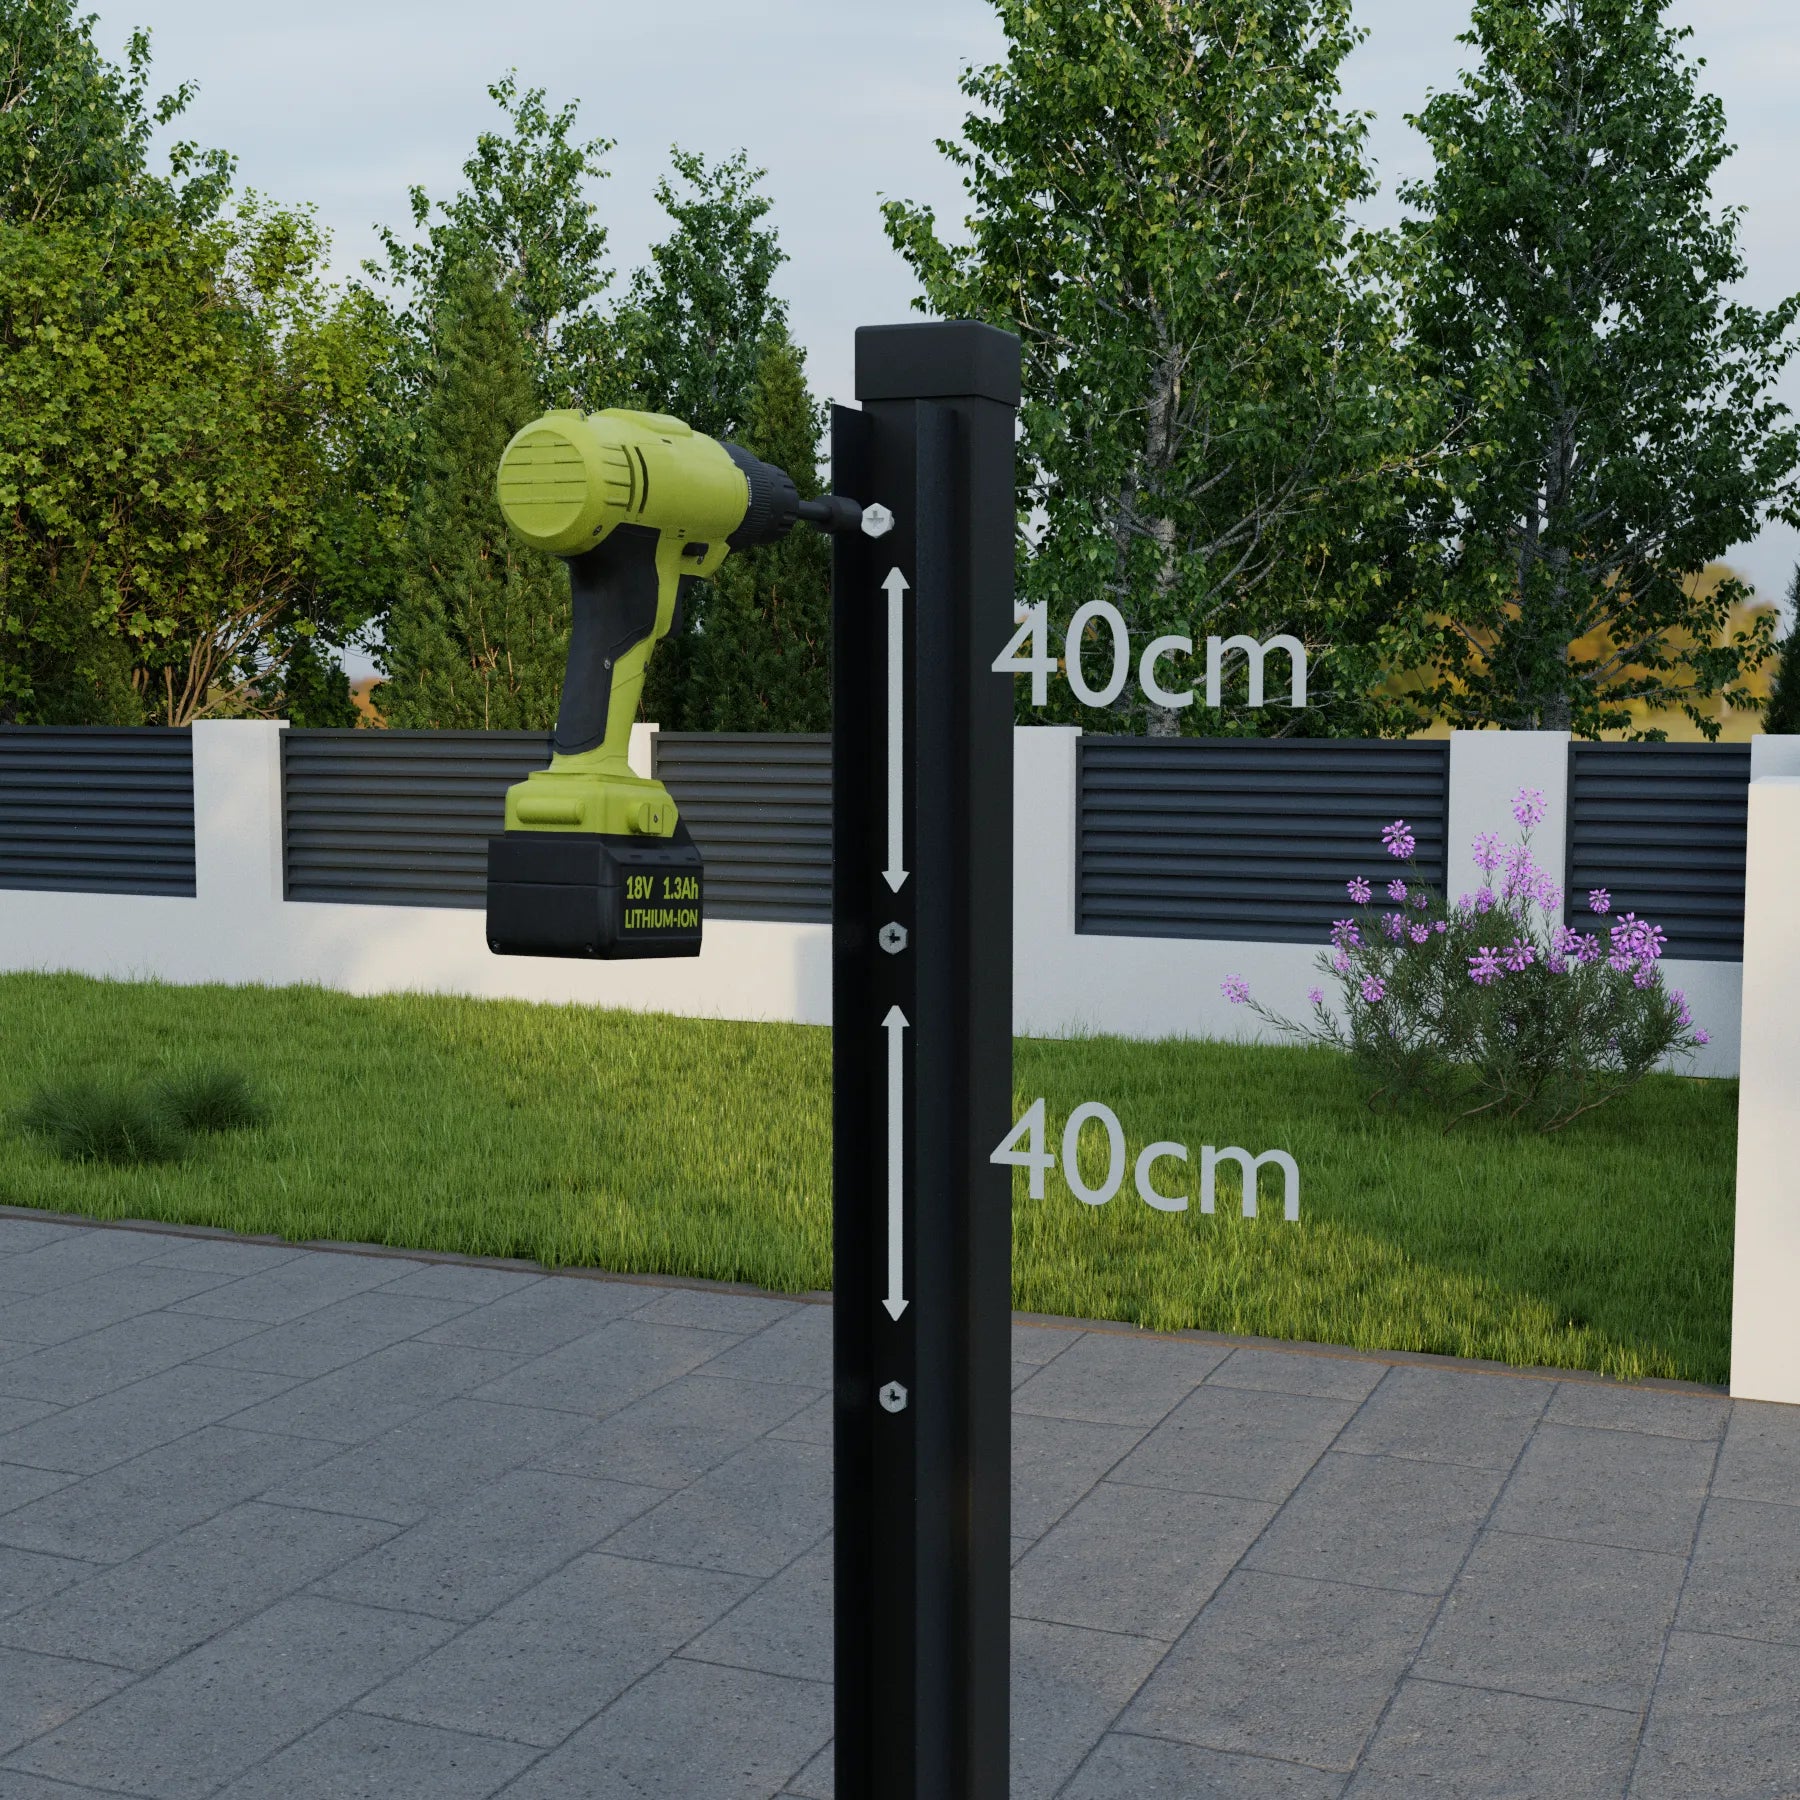
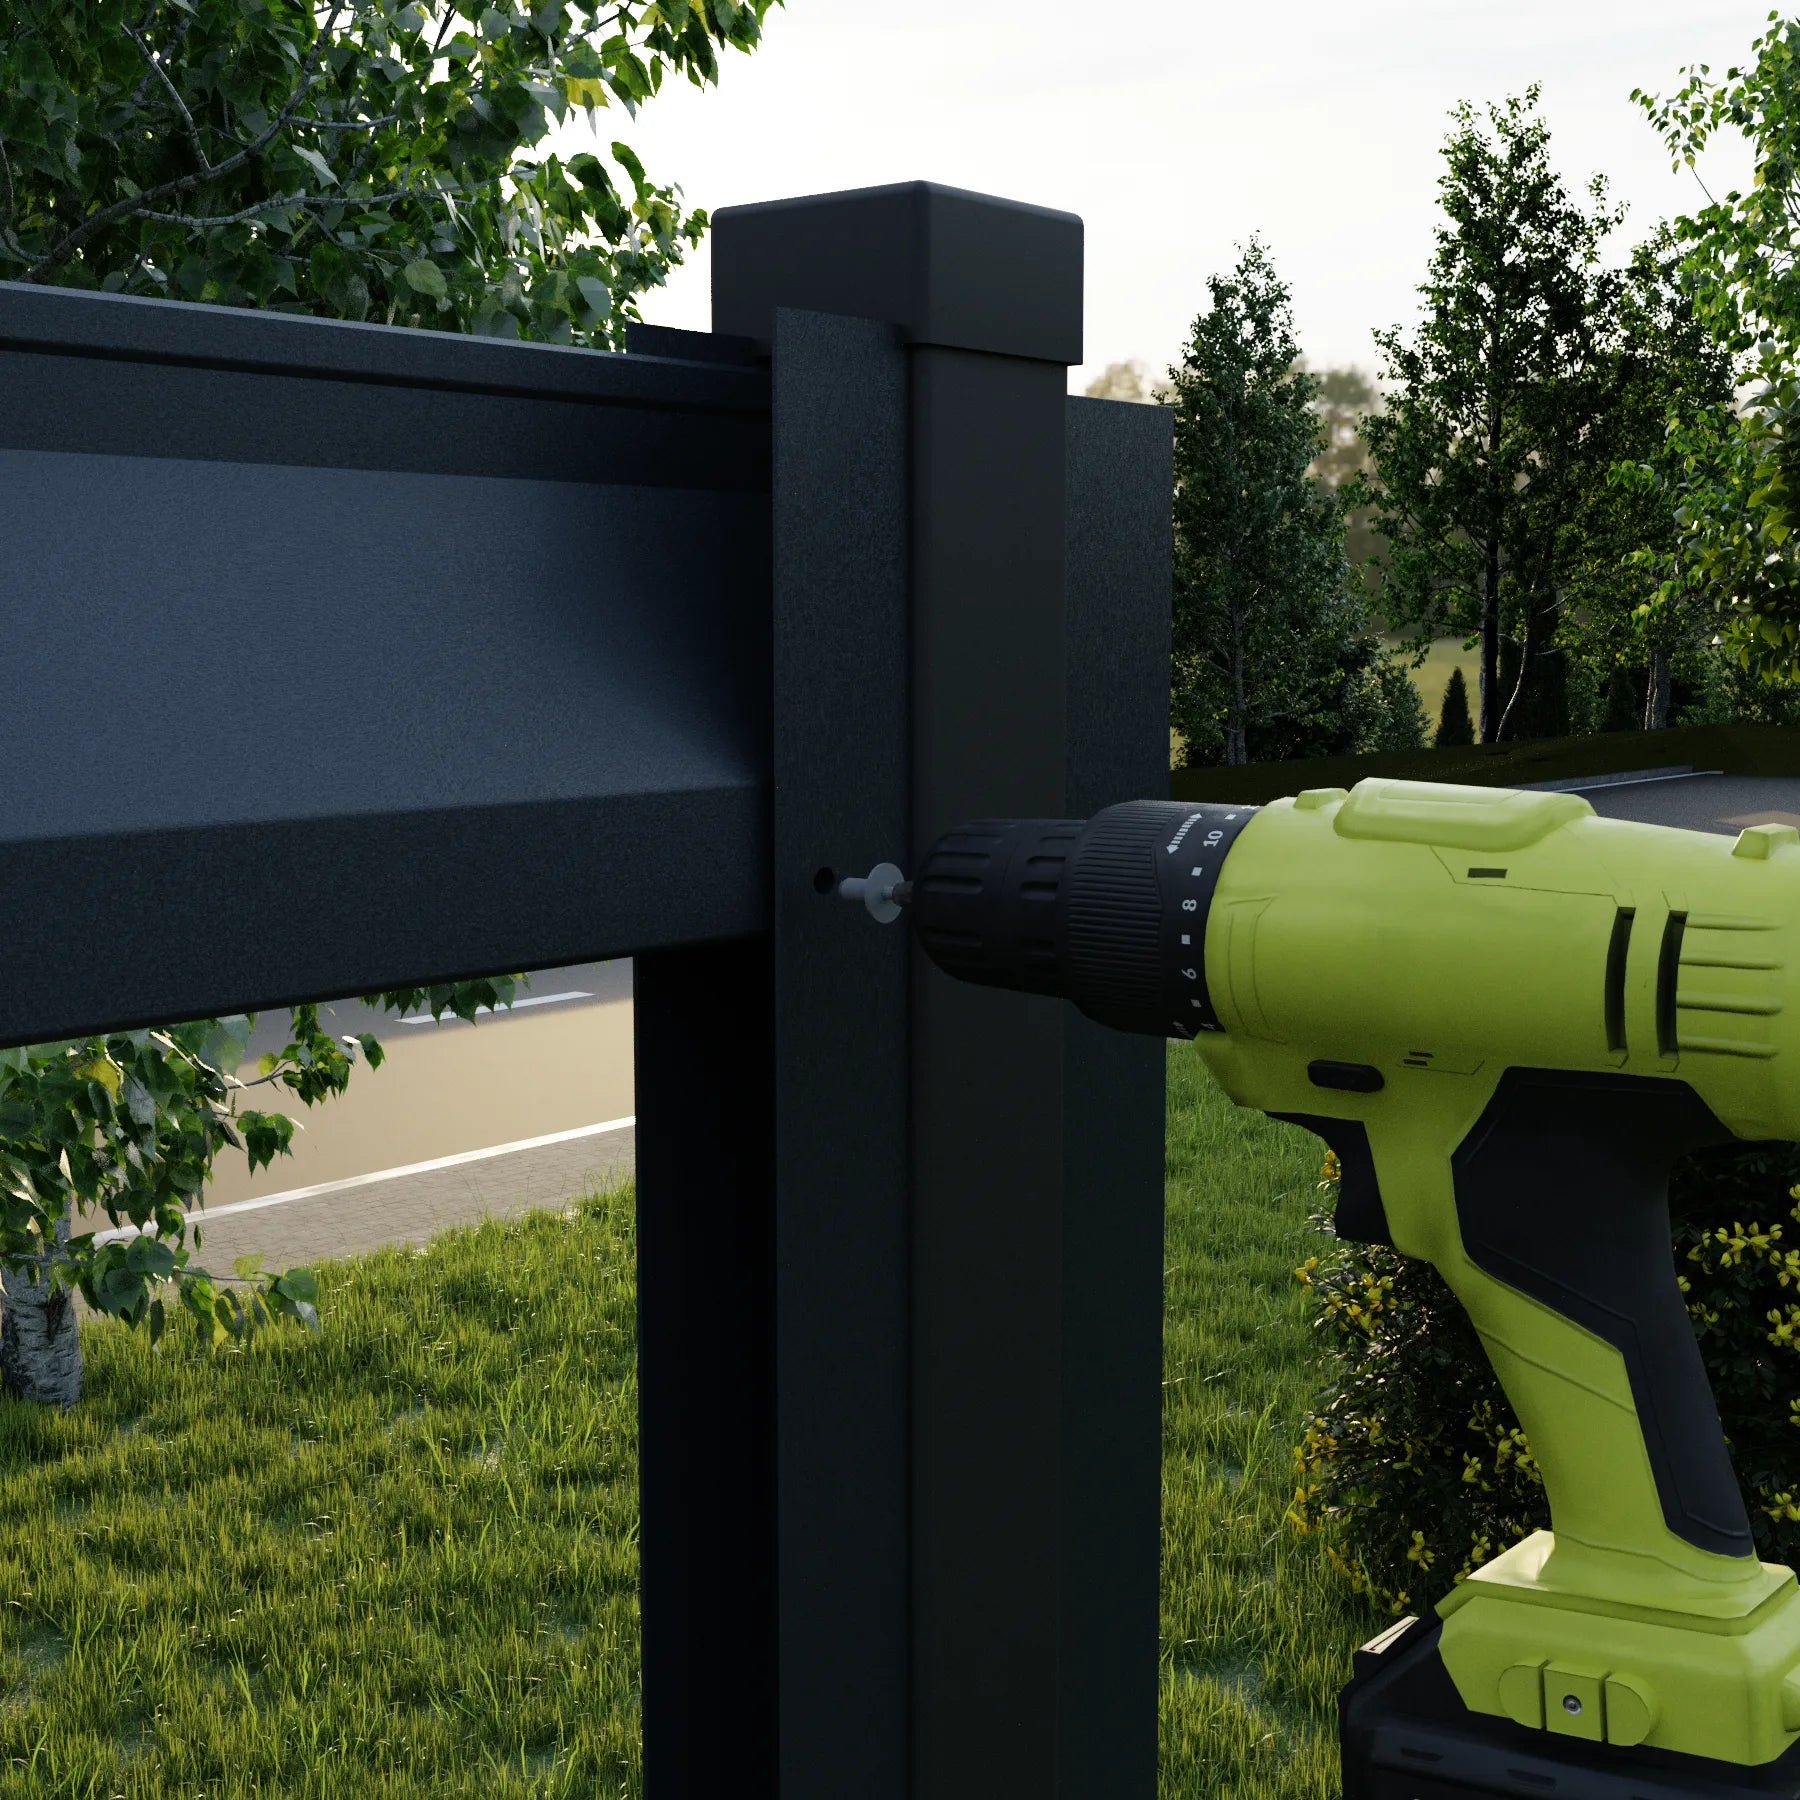
Bevestig de U-profielen aan de palen.
Plaats het U-profiel op de eerste paal. Zorg ervoor dat het waterpas en gecentreerd is.
Gebruik de meegeleverde bevestigingsmaterialen om door het U-profiel in de paal te boren, terwijl je het profiel in de juiste, waterpas positie houdt.
Herhaal deze methode voor elk U-profiel, zowel links als rechts.
(Tip: Gebruik een metskoord om de hoogtes van de U-profielen te markeren, zodat alle hekpaneelposities gelijk liggen.)
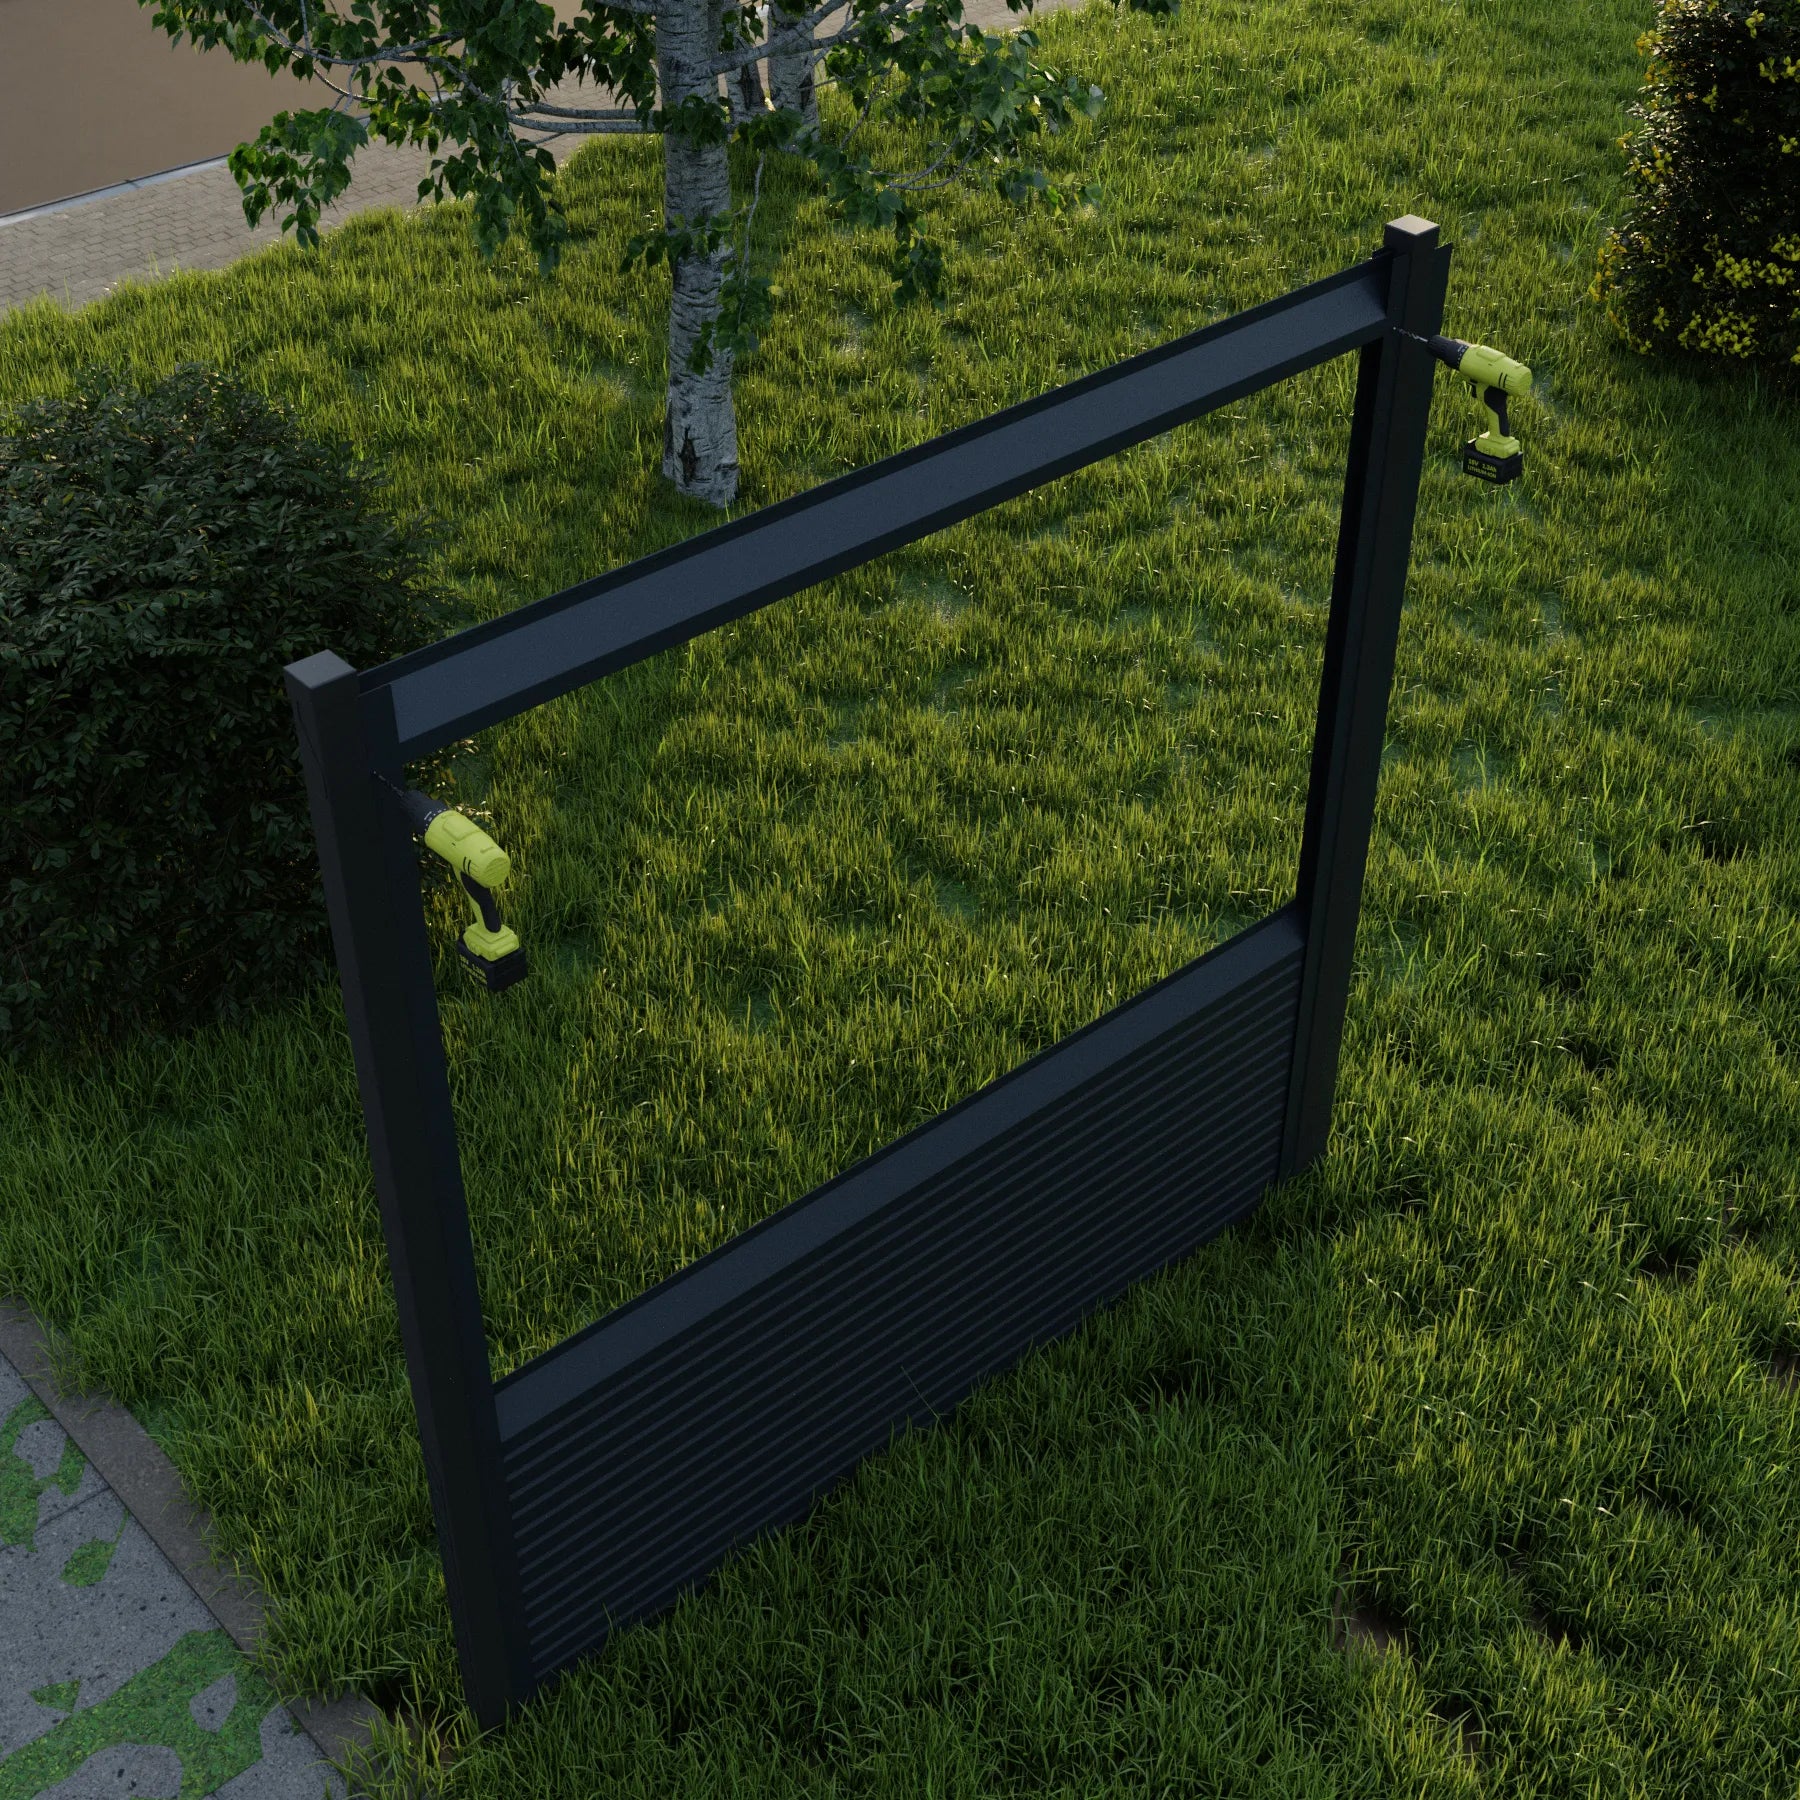
Stap 5
Plaats de planken tussen de hekpalen en boor de gaten voor de bevestiging.
Plaats alle hekplanken tussen de U-profielen. Begin met het vastzetten van de planken van boven naar beneden.
Positioneer de plank op de gewenste plaats en boor een gat met een stalen boor van 4,5 mm, waarbij je het gat in het U-profiel als geleiding gebruikt.
Stap 6
Bevestig de hekplanken op hun plaats.
Plaats de popnagel in de popnageltang. Gebruik de tang met de bevestiging op zijn plaats om de plank uit te lijnen en steek de popnagel door het U-profiel en de hekplank.
Bevestig de plank op zijn plaats en herhaal dit aan de linker- en rechterzijde.
Tip: Het is aan te raden om met twee personen te werken voor een eenvoudigere installatie.
Stap 7
Bevestig het U-profiel.
Zodra alle planken zijn geplaatst, plaats je het bovenste U-profiel op zijn positie en bevestig je het op dezelfde manier als bij het vastzetten van de hekplanken.
Stap 8
Bevestig het verstevigingsprofiel
Zodra alle lamellen zijn geïnstalleerd, plaats het verstevigingsprofiel in het midden van het paneel, zorg ervoor dat de bovenste rand onder het bovenste U-profiel zit.
Boor een gat door het verstevigingsprofiel en het U-profiel op de gekozen plaats en bevestig het met een klinknagel.
Herhaal dezelfde handeling bij het onderste U-profiel.
Bevestig elke lamel aan het verstevigingsprofiel — zorg ervoor dat elke lamel goed vastzit aan het verstevigingsprofiel, zodat de constructie stabiel en goed uitgelijnd blijft.
Stap 8
Voer stap 4 tot en met stap 7 uit op de overige hekpaneelsets.
Zorg voor uitlijning van alle verticale U-profielen voor een nette, afgewerkte uitstraling.
Afgewerkt paneel
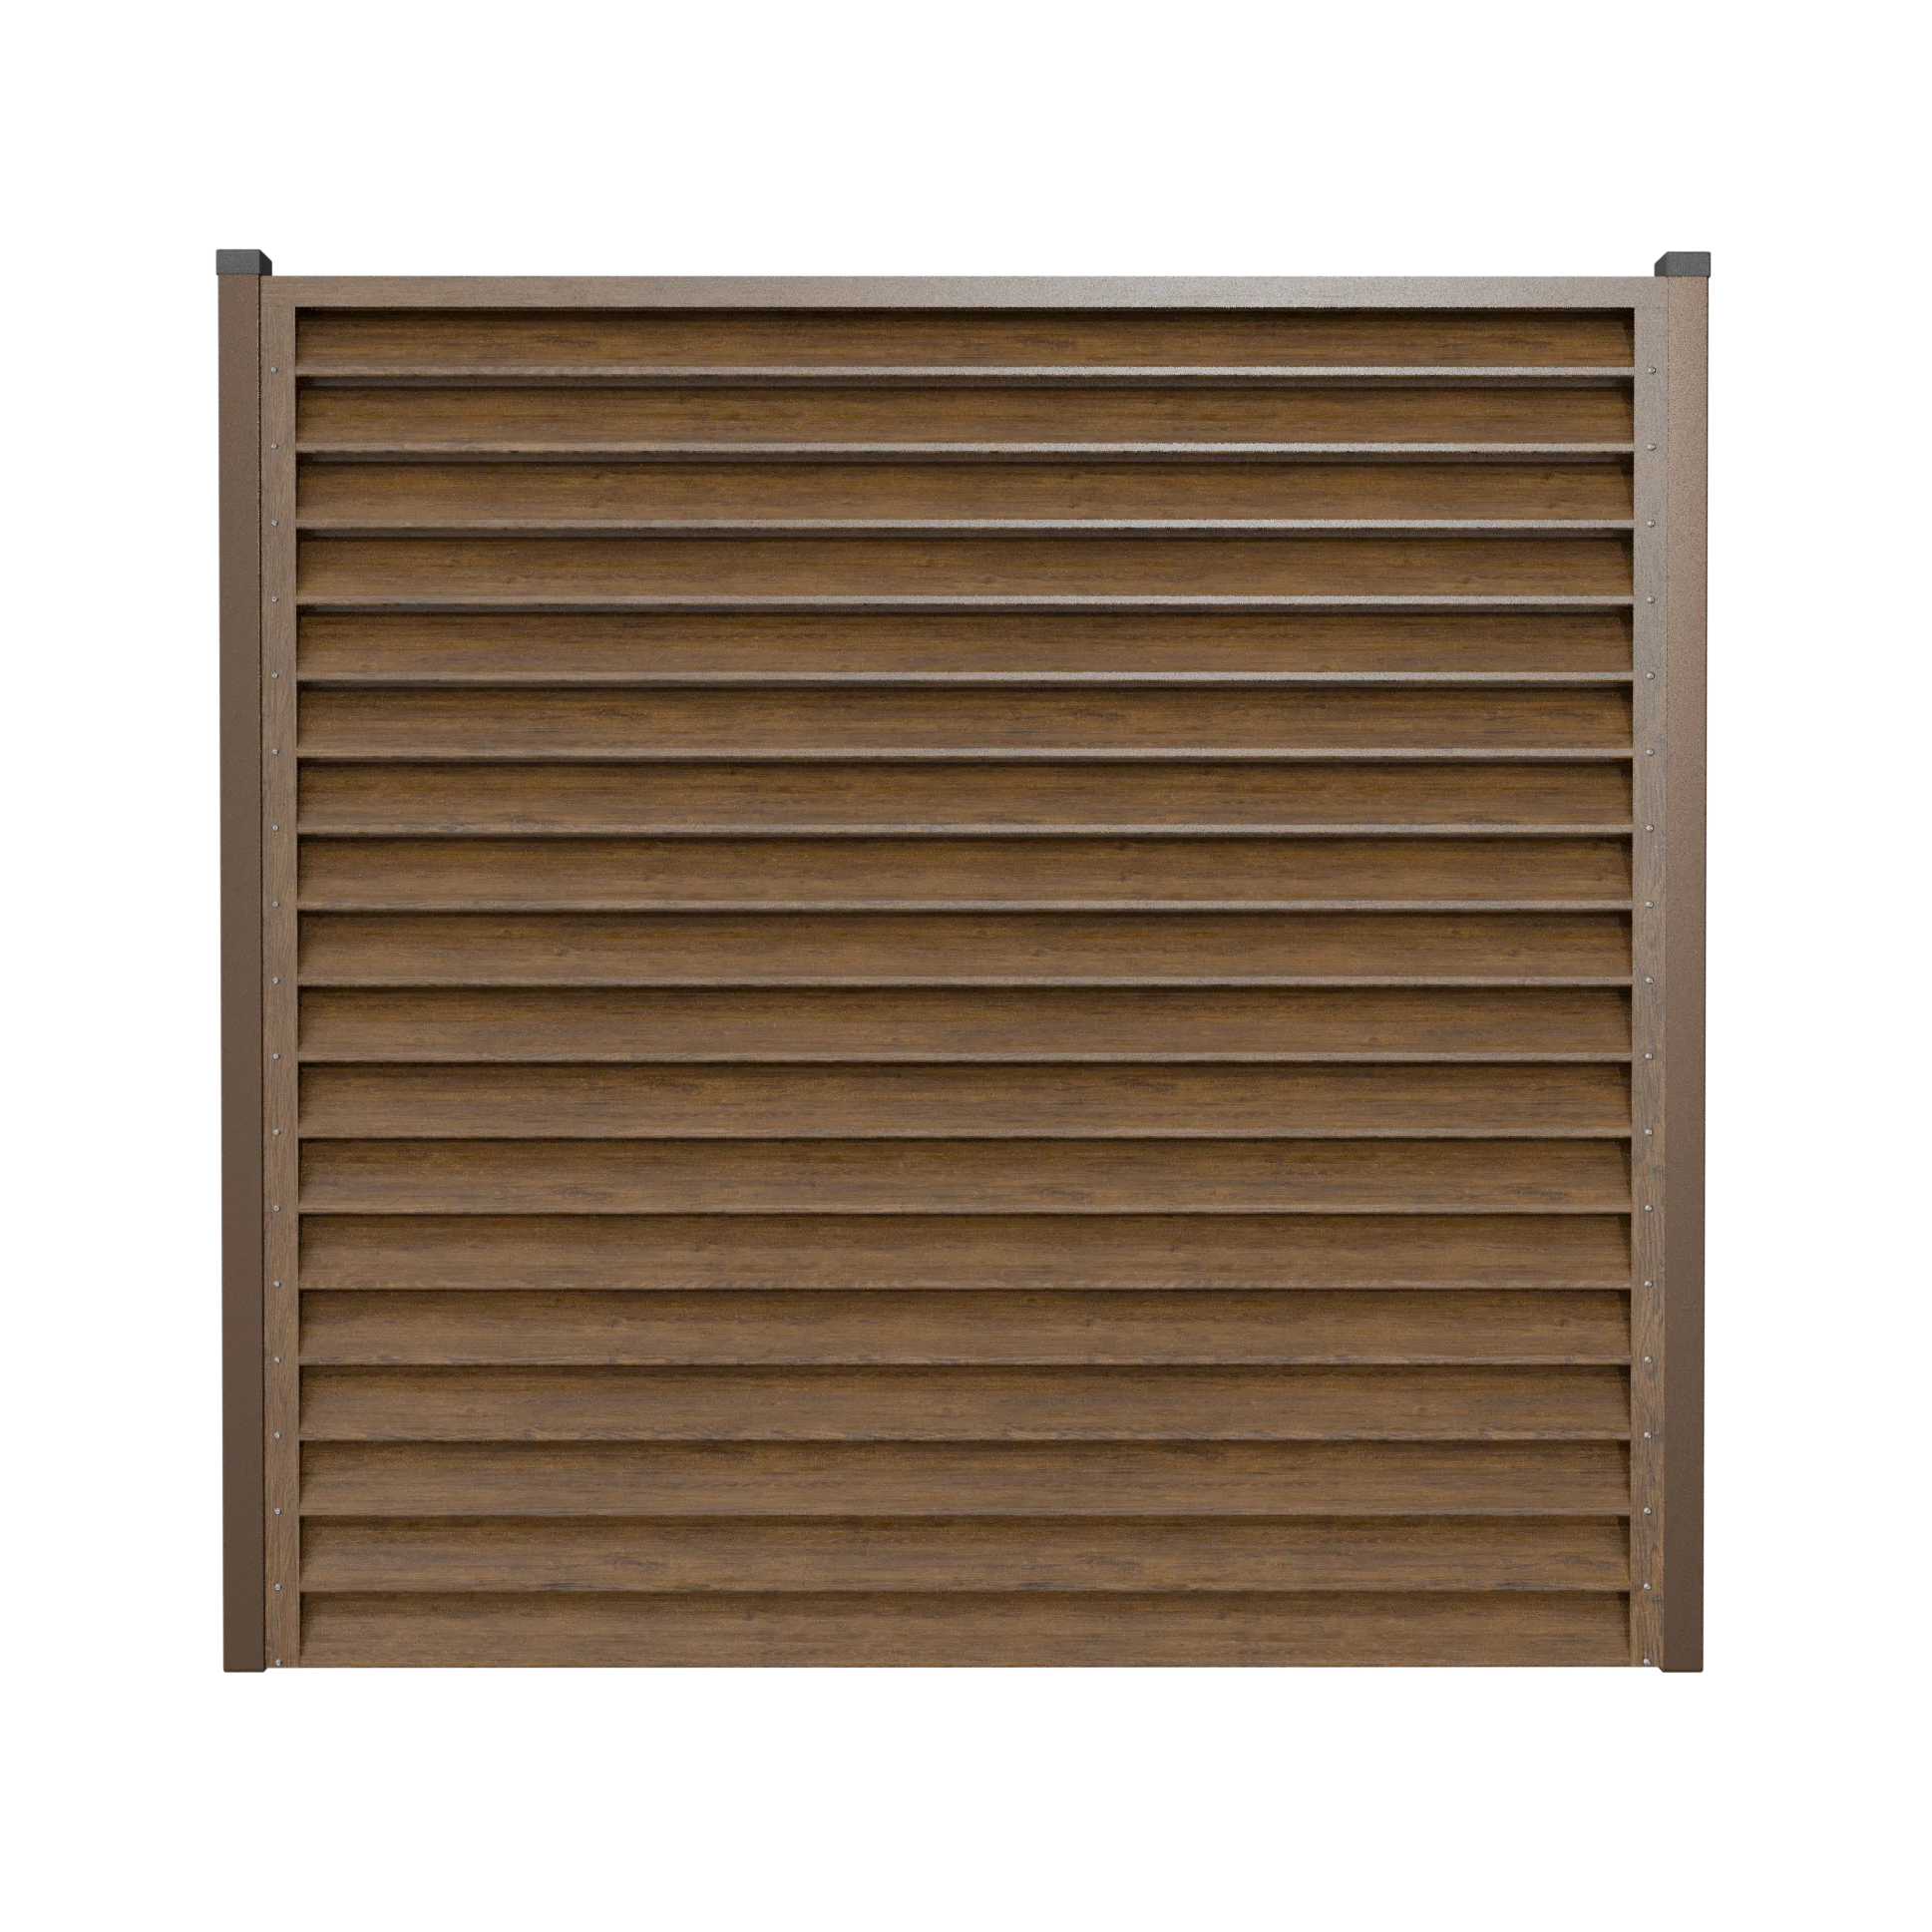
Voorkant
Atlas
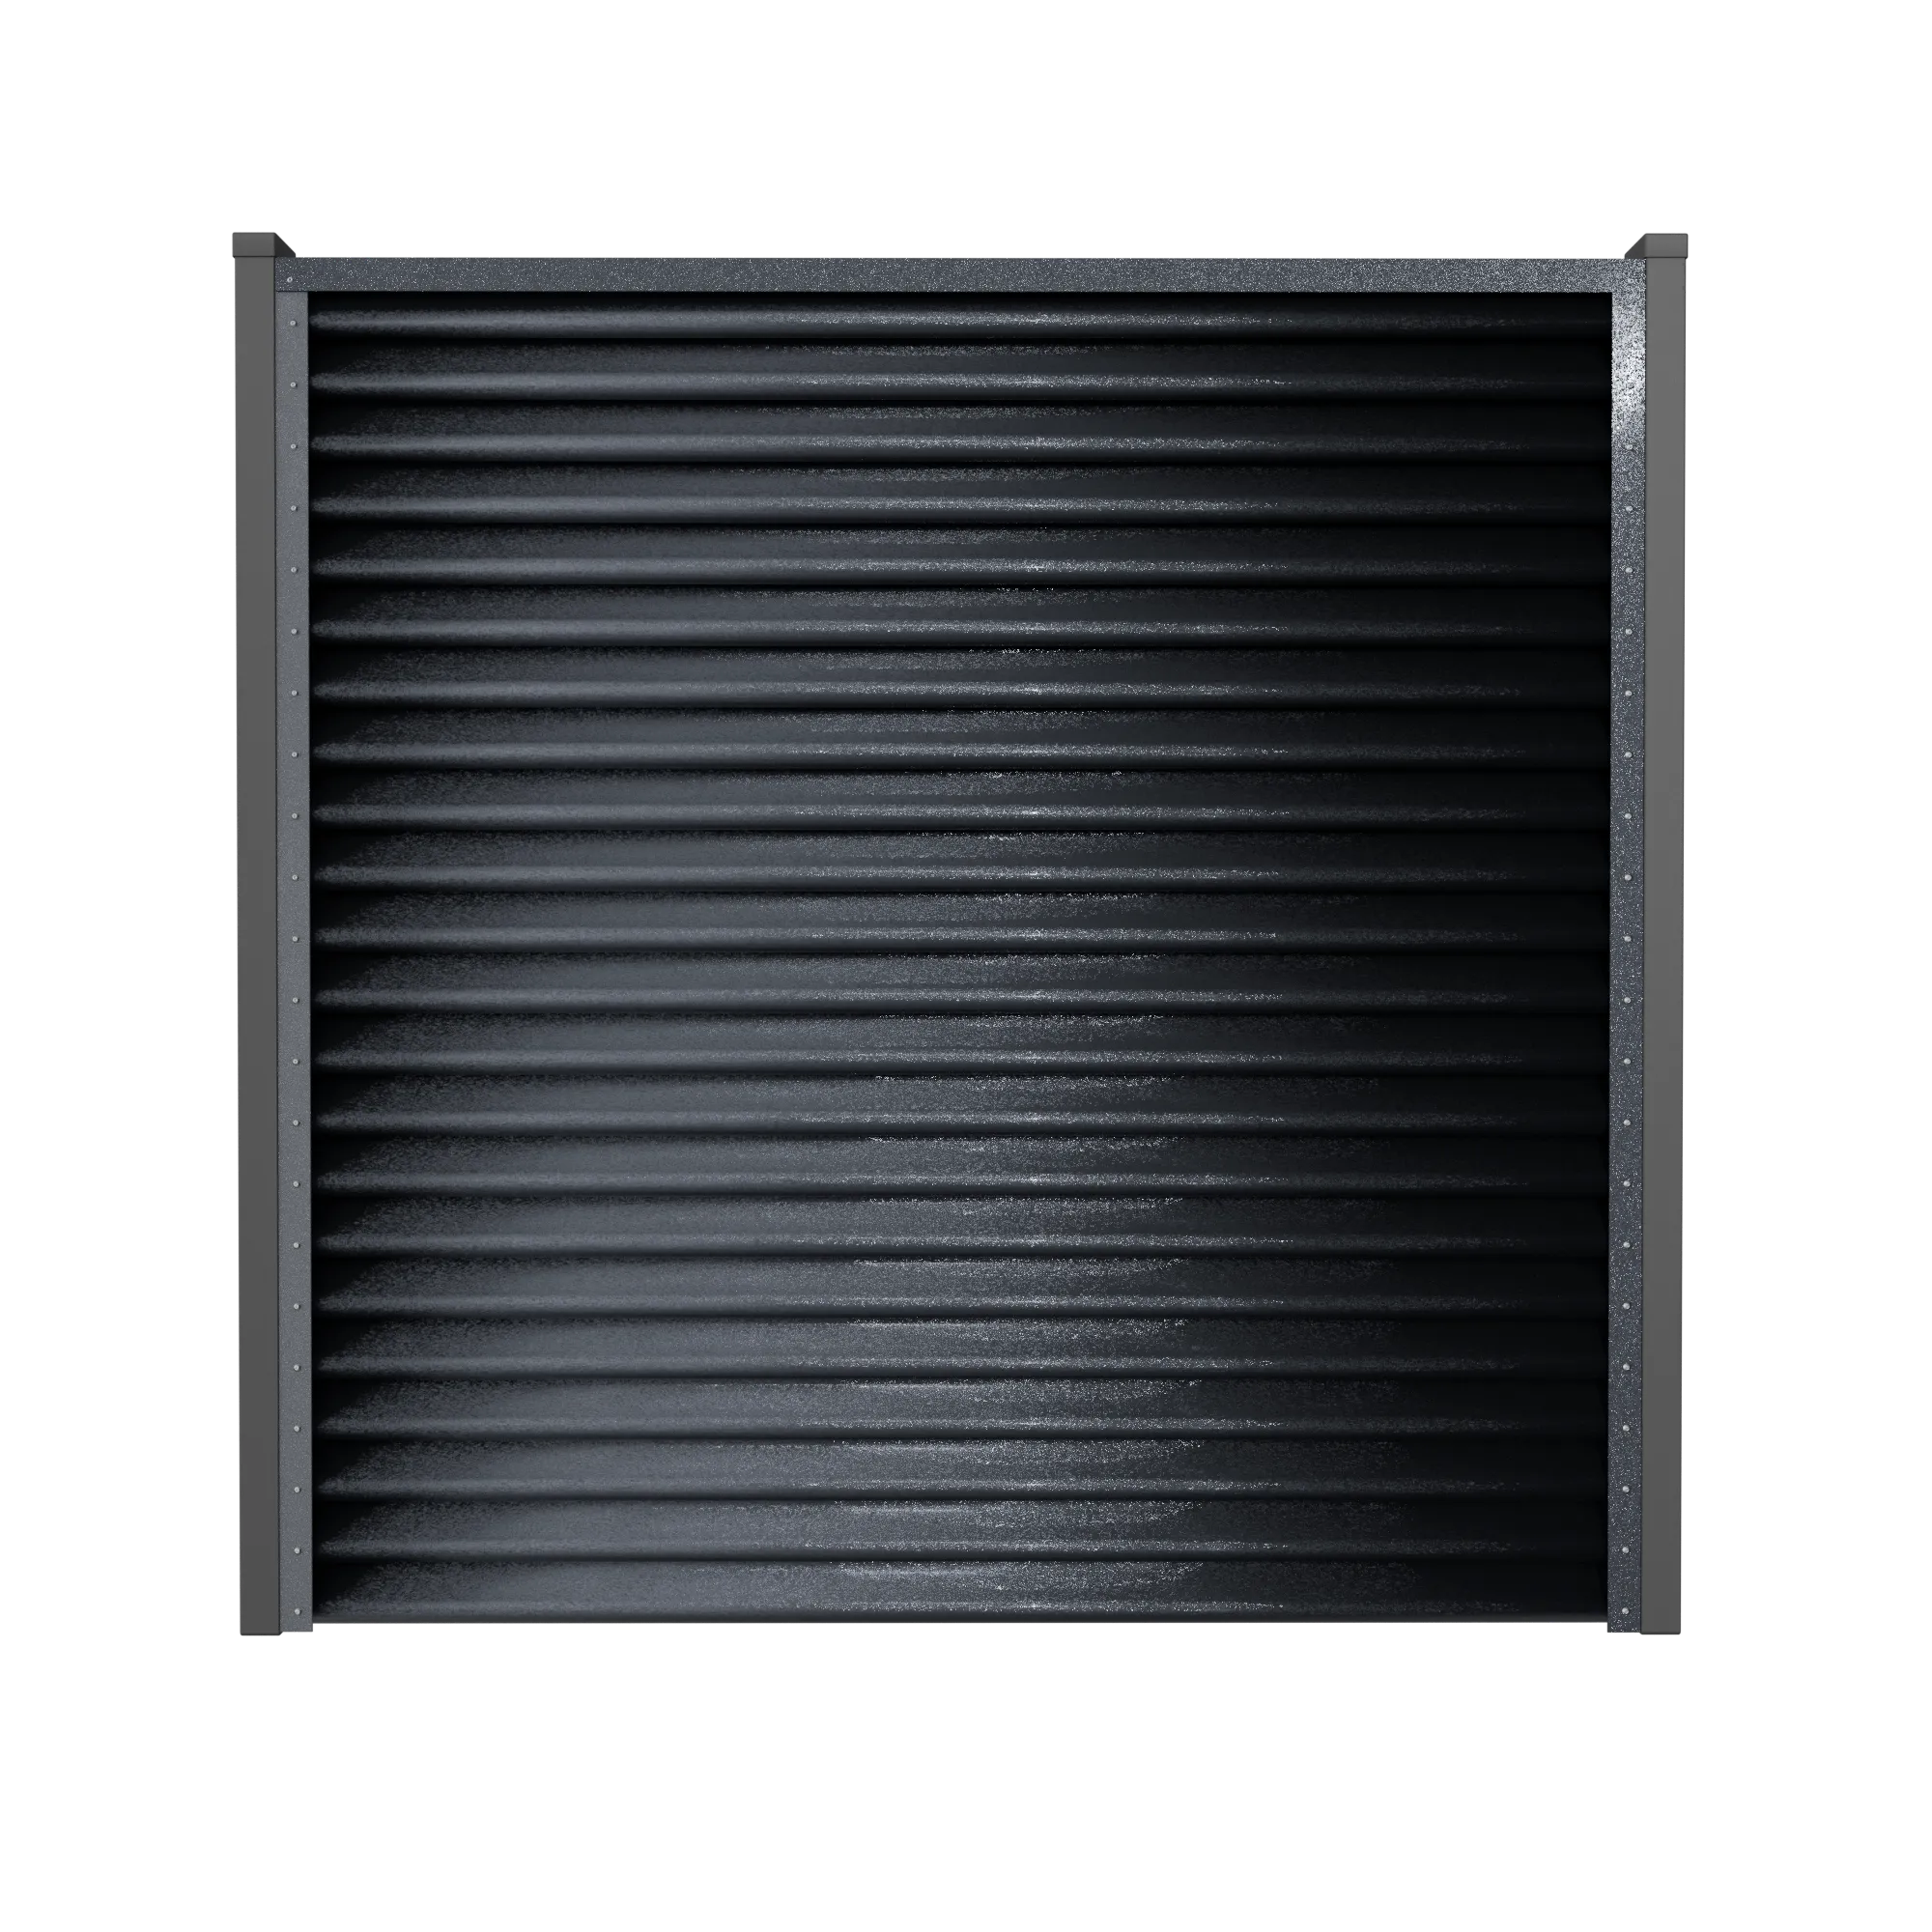
Achterkant
Atlas
Bekijk de snelle installatiefilm.
In slechts 2 minuten leer je hoe je 1 dag installatietijd kunt besparen.

Onze hekcollectie uitgelegd
Uitleg over de unieke kenmerken en verschillen van elk hekpaneel.
MAVLLI biedt 5 verschillende stijlen hekpaneelontwerpen, elk met een uniek design en een eigen uitstraling.
Rombo Mini
Rombo Mini – Design schuttingpaneel met ruitvormige lamellen
Het Rombo Mini schuttingpaneel is een eigentijdse en functionele afschermingsoplossing die zich onderscheidt door het ruitvormige (diamantvormige) lamellenontwerp. Deze zorgvuldig ontworpen lamelgeometrie voorkomt directe inkijk en laat tegelijkertijd lucht en wind door, waardoor een optimale balans ontstaat tussen privacy, comfort en structurele prestaties.
De lamellen zijn onder een hoek geplaatst, waardoor zichtlijnen worden doorbroken zonder een volledig gesloten oppervlak te vormen. Dit maakt de Rombo Mini bijzonder geschikt voor tuinen, terrassen en buitenruimtes waar privacy vereist is, maar waar winddoorlaatbaarheid en een lichte, architectonische uitstraling even belangrijk zijn.
Belangrijkste kenmerken:
Ruitvormig lamelprofiel voor verbeterde privacy zonder een massieve of gesloten uitstraling
Geen directe inkijk dankzij de schuine plaatsing van de lamellen
Winddoorlatende constructie die de winddruk op de schutting vermindert
Strak, modern design dat aansluit bij hedendaagse architectuur
Lamellenbreedte: 11,3 cm, voor een verfijnd en evenwichtig visueel ritme
Visueel wordt het paneel gekenmerkt door sterke horizontale lijnen en subtiele diepte, wat resulteert in een strakke maar robuuste uitstraling. De compacte lamelmaat van 11,3 cm onderstreept het “Mini”-concept: precies, elegant en technisch verfijnd, zonder concessies te doen aan duurzaamheid.
De Rombo Mini is de ideale keuze voor klanten die op zoek zijn naar een designgericht schuttingpaneel dat privacy, luchtcirculatie en moderne esthetiek naadloos combineert.
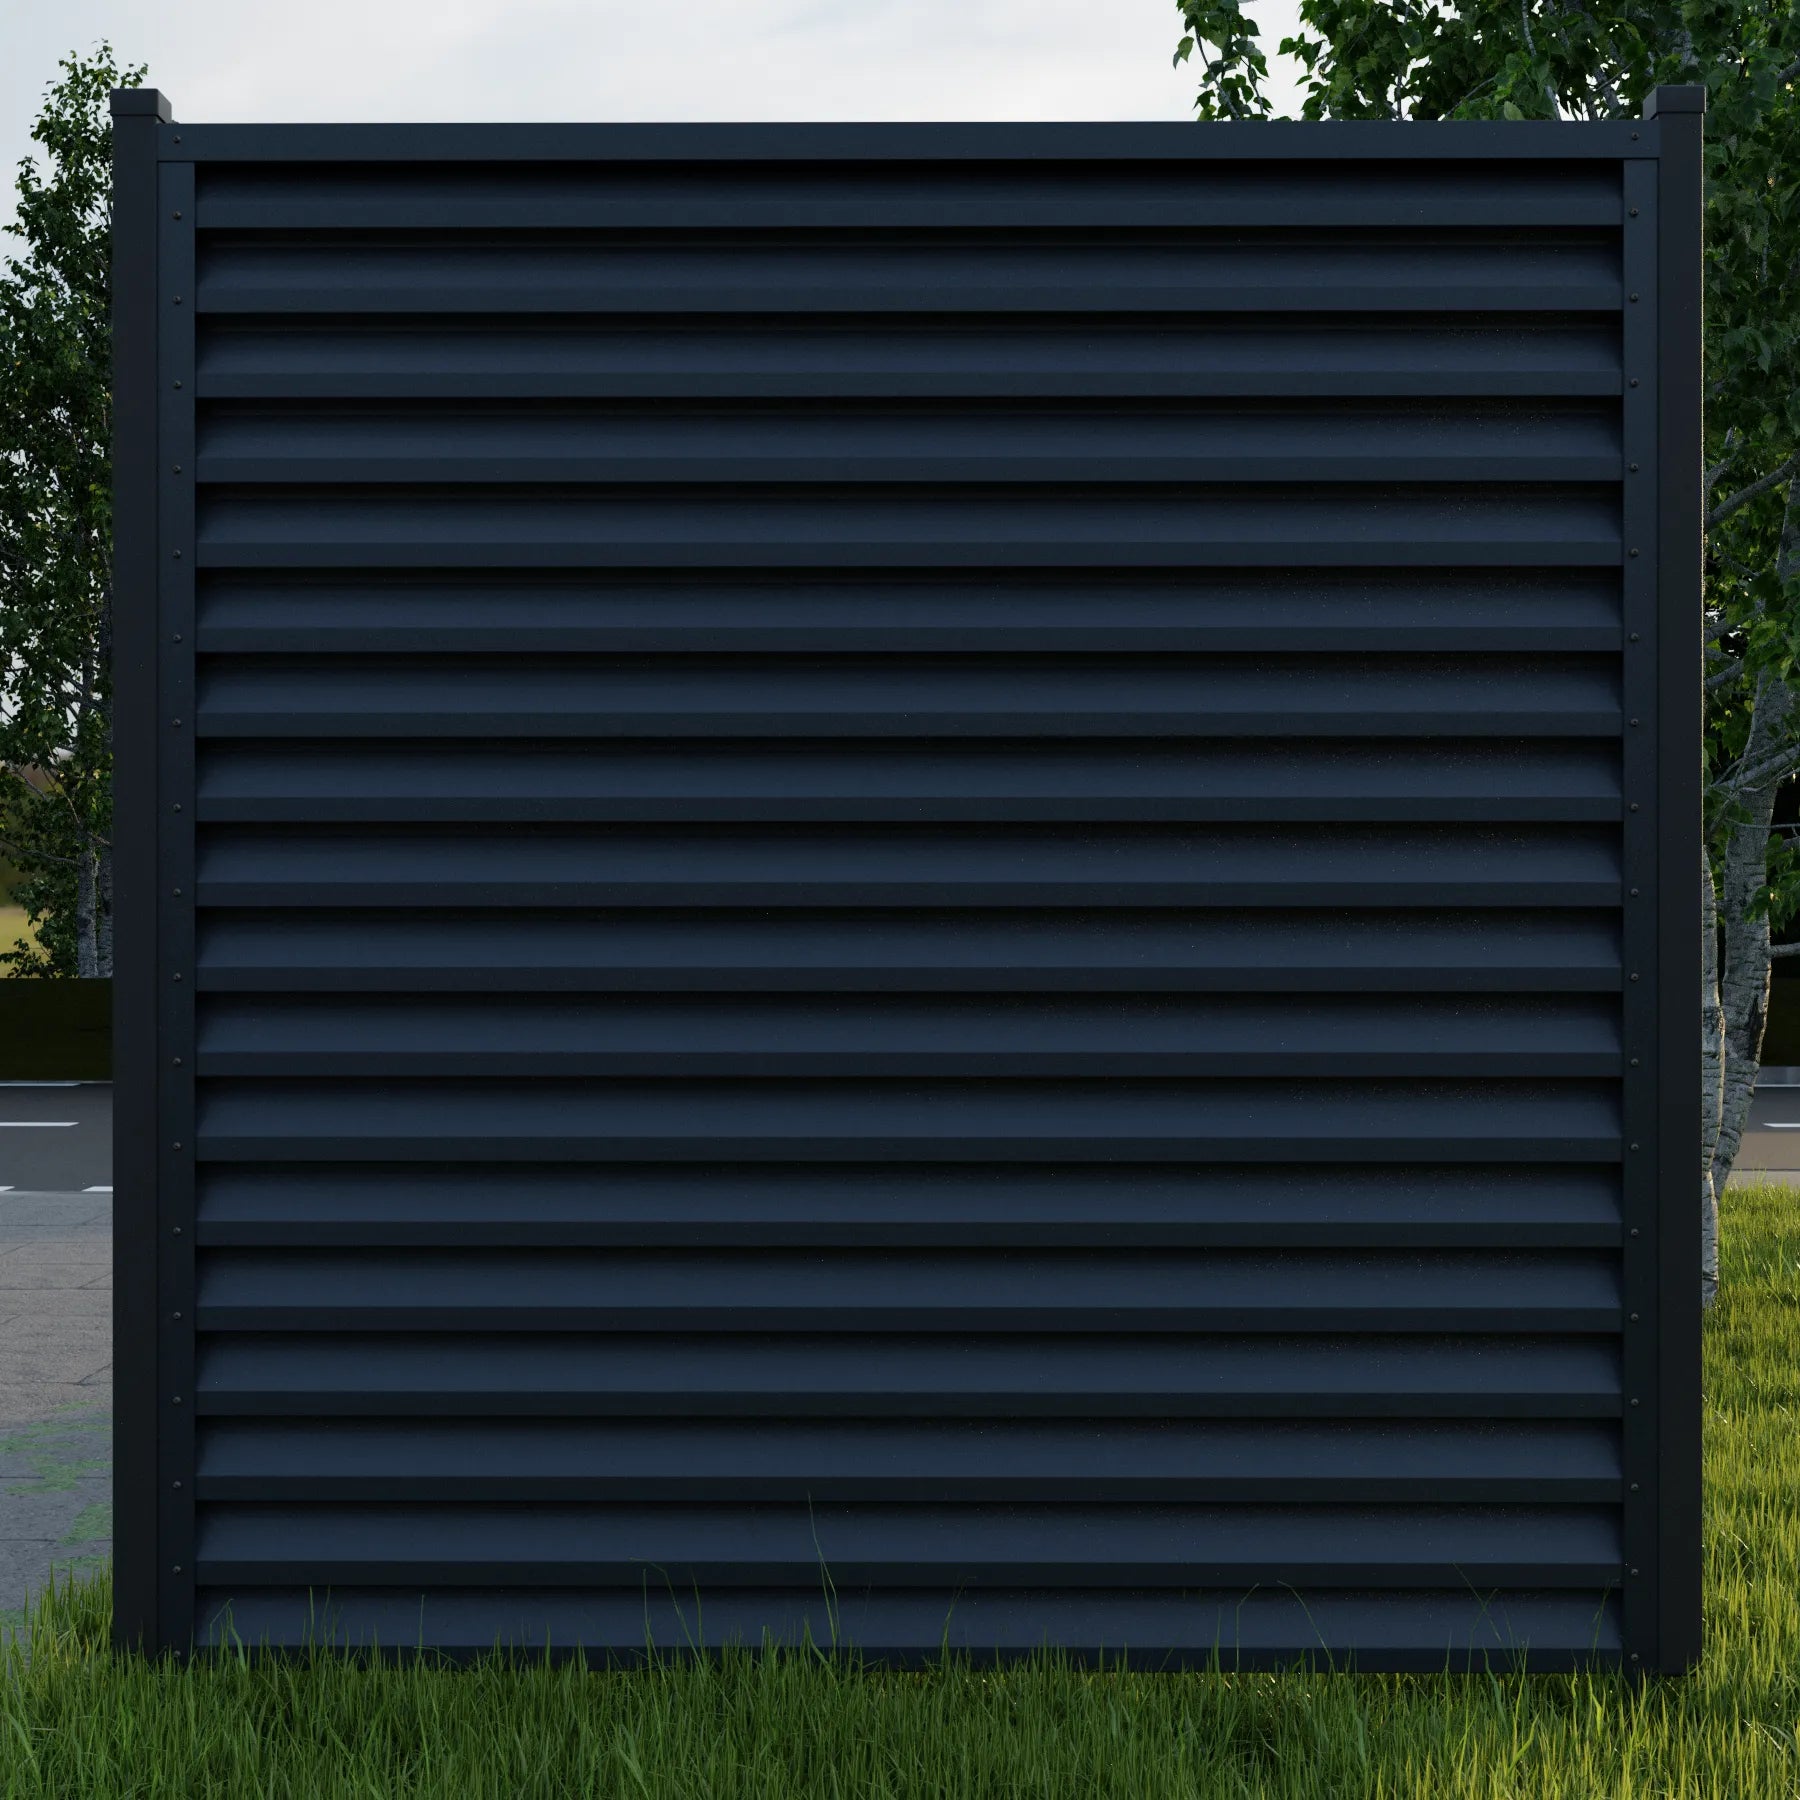
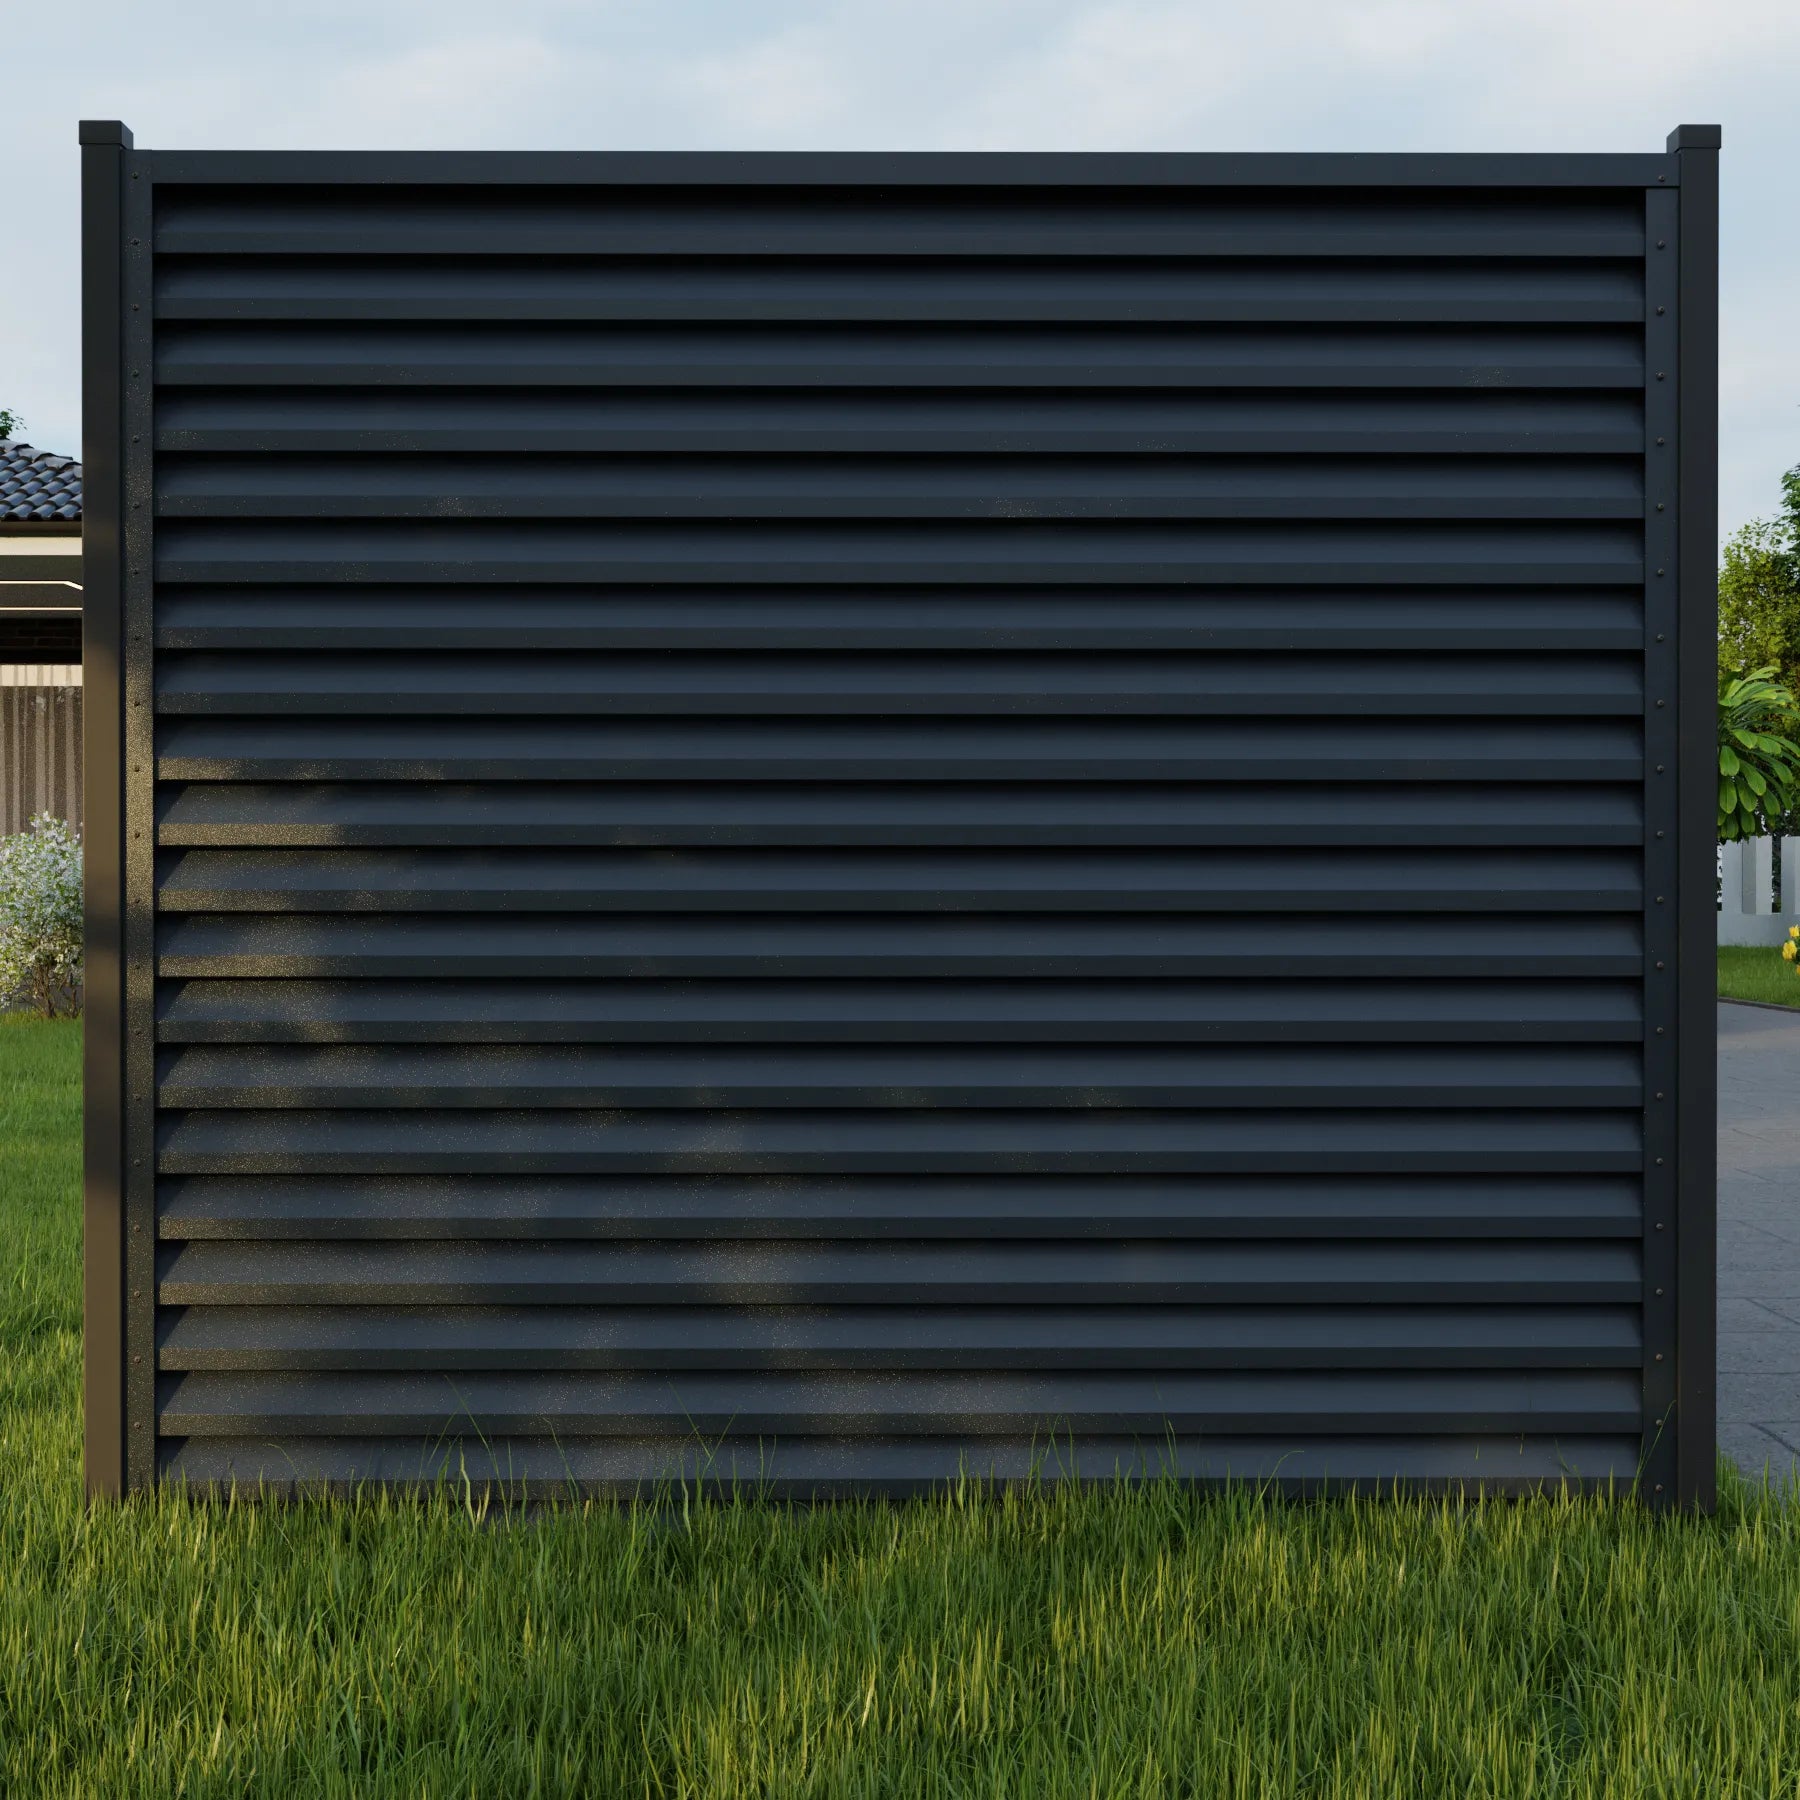
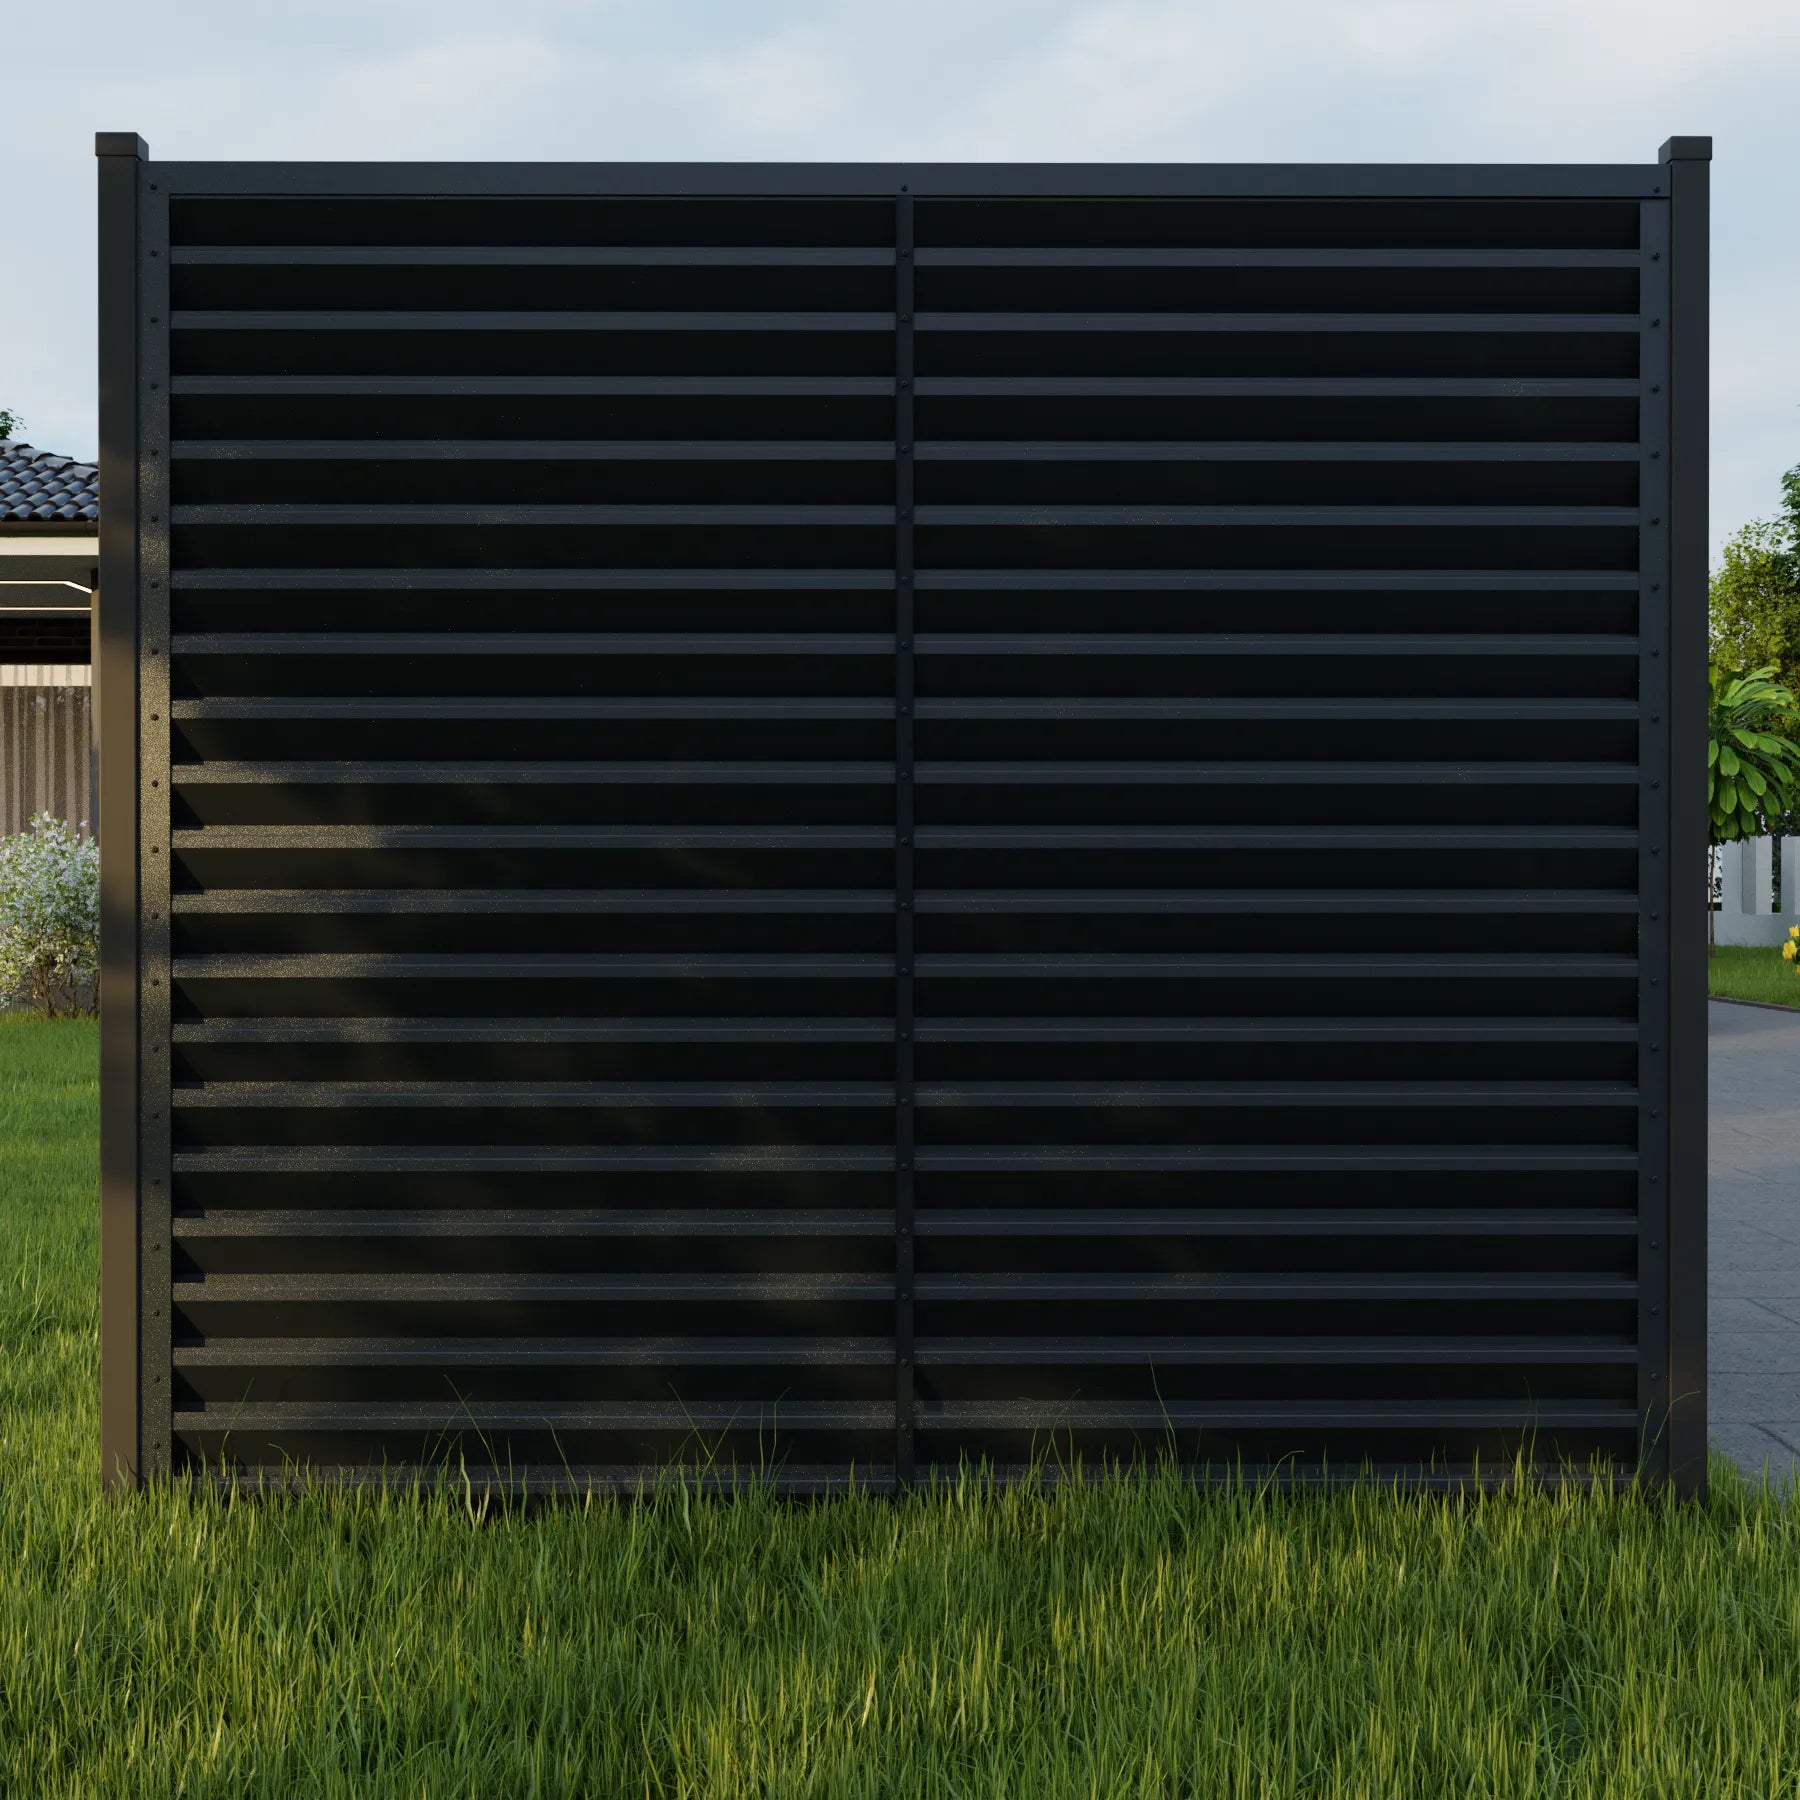
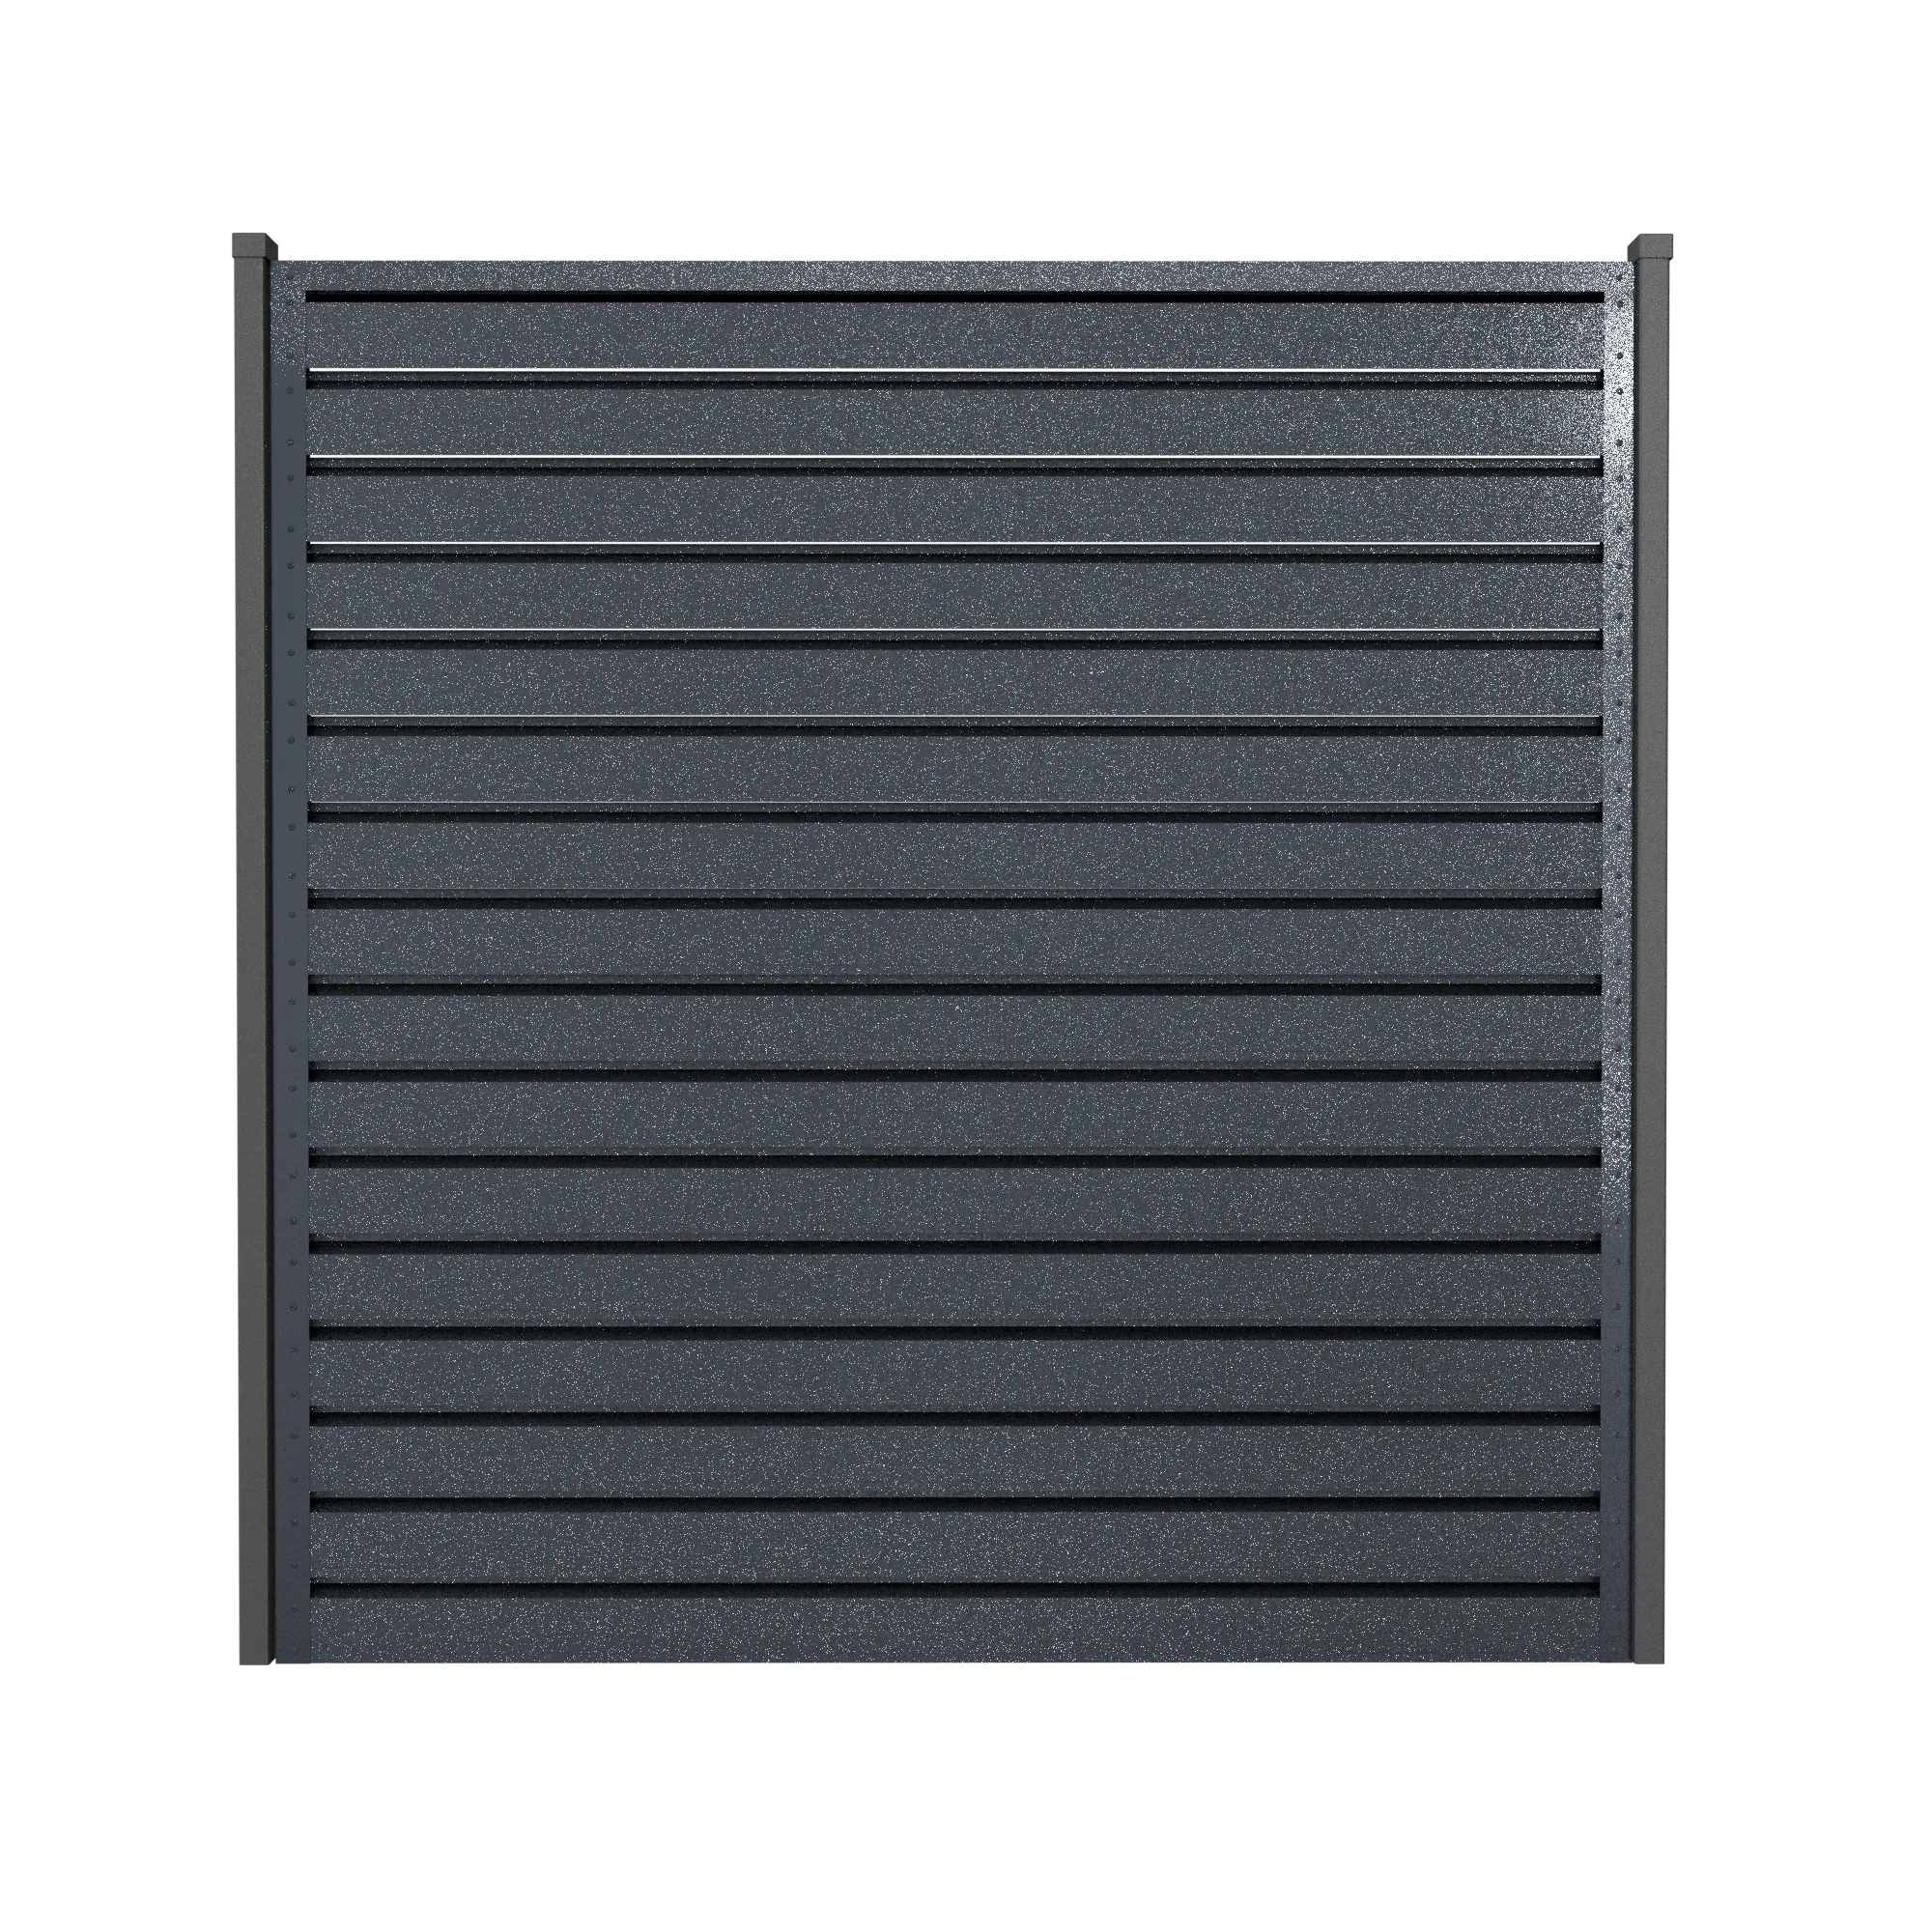
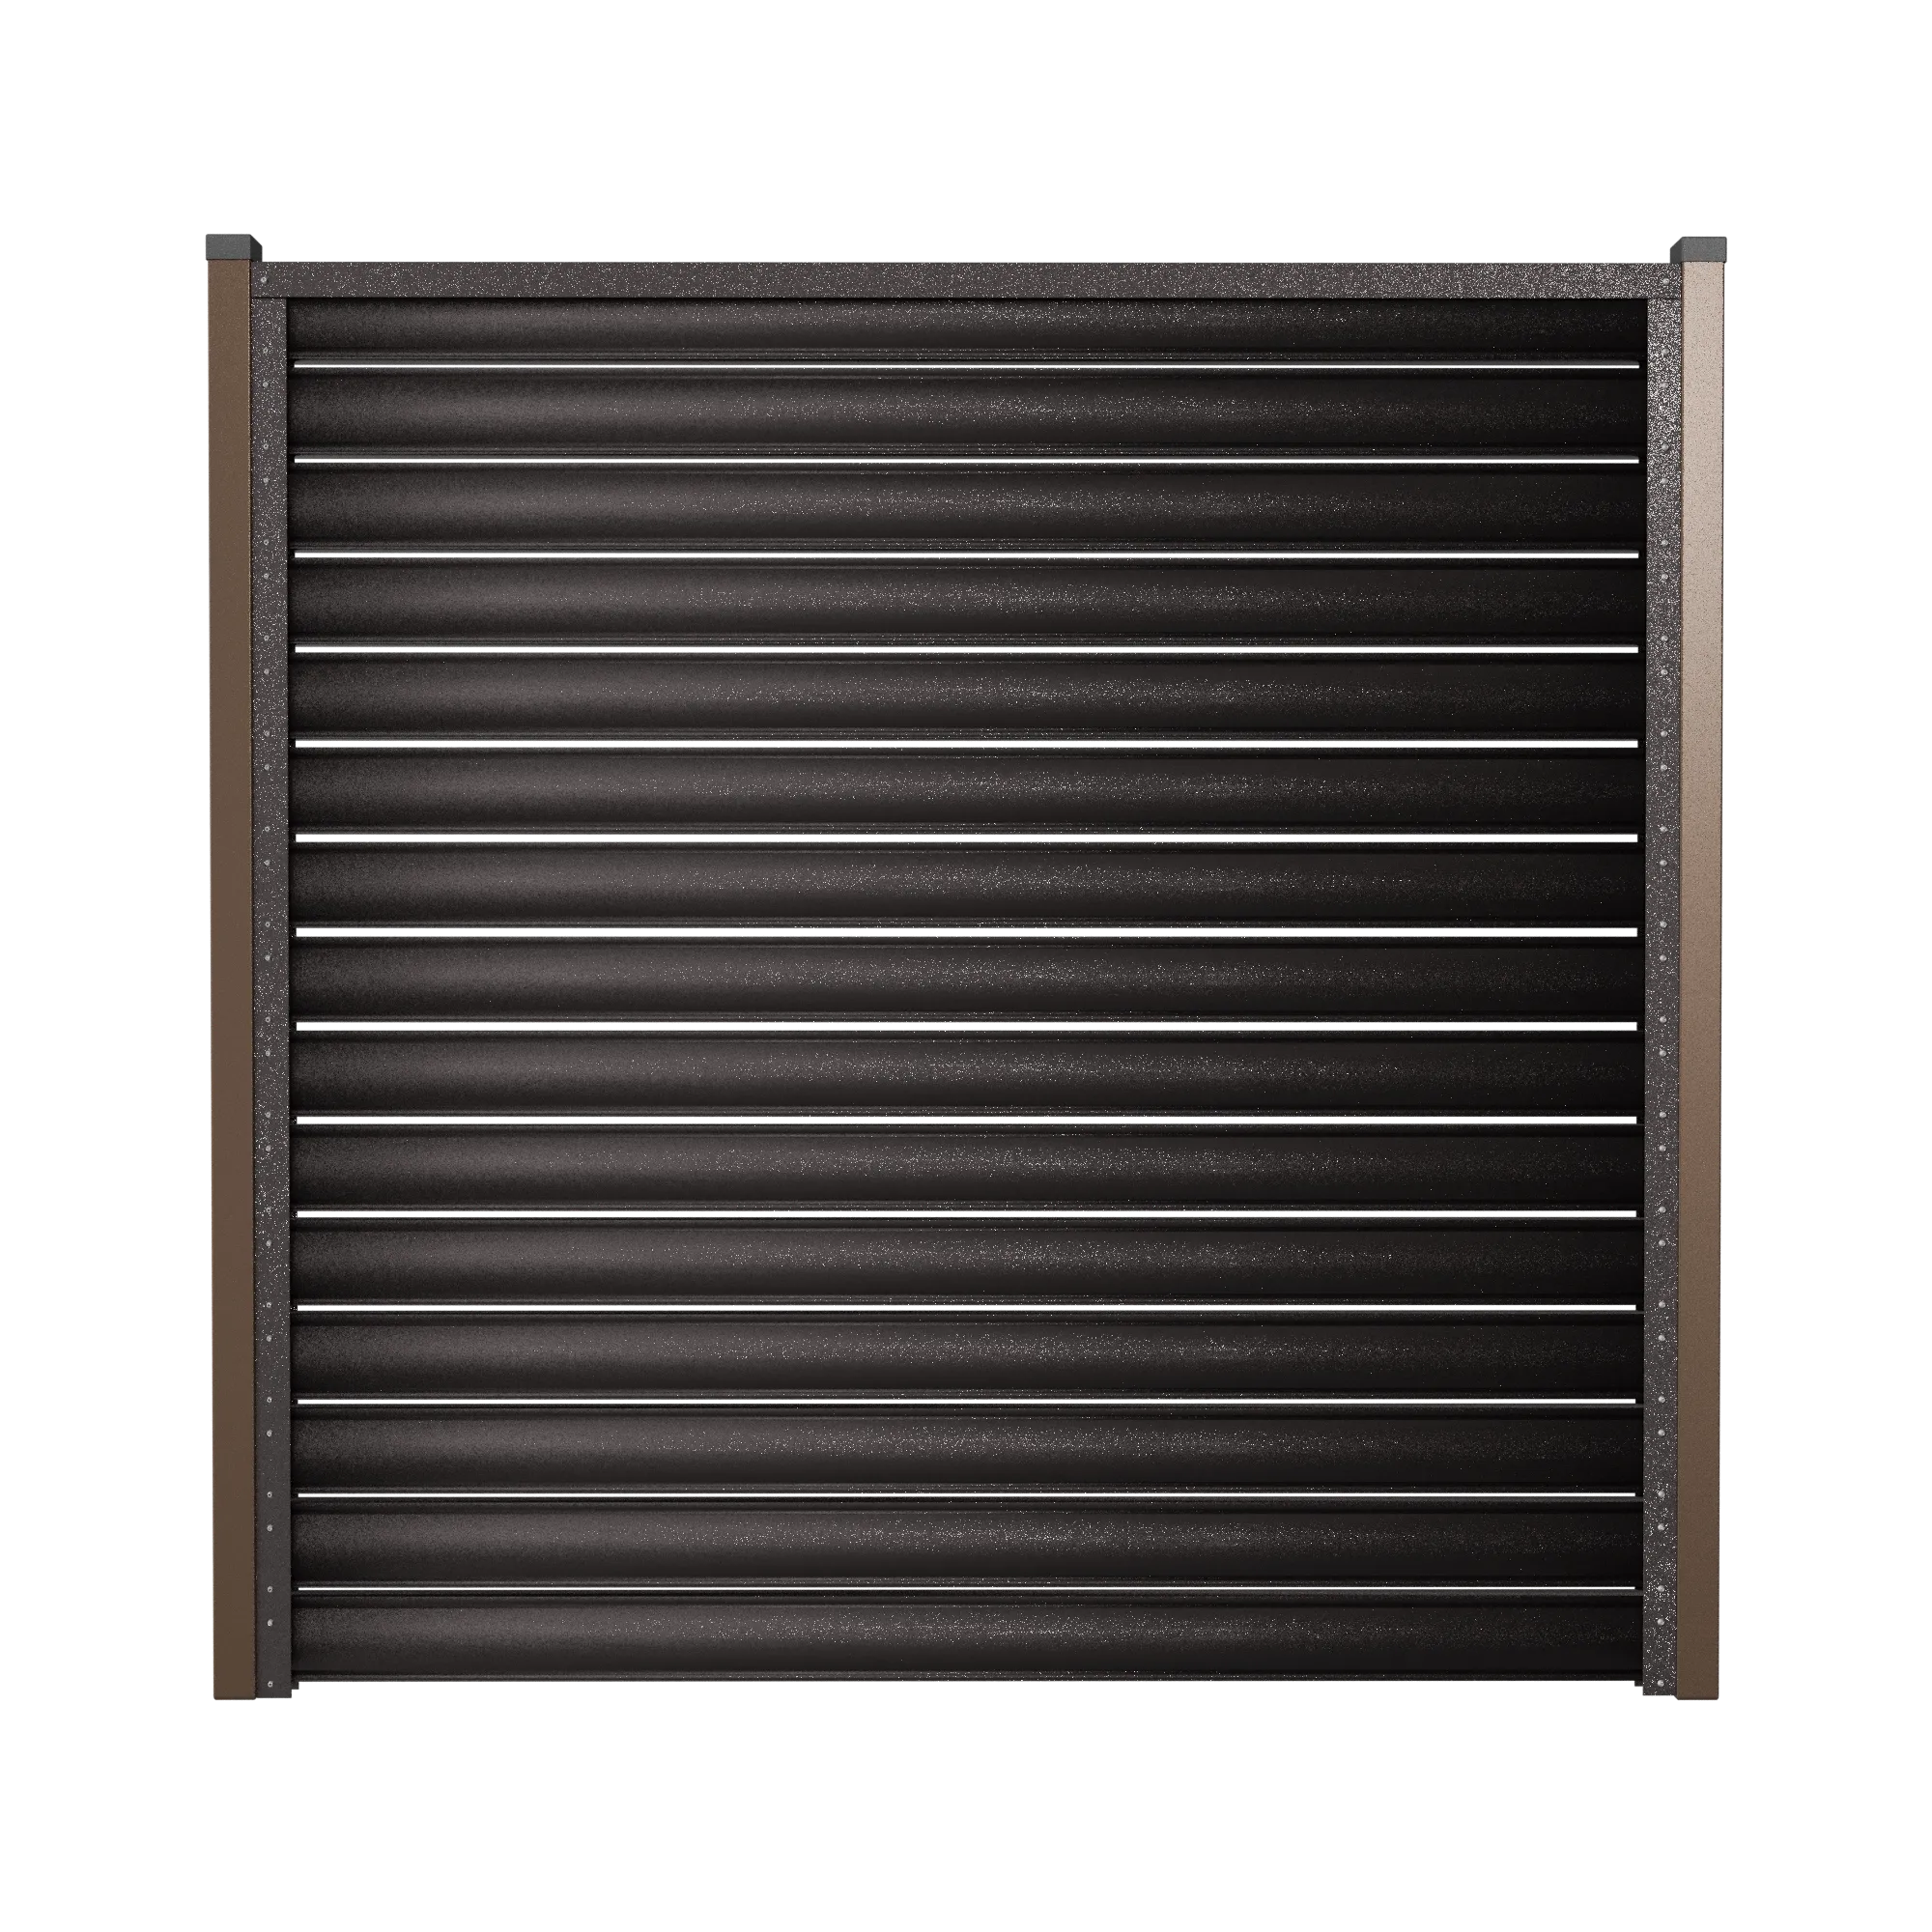
Atlas
Atlas Hek
De Atlas-hekpanelen bestaan uit horizontale metalen lamellen die boven elkaar zijn gestapeld. Ze bieden volledige privacy door hun ondoorzichtigheid, terwijl subtiele openingen zorgen voor uitstekende ventilatie — essentieel voor het creëren van een gezond microklimaat voor planten en buitenruimtes.
Paneelhoogte
Minimale hoogte: 0,745 m (met 7 lamelprofielen)
Extra hoogte-opties: 0,845 m, 0,945 m, enz., in stappen van 10 cm tot maximaal 2,00 m
Hoogte van lamelprofiel (voor installatie): 11,2 cm
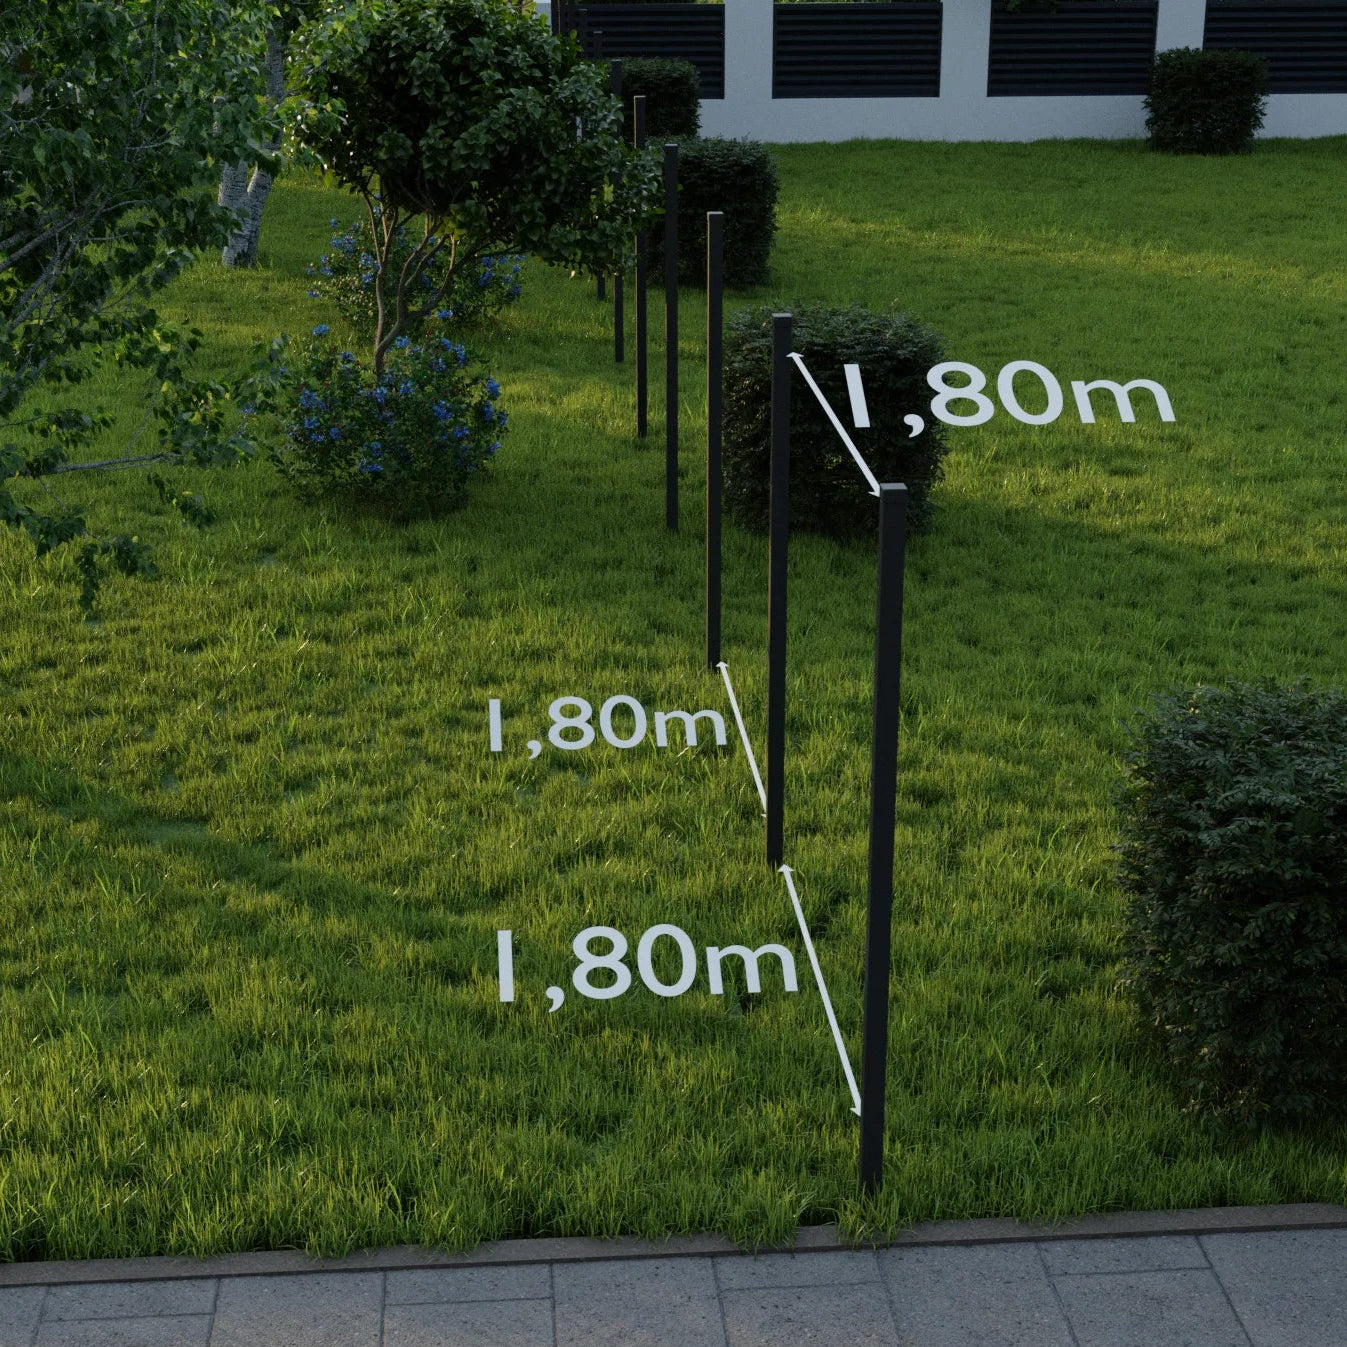
Paneelbreedte
Bereik: 0,40 m tot 1,80 m, verstelbaar in stappen van 1 cm
Paneeldiepte: 35 mm
Gamma
Gamma collectie
De Gamma Collection heeft vlakke, brede stalen lamellen die ontworpen zijn om de natuurlijke texturen van plaatmaterialen te benadrukken, wat zorgt voor architecturale elegantie en een gedurfde visuele diepte.
Afwerkingen
Kies uit 8 afwerkingen:
- Effen tinten: RAL 7016, RAL 7024, RAL 8017, RAL 8019
- Houtimitaties: Notelaar, Mahonie, Eik, Berk
Afmetingen
- Hoogte paneel: De standaard aanbevolen hoogte is 0,69 m, die bestaat uit 4 latten. Elk lamelprofiel heeft een hoogte van 16,7 cm (vóór installatie).
- Paneelbreedte: Verstelbaar tussen 1,00 m en 1,80 m, in stappen van 1 cm.
- Paneeldiepte: 56 mm
Piramide
Pyramide Collectie
De Pyramid Collection heeft lamellen met een subtiel piramidaal profiel en zacht afgeronde randen, die lichtspel en dimensie toevoegen terwijl de strakke, moderne geometrie behouden blijft. Elk paneel is verkrijgbaar in het volledige palet afwerkingen:
- Effen tinten: RAL 7016, RAL 7024, RAL 8017, RAL 8019
- Houtimitaties: Walnoot, Mahonie, Eik, Berk
- Metallic afwerkingen: Metallic 7024, Metallic 8019, Metallic Zwart 9005
Met zijn gestructureerde vorm en verfijnde afwerkingen combineert de Pyramid-lijn sculpturale aanwezigheid en functionele duurzaamheid - waardoor uw omheining een designstatement wordt.
Sigma
Sigma Collectie
De Sigma Collectie kenmerkt zich door elegante S-vormige lamellen die zijn ontworpen om lucht vrij te laten circuleren terwijl directe inkijk wordt geblokkeerd. Deze slimme vorm zorgt voor privacy zonder de ventilatie te belemmeren.
Elk paneel is verkrijgbaar in dezelfde 8 afwerkingen als onze Gamma-lijn:
Effen kleuren: RAL 7016, RAL 7024, RAL 8017, RAL 8019
Houtimitaties: Walnoot, Mahonie, Eik, Berk
Sigma combineert functionaliteit met design — het laat je hek ‘ademen’ terwijl het de visuele kracht en ontwerpintegriteit behoudt die jouw buitenruimte verdient.
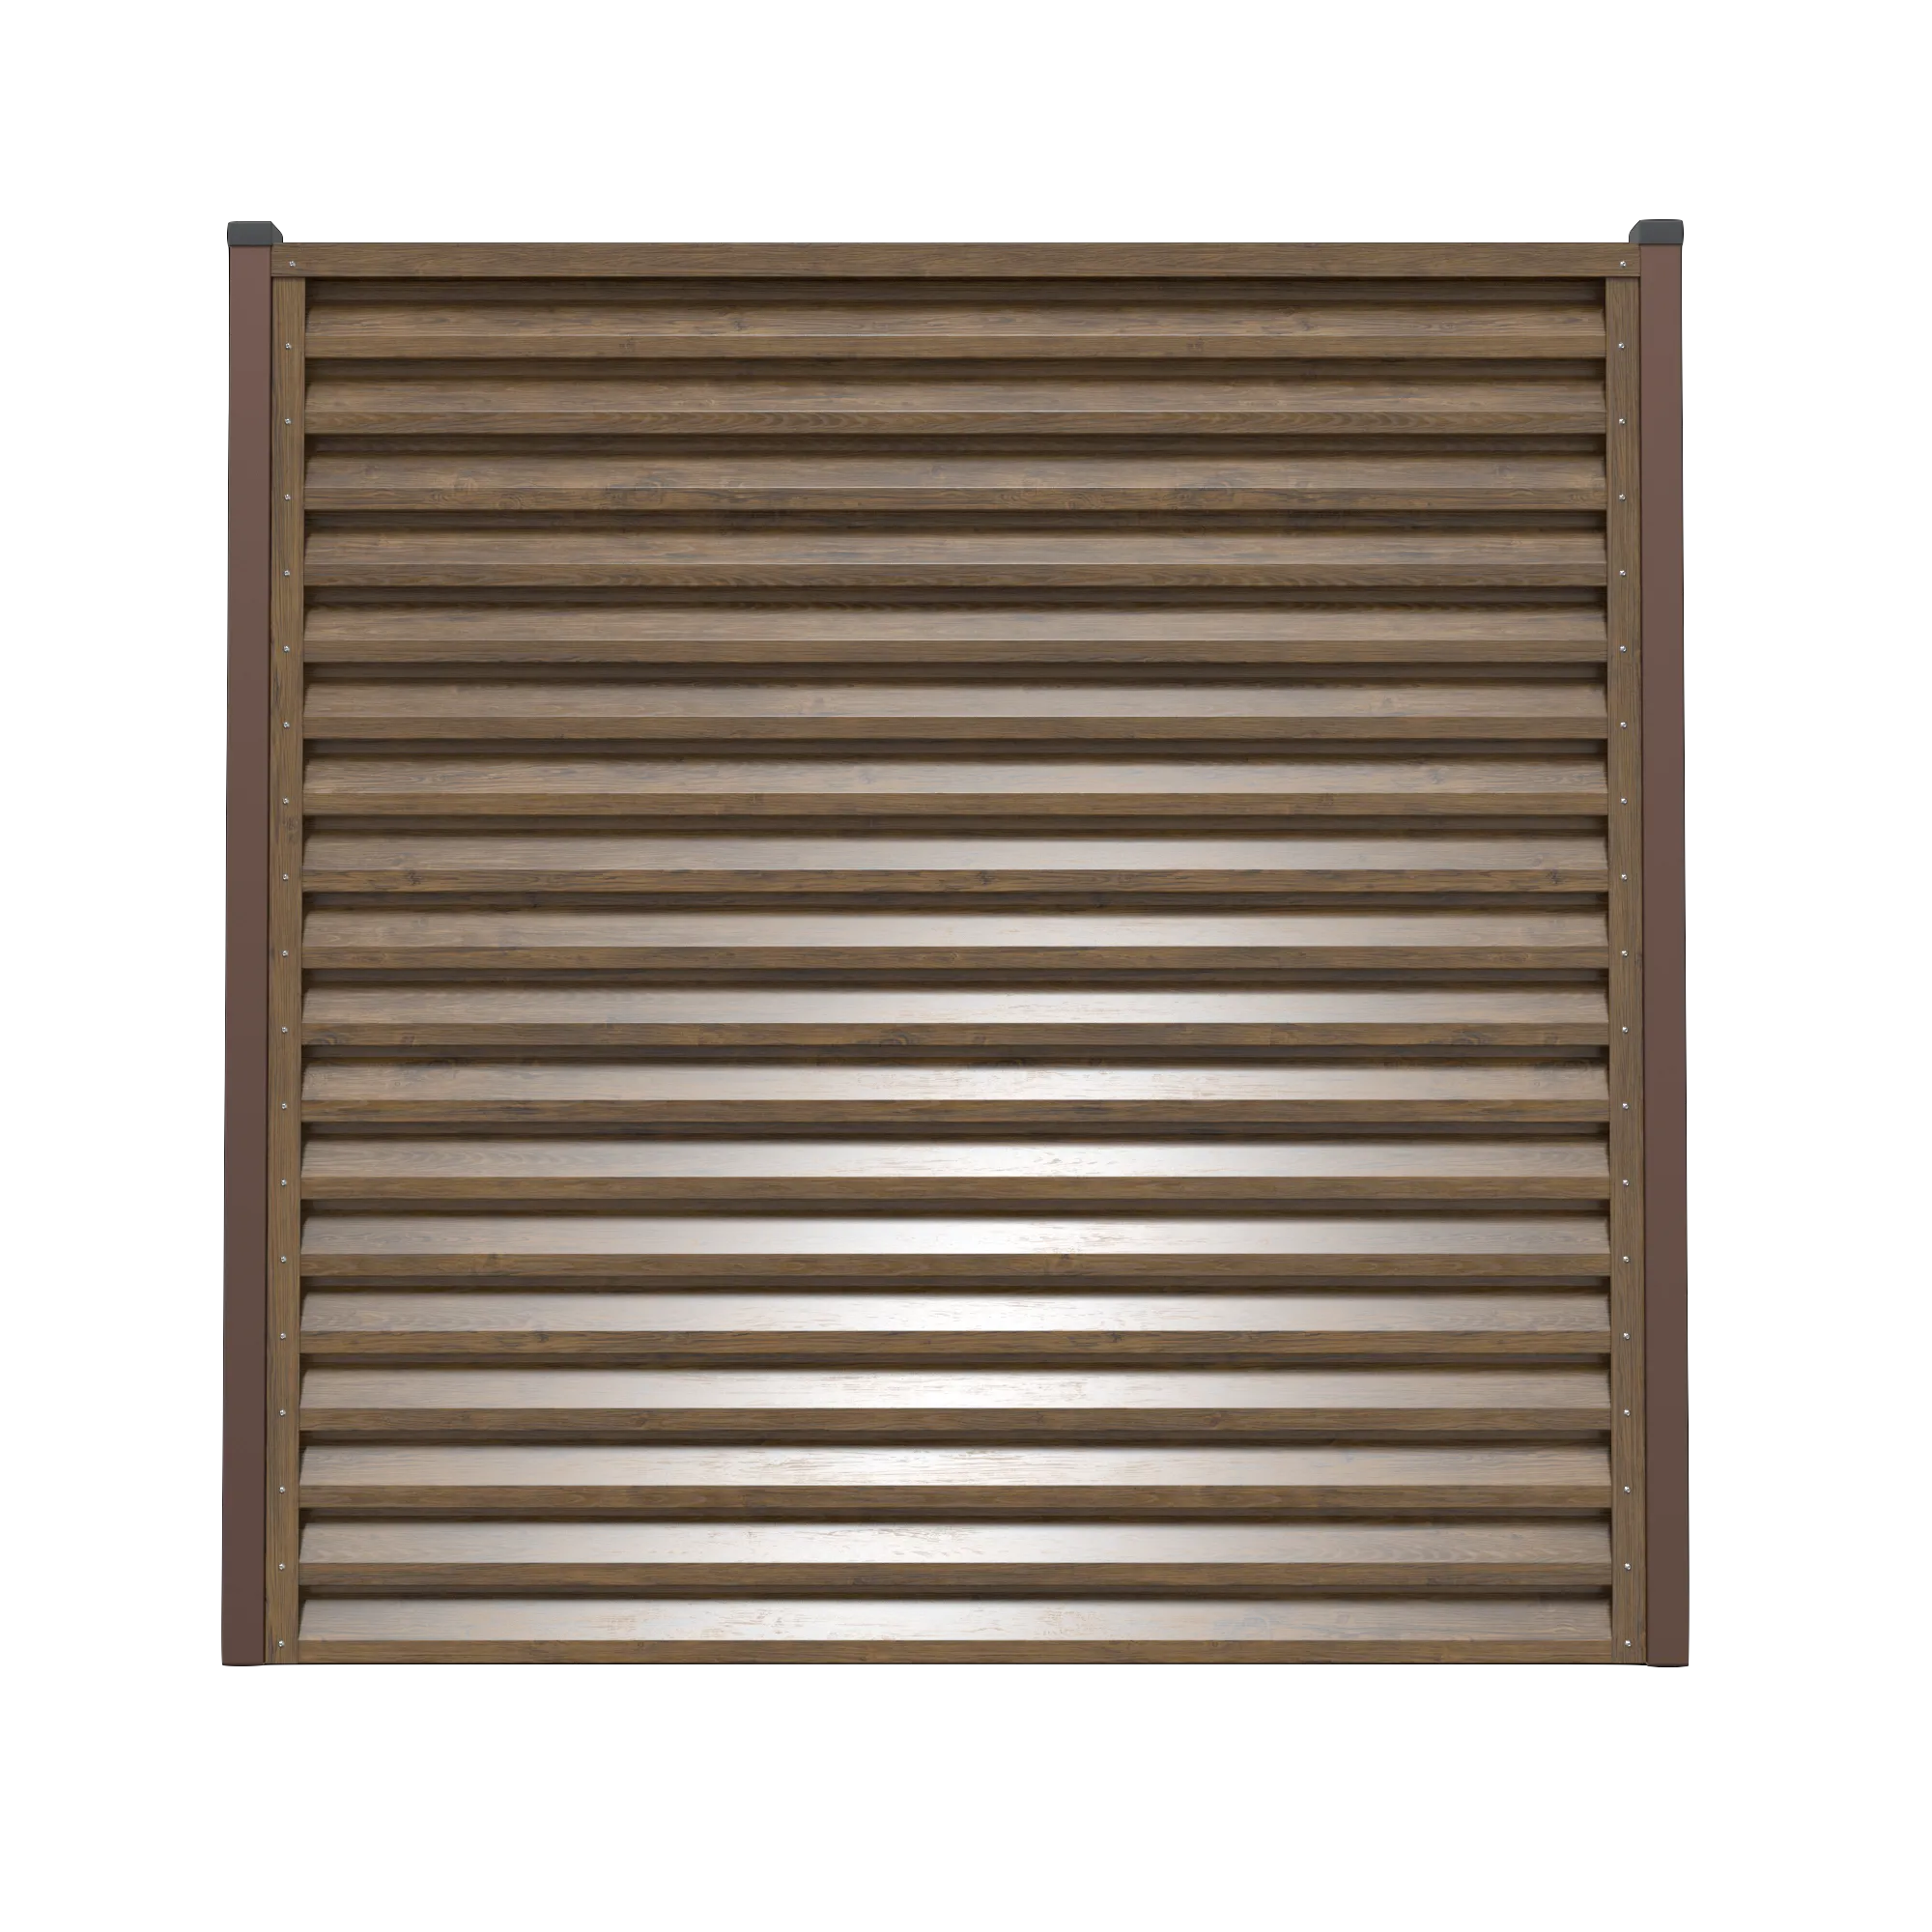
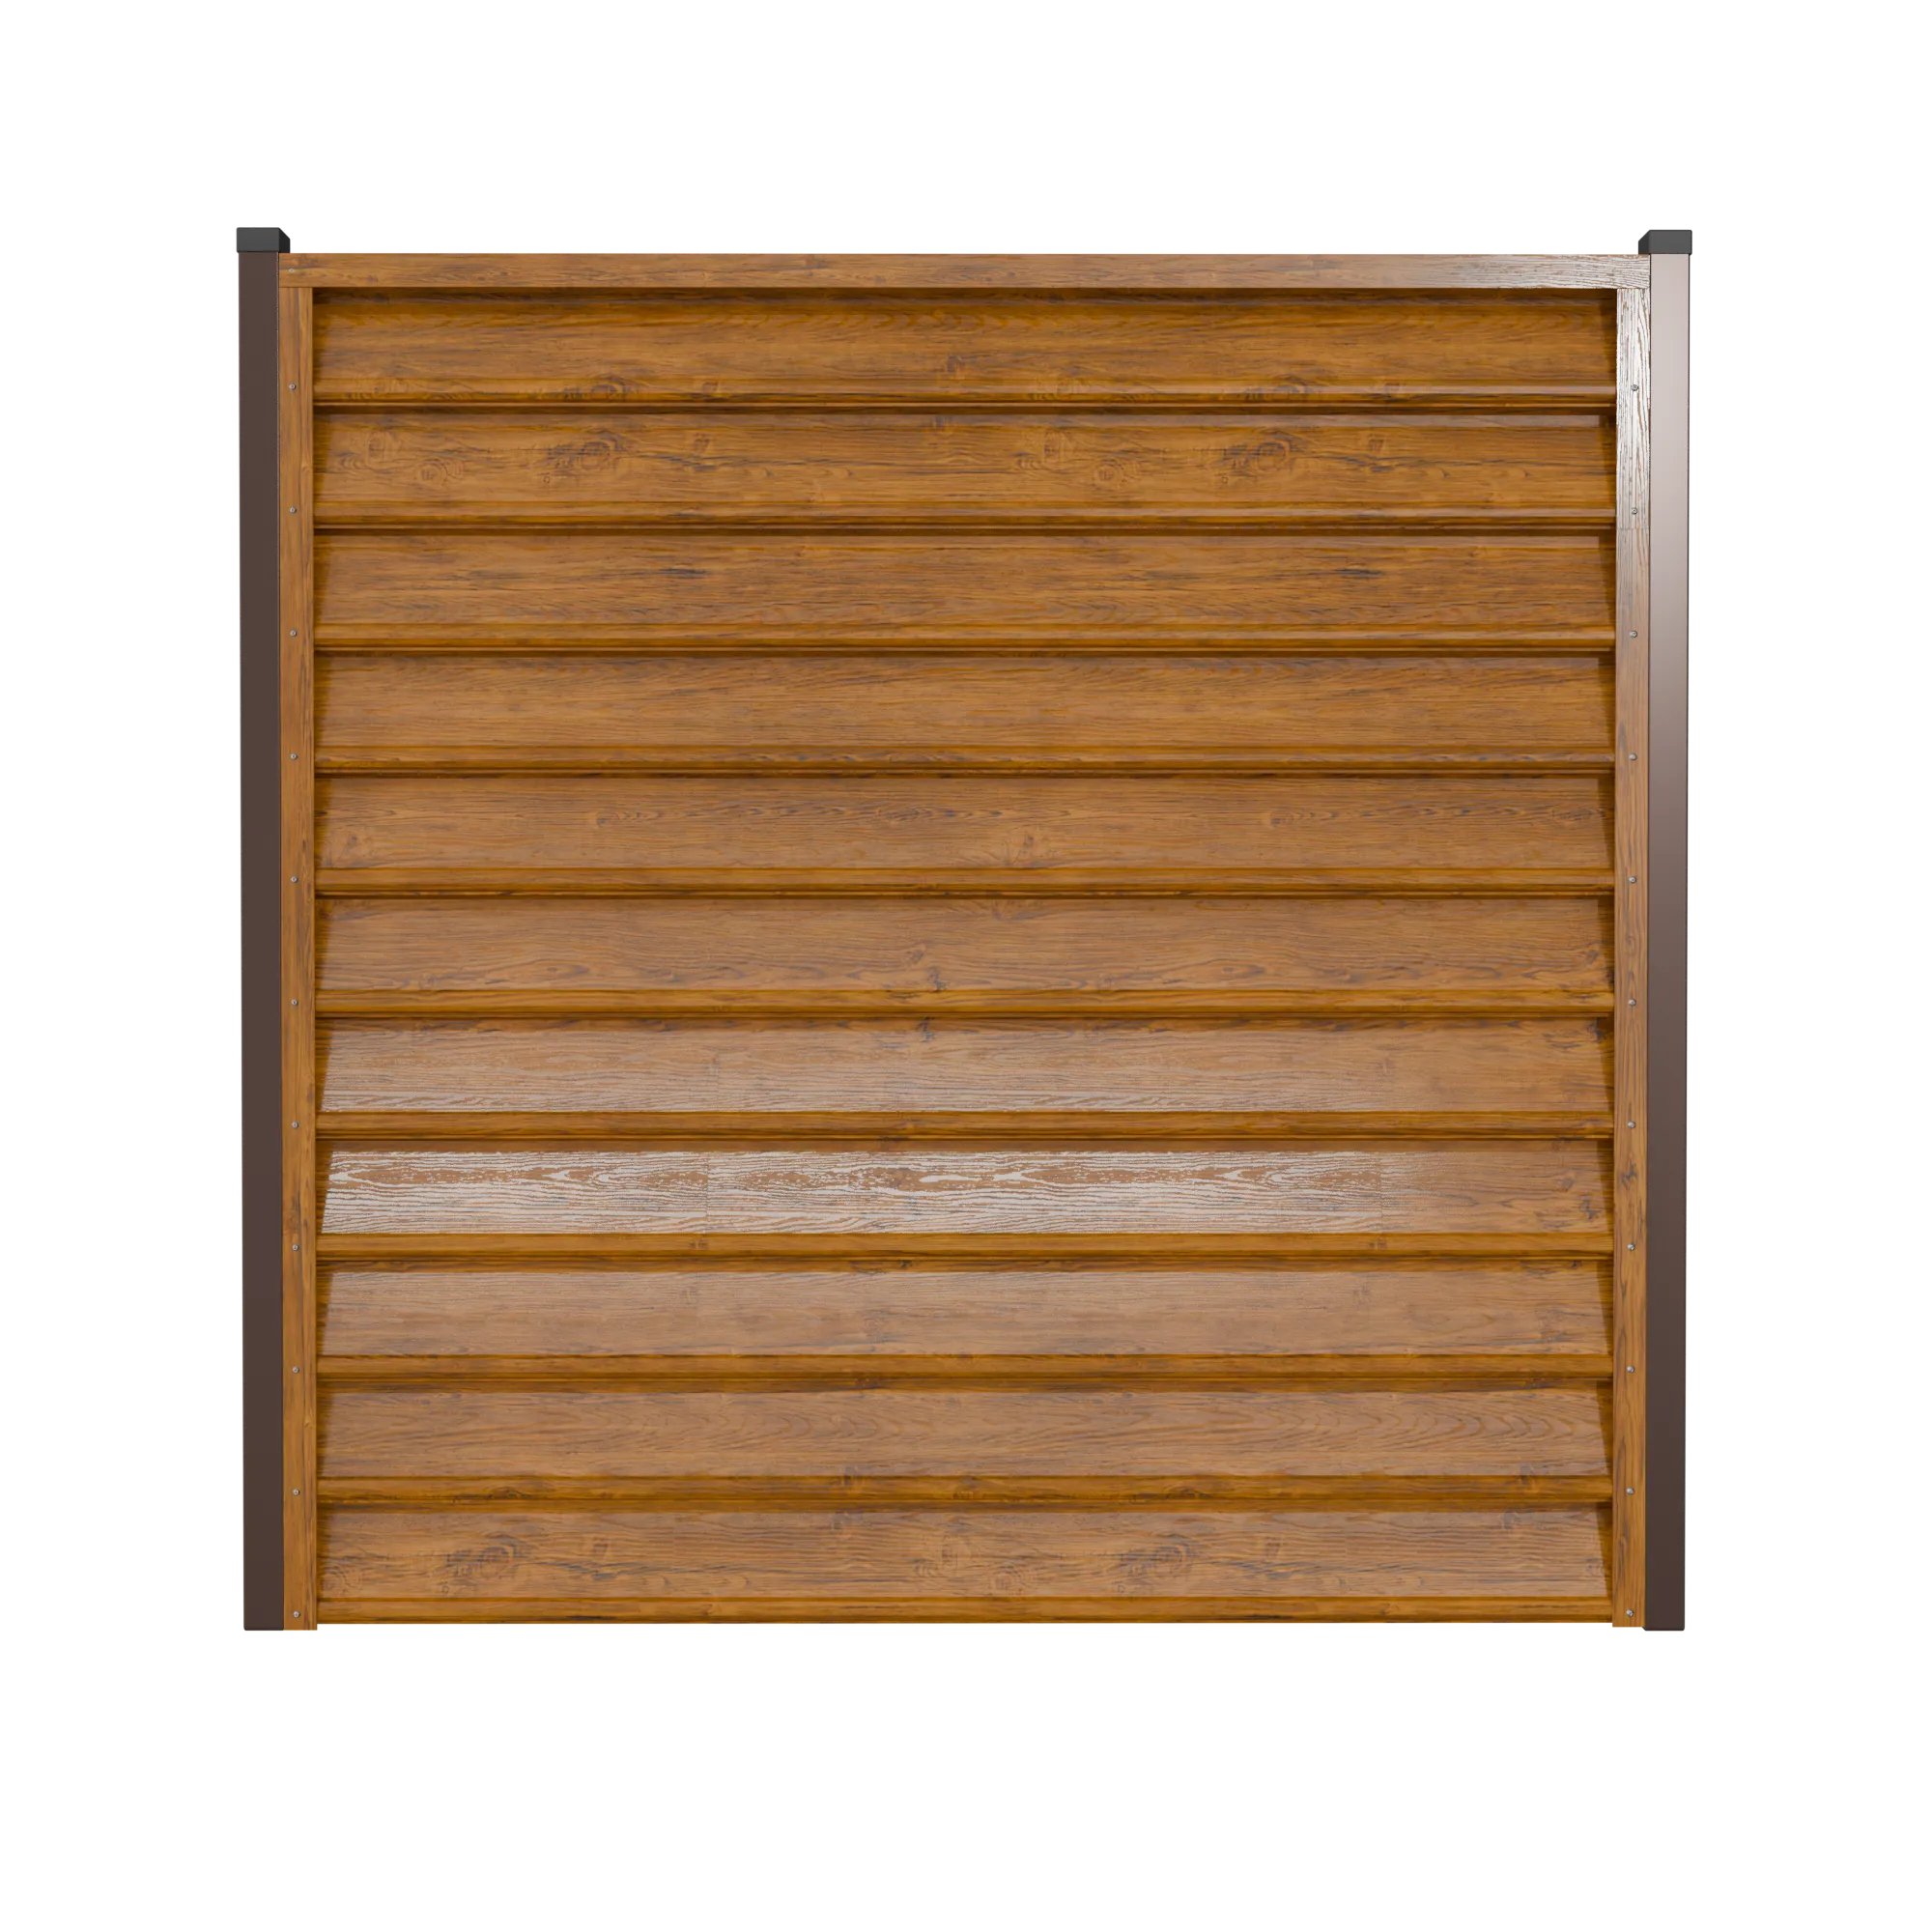
Terra
Terra Hek
Het Terra horizontale hek combineert duurzaamheid met verfijnde esthetiek. Hoewel het de visuele uitstraling van een WPC-terrashek oproept, is Terra vervaardigd uit robuust metaal voor een langere levensduur. De sterke boxprofielen ondersteunen grote panelen zonder dat een centrale steunstrip nodig is, wat de installatie vereenvoudigt.
Terra is ideaal voor het opdelen van ruimtes, het creëren van plafondpergola’s in interieurs of lofts, evenals voor buitentoepassingen zoals pergola’s en terrassen.
Paneelhoogte
De afstand tussen de profielen is verstelbaar.
Je kunt ook de opening tussen de onderzijde en het eerste profiel instellen.
Een plaatscalculator kan helpen om de optimale hoogte te bepalen (tot 2,00 m), afhankelijk van je specifieke ontwerpvereisten.
Paneelbreedte
Bereik: 0,40 m tot 1,80 m, in stappen van 1 cm
Paneeldiepte: 37 mm